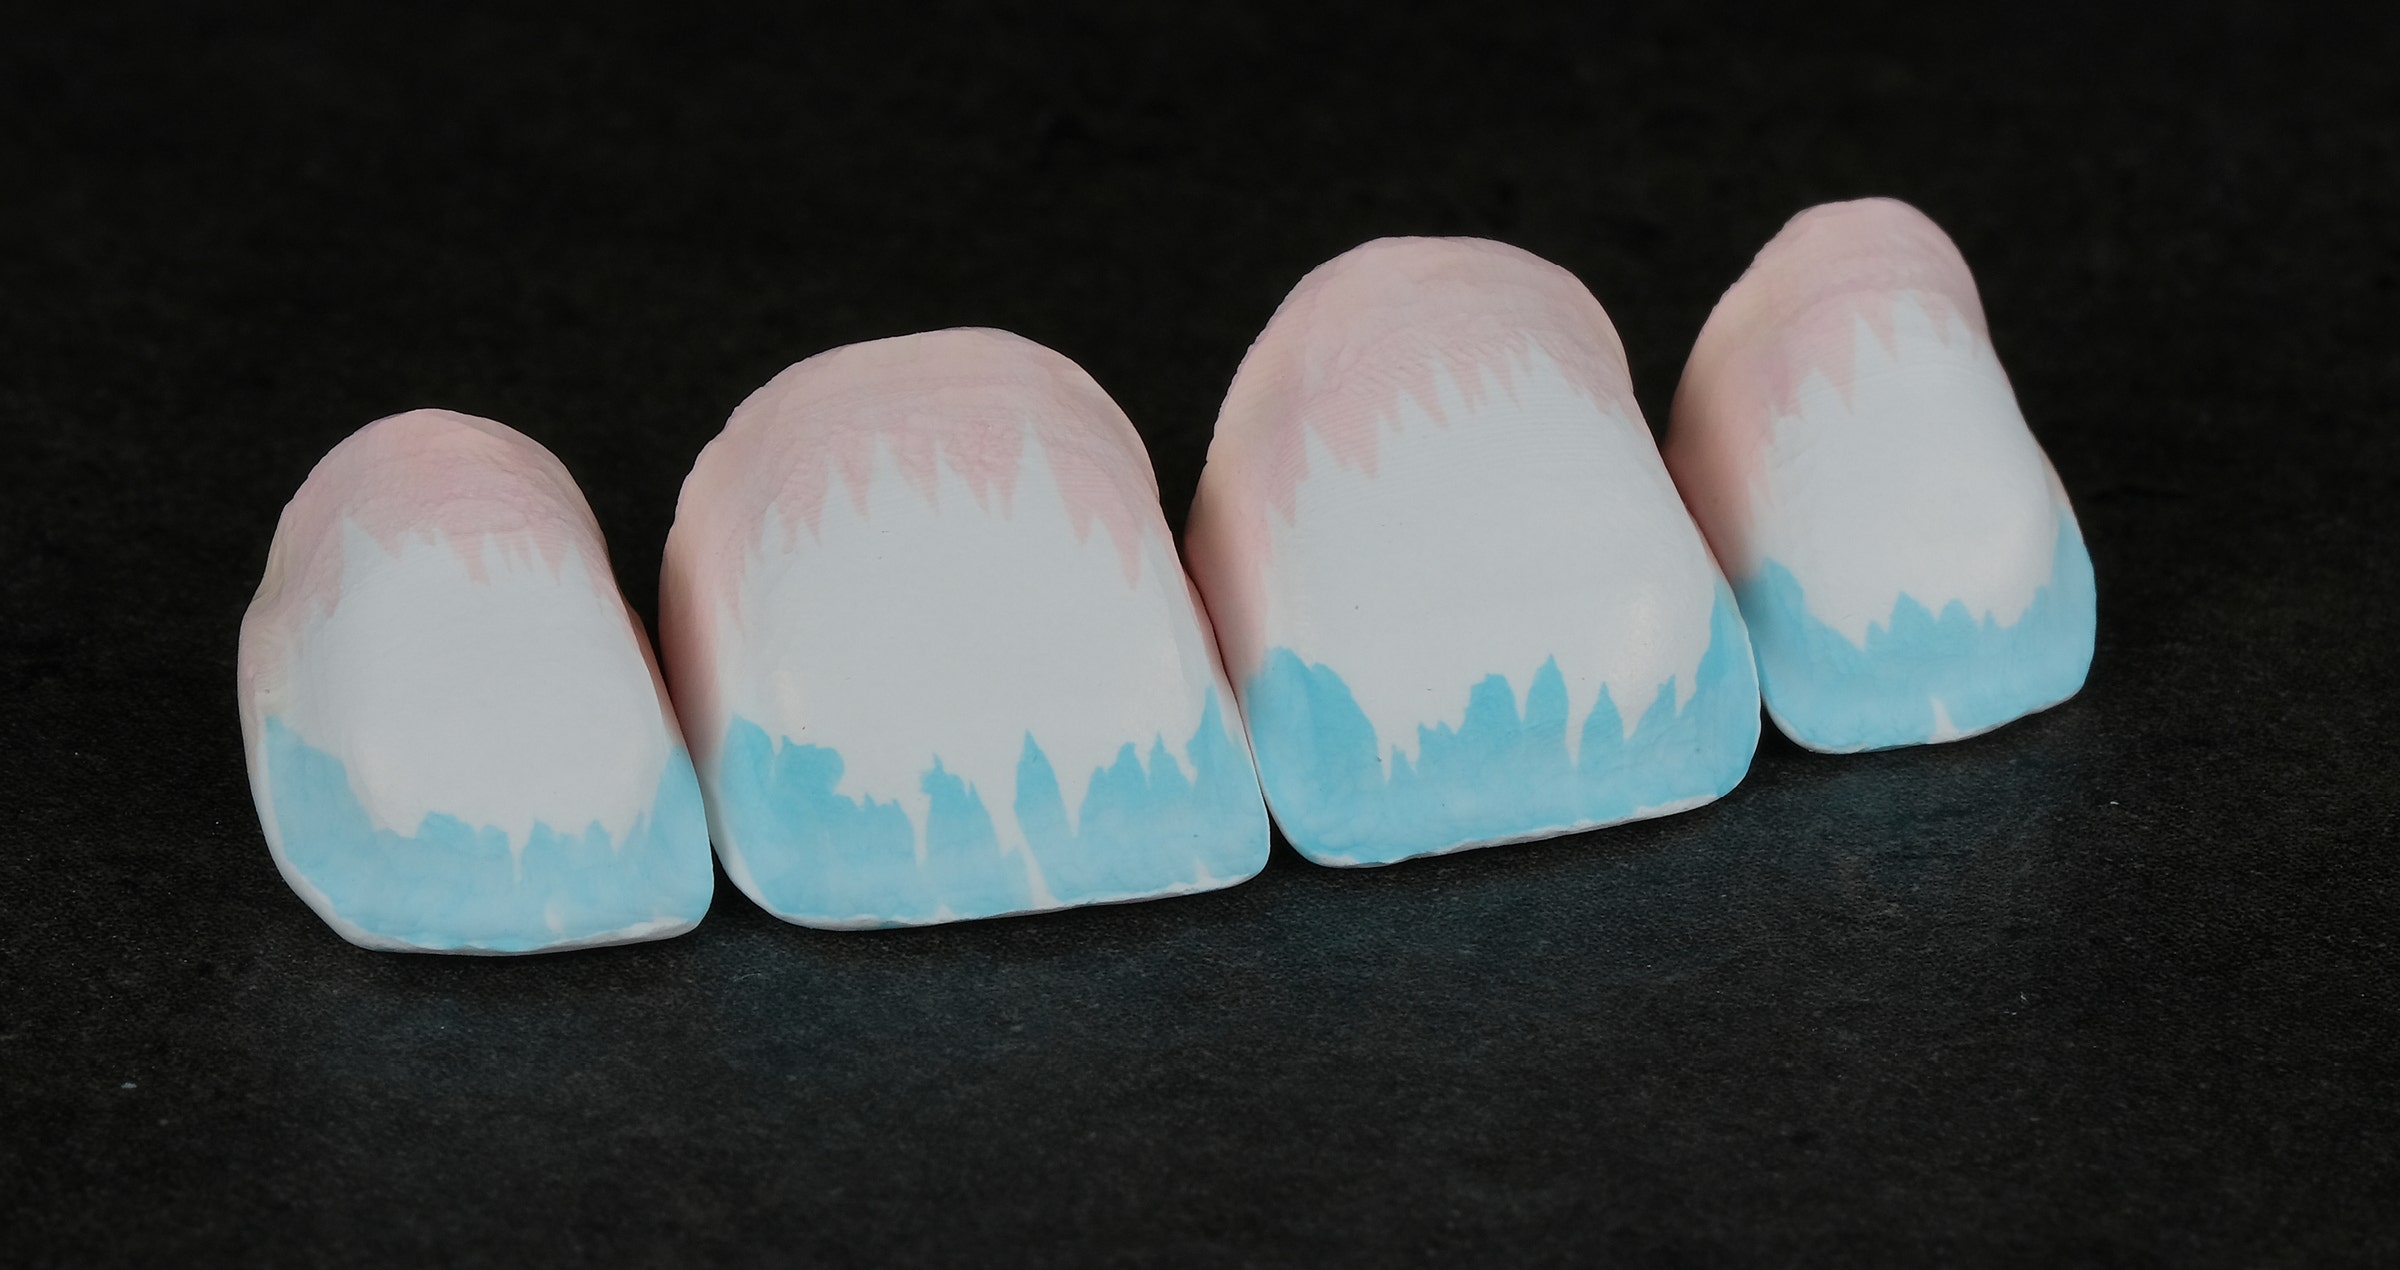
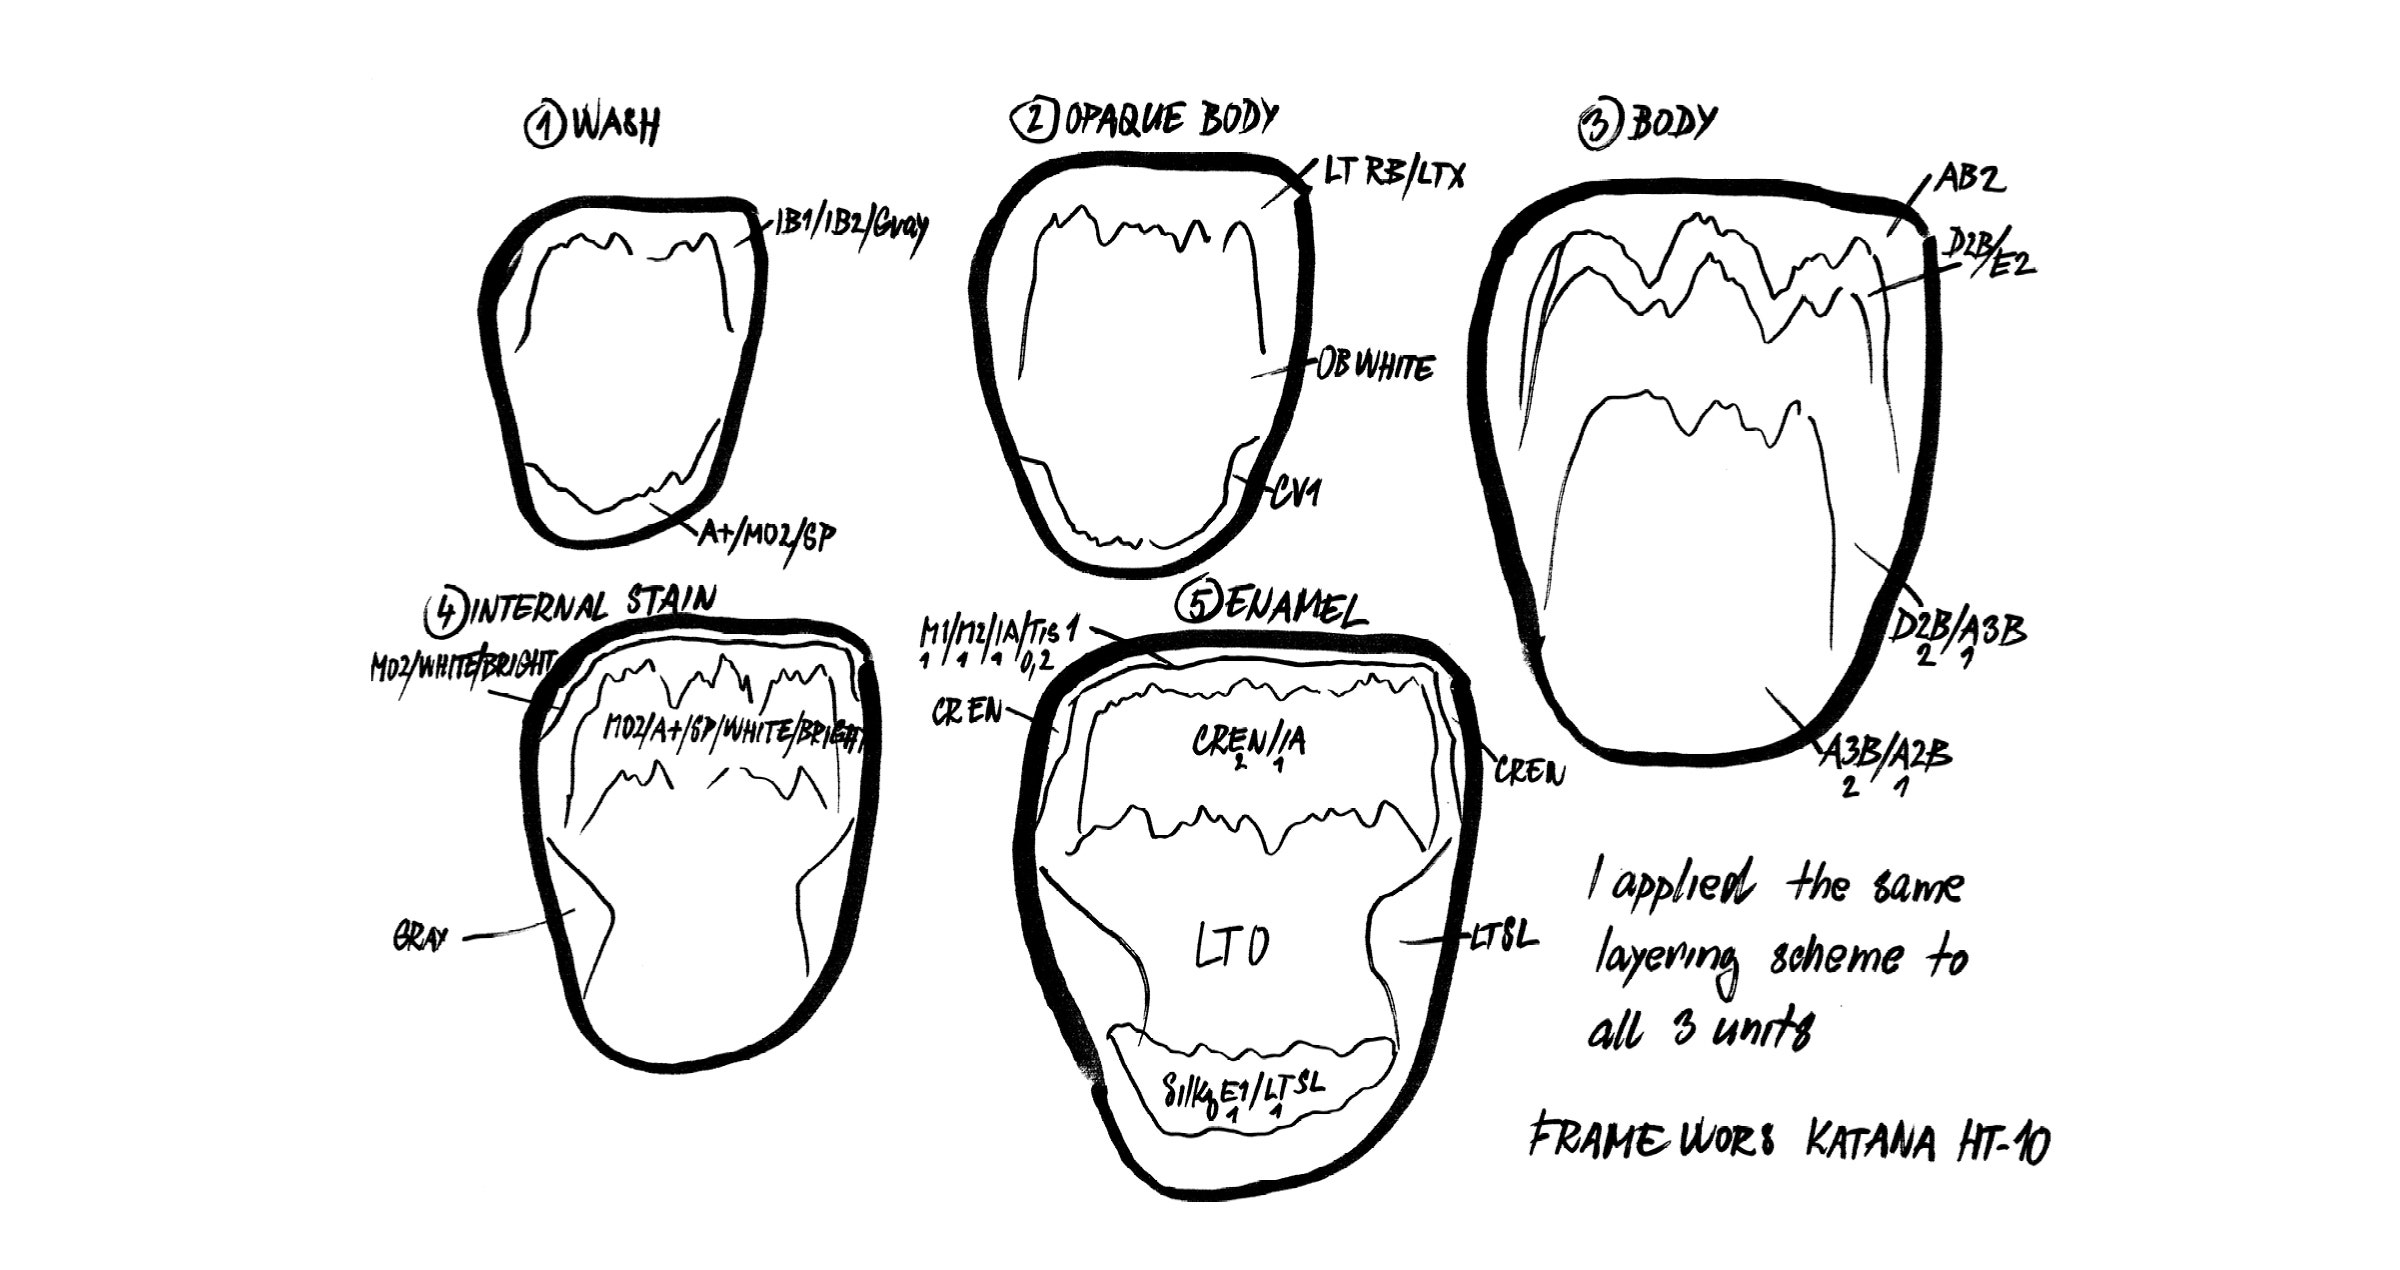
Case by DT Roberto Rossi
BIO-INSPIRED
White and pink aesthetic rehabilitations require a workflow that combines accurate framework design with controlled ceramic layering. When each step is carefully planned, the optical properties of the framework material can be fully exploited, reducing the need for extensive ceramic layering. The following case illustrates this workflow using a bio-inspired approach.
In this case, a micro-layering technique was used to reproduce the vestibular aesthetics while preserving the morphology of the zirconia framework. KATANA™ Zirconia YML was combined with the low-firing ceramic CERABIEN™ MiLai (both Kuraray Noritake Dental Inc.), making this combination well suited to this type of restoration.
FRAMEWORK DESIGN
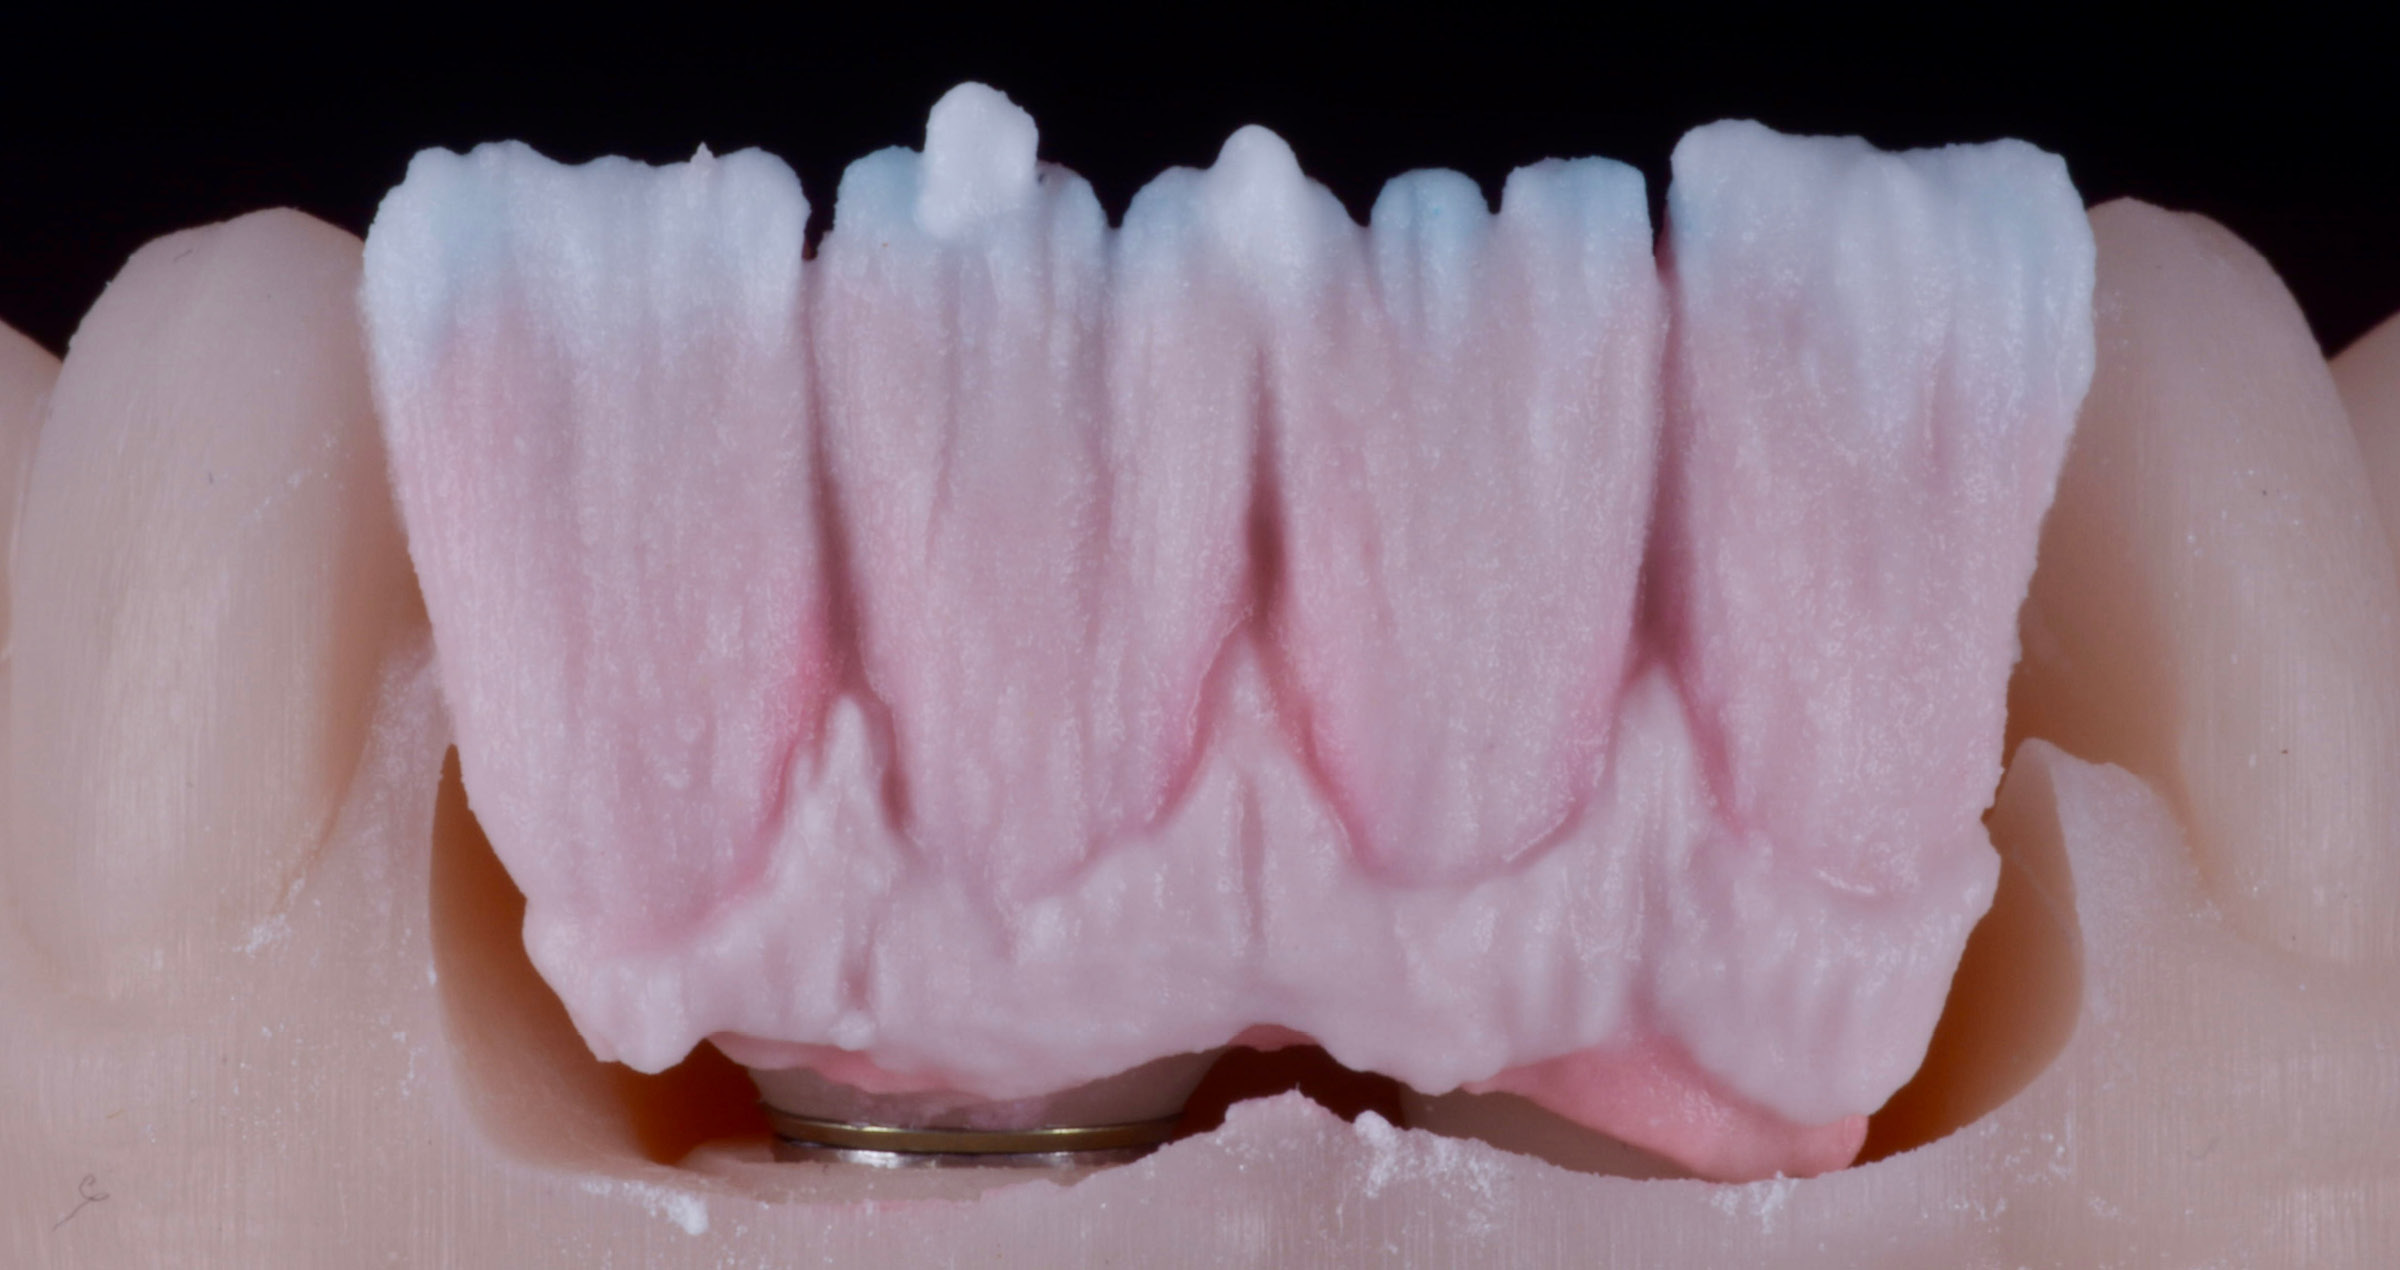
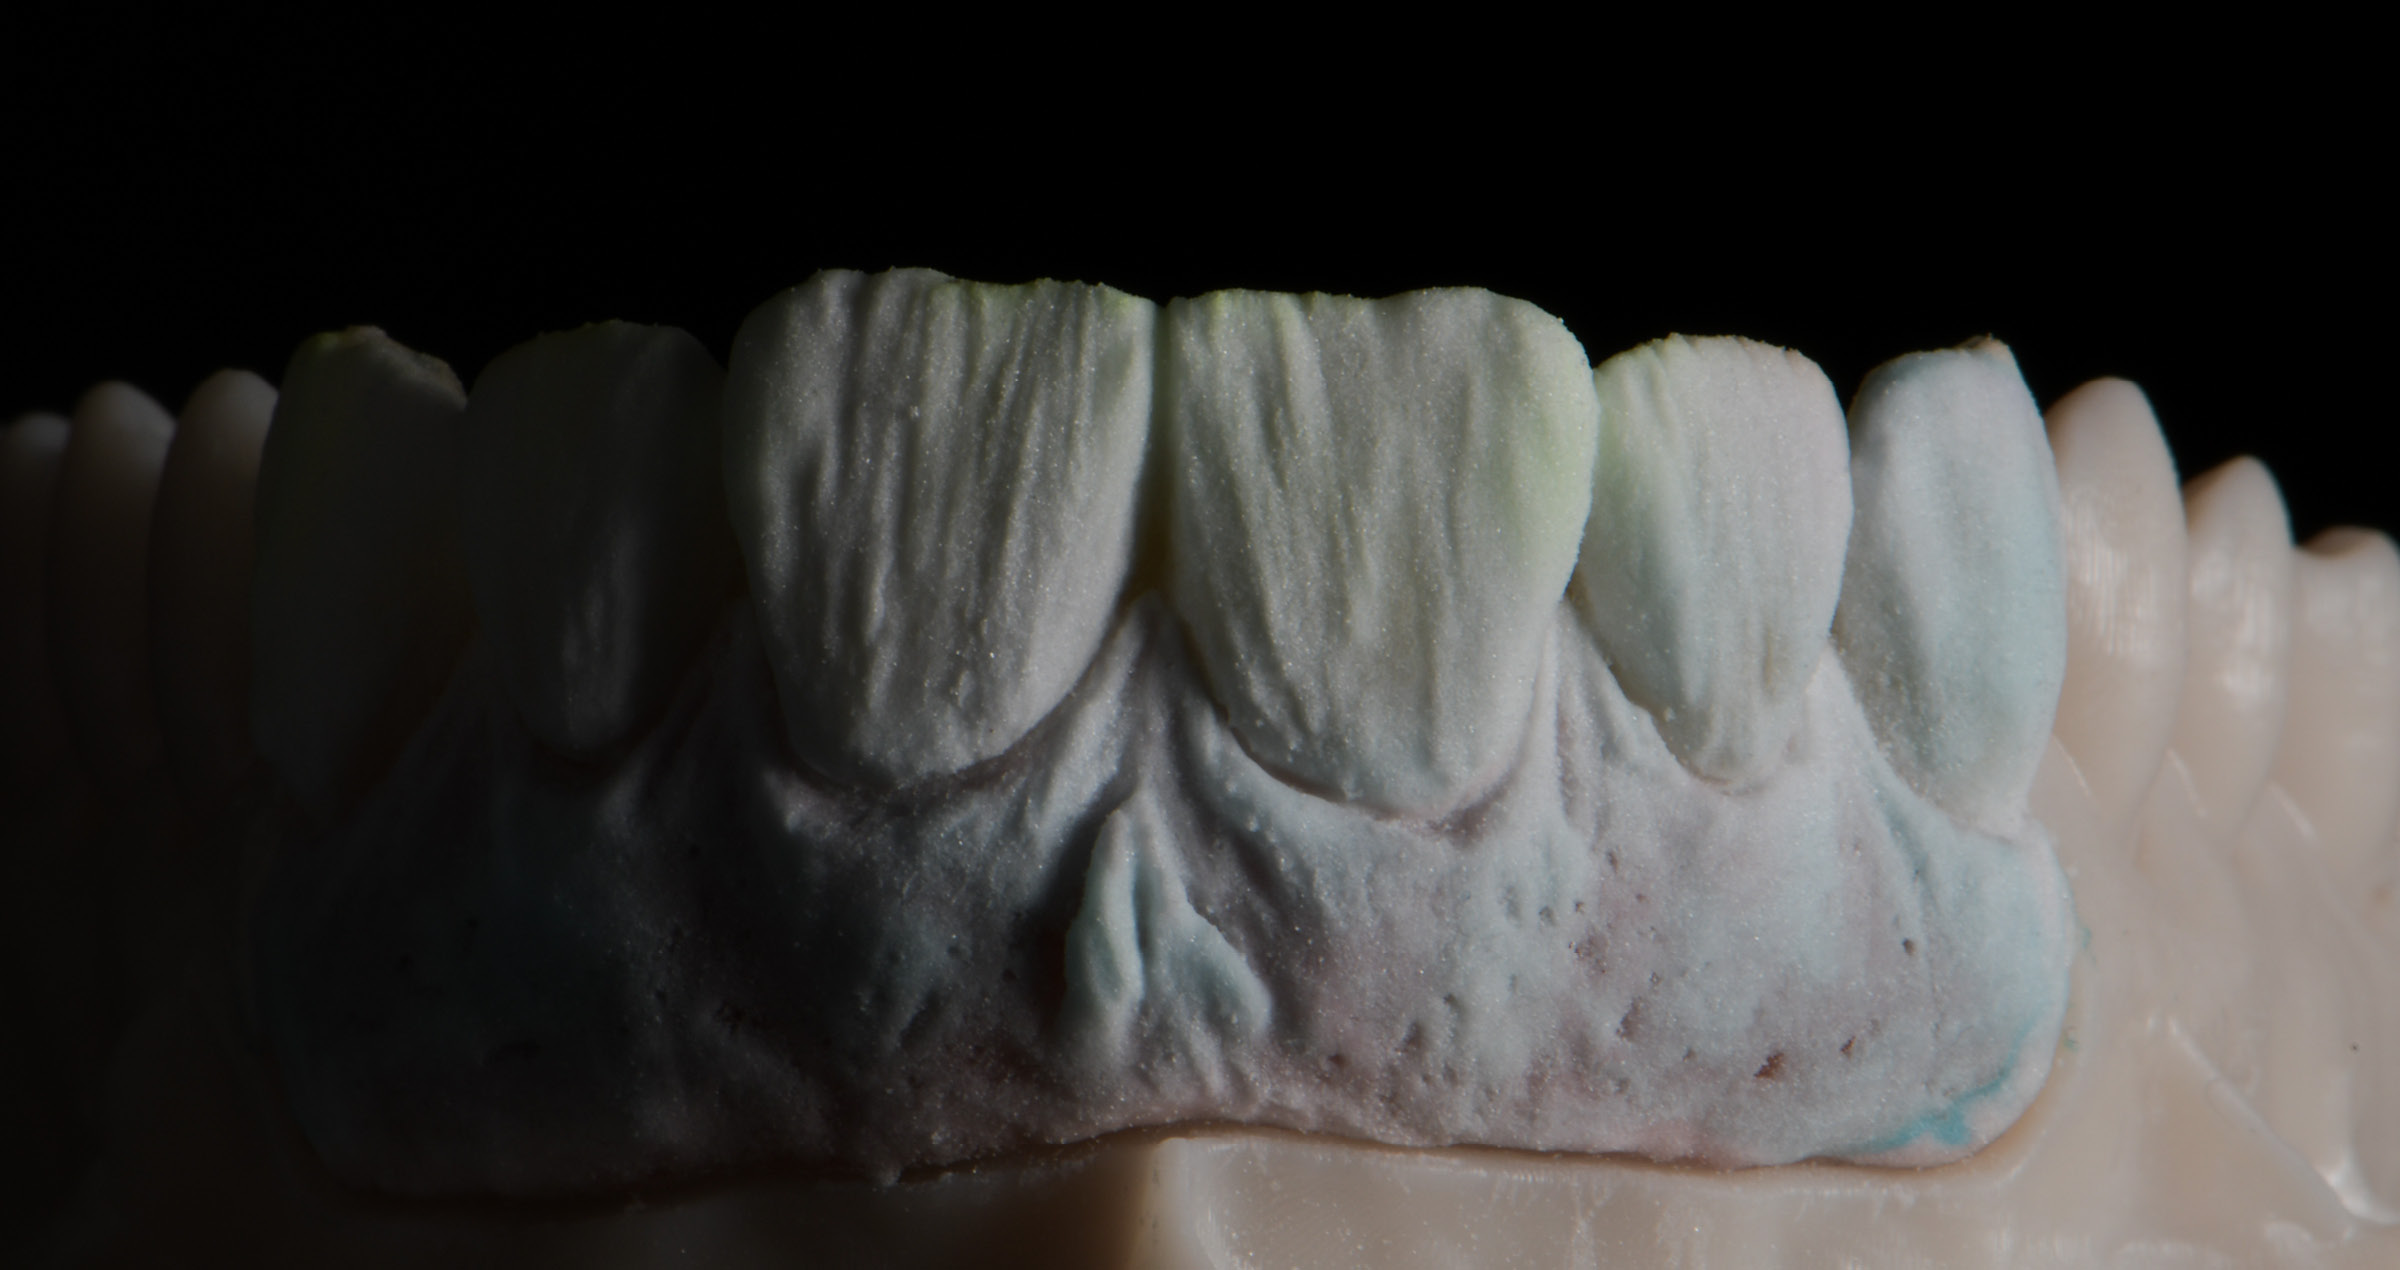
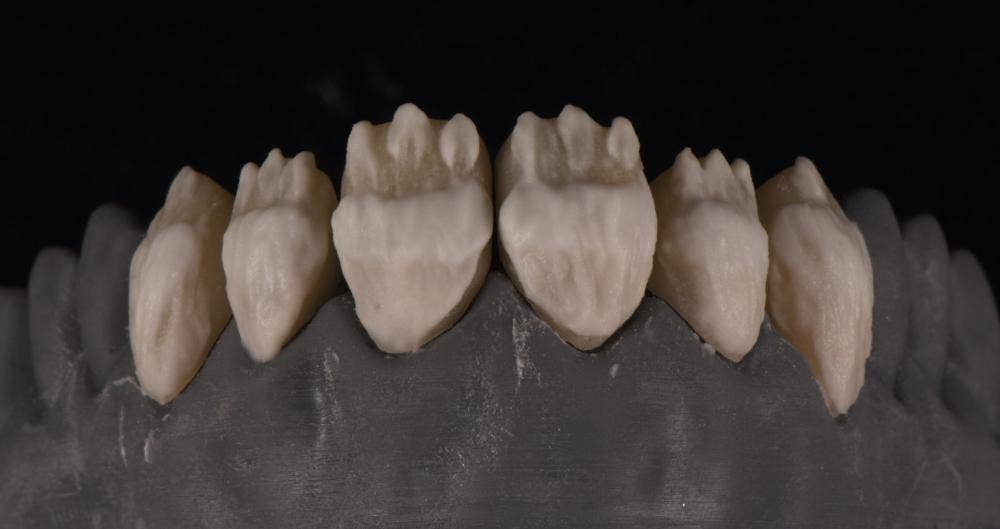
To enhance the bio-design effect, in which the framework morphology reproduces the natural distribution of dentin and enamel, an accurate milling strategy is essential. The planned framework morphology should be reproduced faithfully, without losing detail in the proximal areas or at the transition between the white and pink aesthetics (Fig. 1). The optical properties of the milled framework (Fig. 2) and the accuracy of the milled surface (Fig. 3) provide the basis for a predictable aesthetic result.
Fig. 1. Milled restoration within the disc.
Fig. 2. Milled zirconia framework reproducing the cut-back design.
Fig. 3. Detailed view of the accurately milled framework surface.
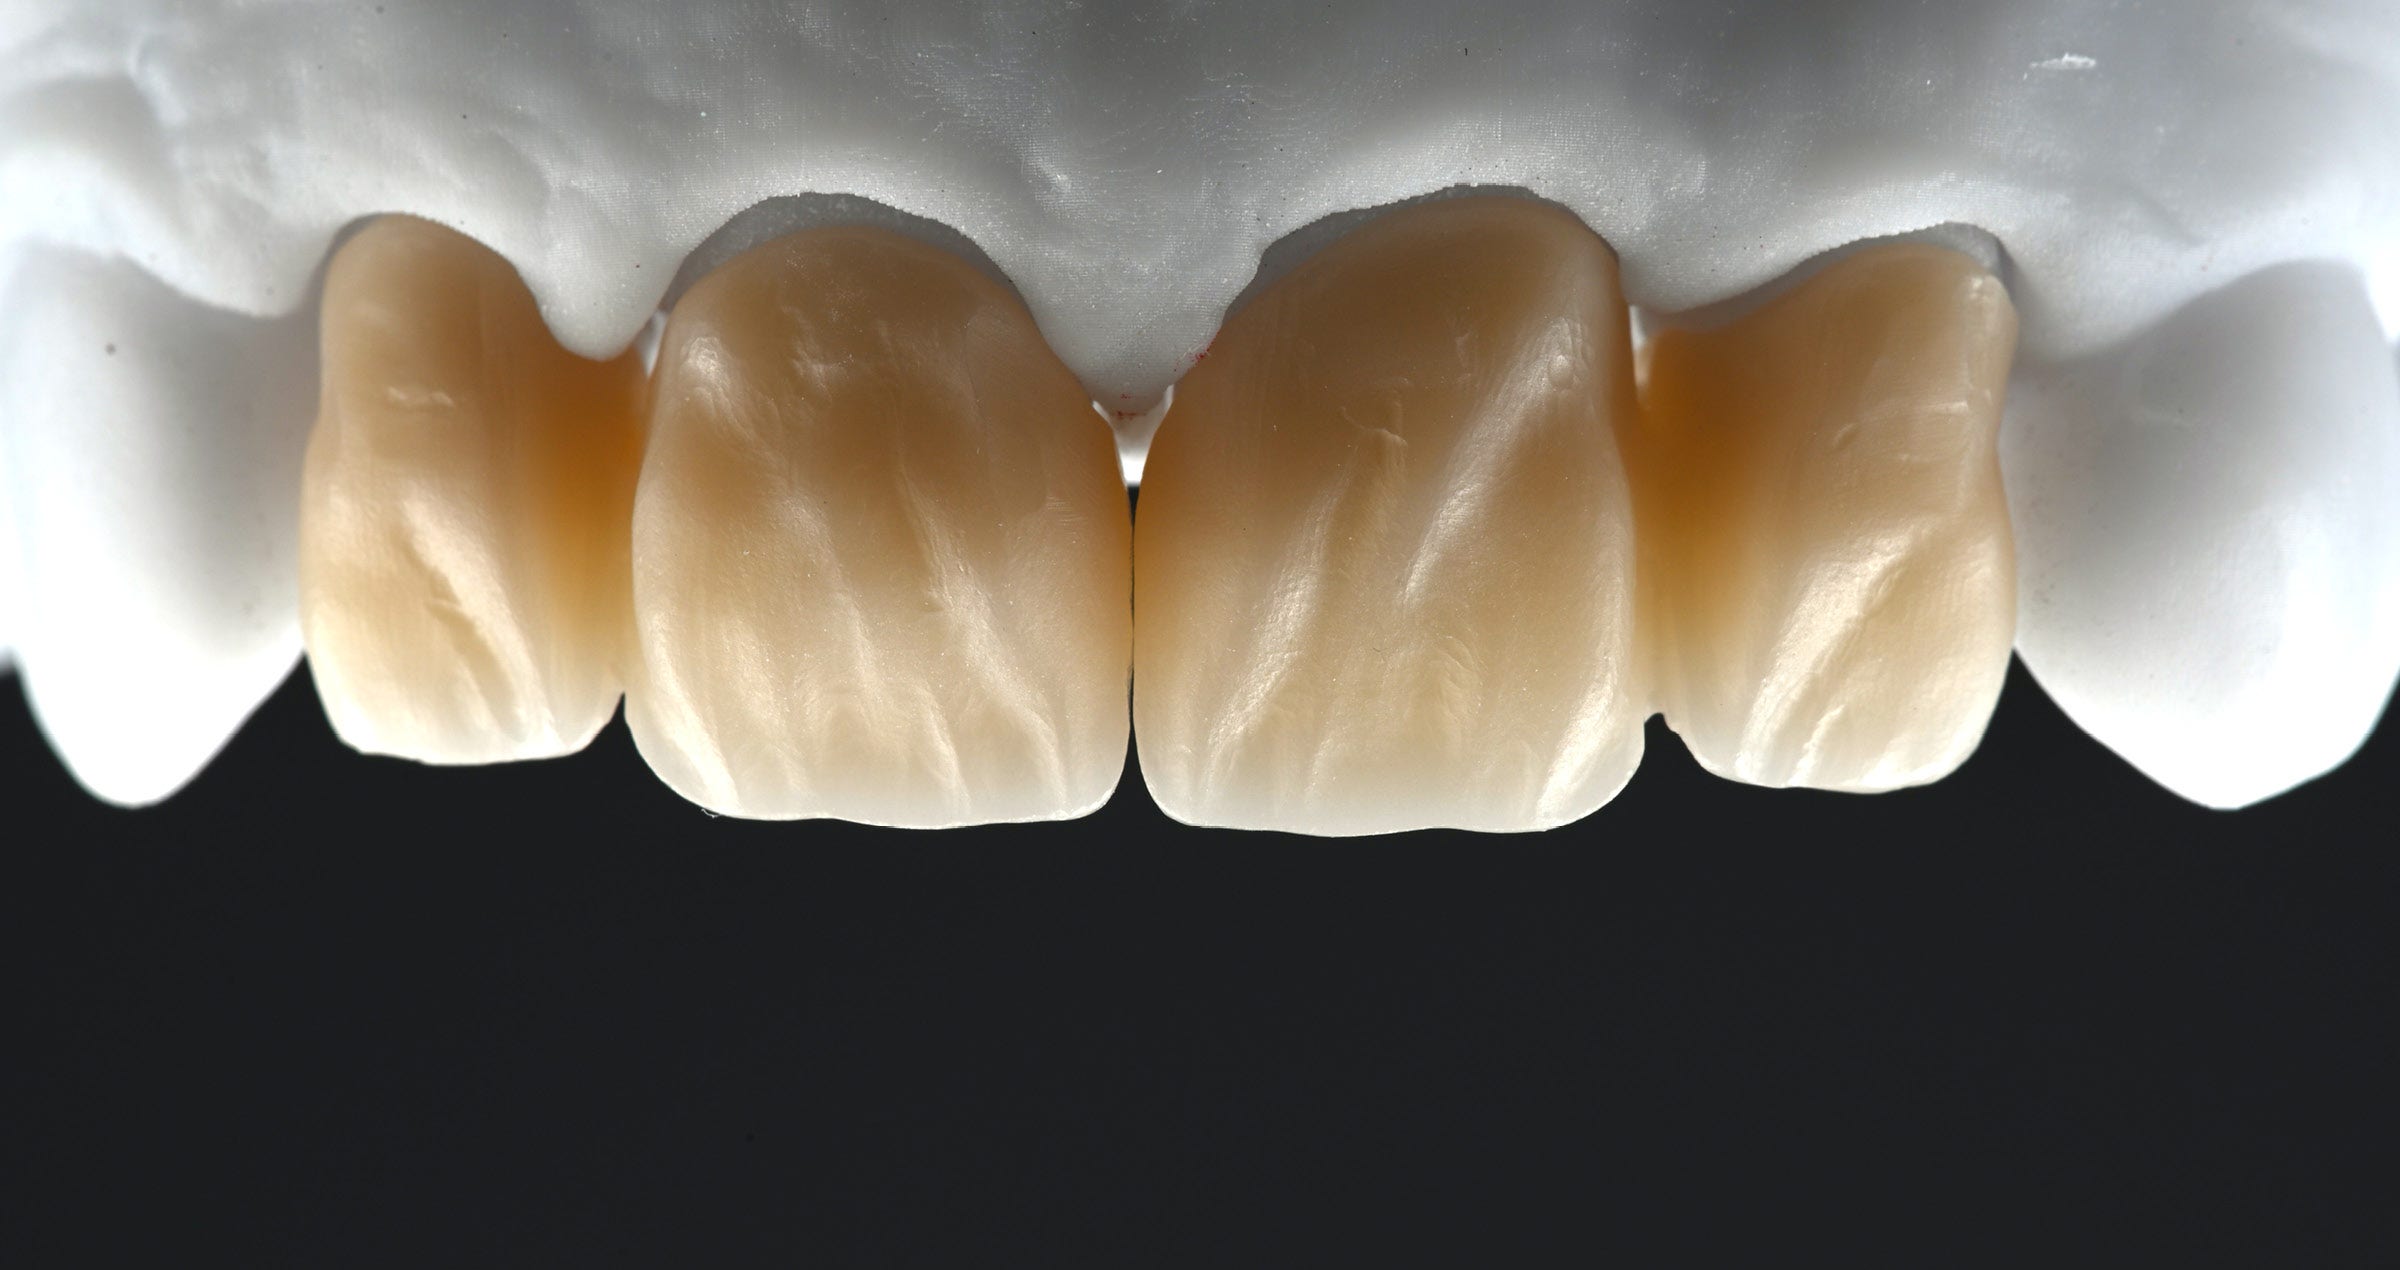
Once the framework has been correctly sintered, the optical properties of the multilayer zirconia and the effect of the cubic zirconia phase can be fully appreciated. Before sintering, however, particular attention should be paid to the framework surface. Any adjustments should preserve, or even improve, the original morphology created during the CAD design stage. The framework should exhibit a smooth, dense surface, free from roughness and porosity, providing the ideal basis for the subsequent characterisation procedures (Fig. 4).
Fig. 4. Framework surface after sintering, surface texturing and finishing.
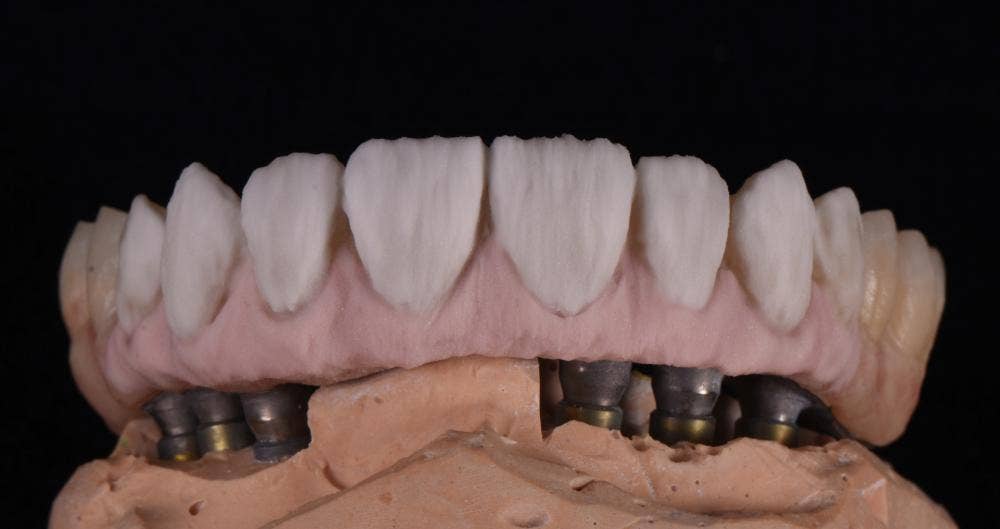
The shade of the KATANA Zirconia YML disc should generally be selected one shade lighter than the desired final shade. This helps to avoid excessive chroma and a low-value appearance in areas where the zirconia is thicker, while maintaining flexibility during the subsequent characterisation and layering procedures (Fig. 5).
Fig. 5. Sintered framework on the model.
Thanks to the varying light transmission through the different thicknesses of the bio-designed incisal area, the dentinal effect becomes clearly visible after sintering (Fig. 6). Rather than masking these optical properties, the following steps are designed to enhance them through internal characterisation and selective micro-layering.
Fig. 6. Varying light transmission of the framework.
INTERNAL STAINING
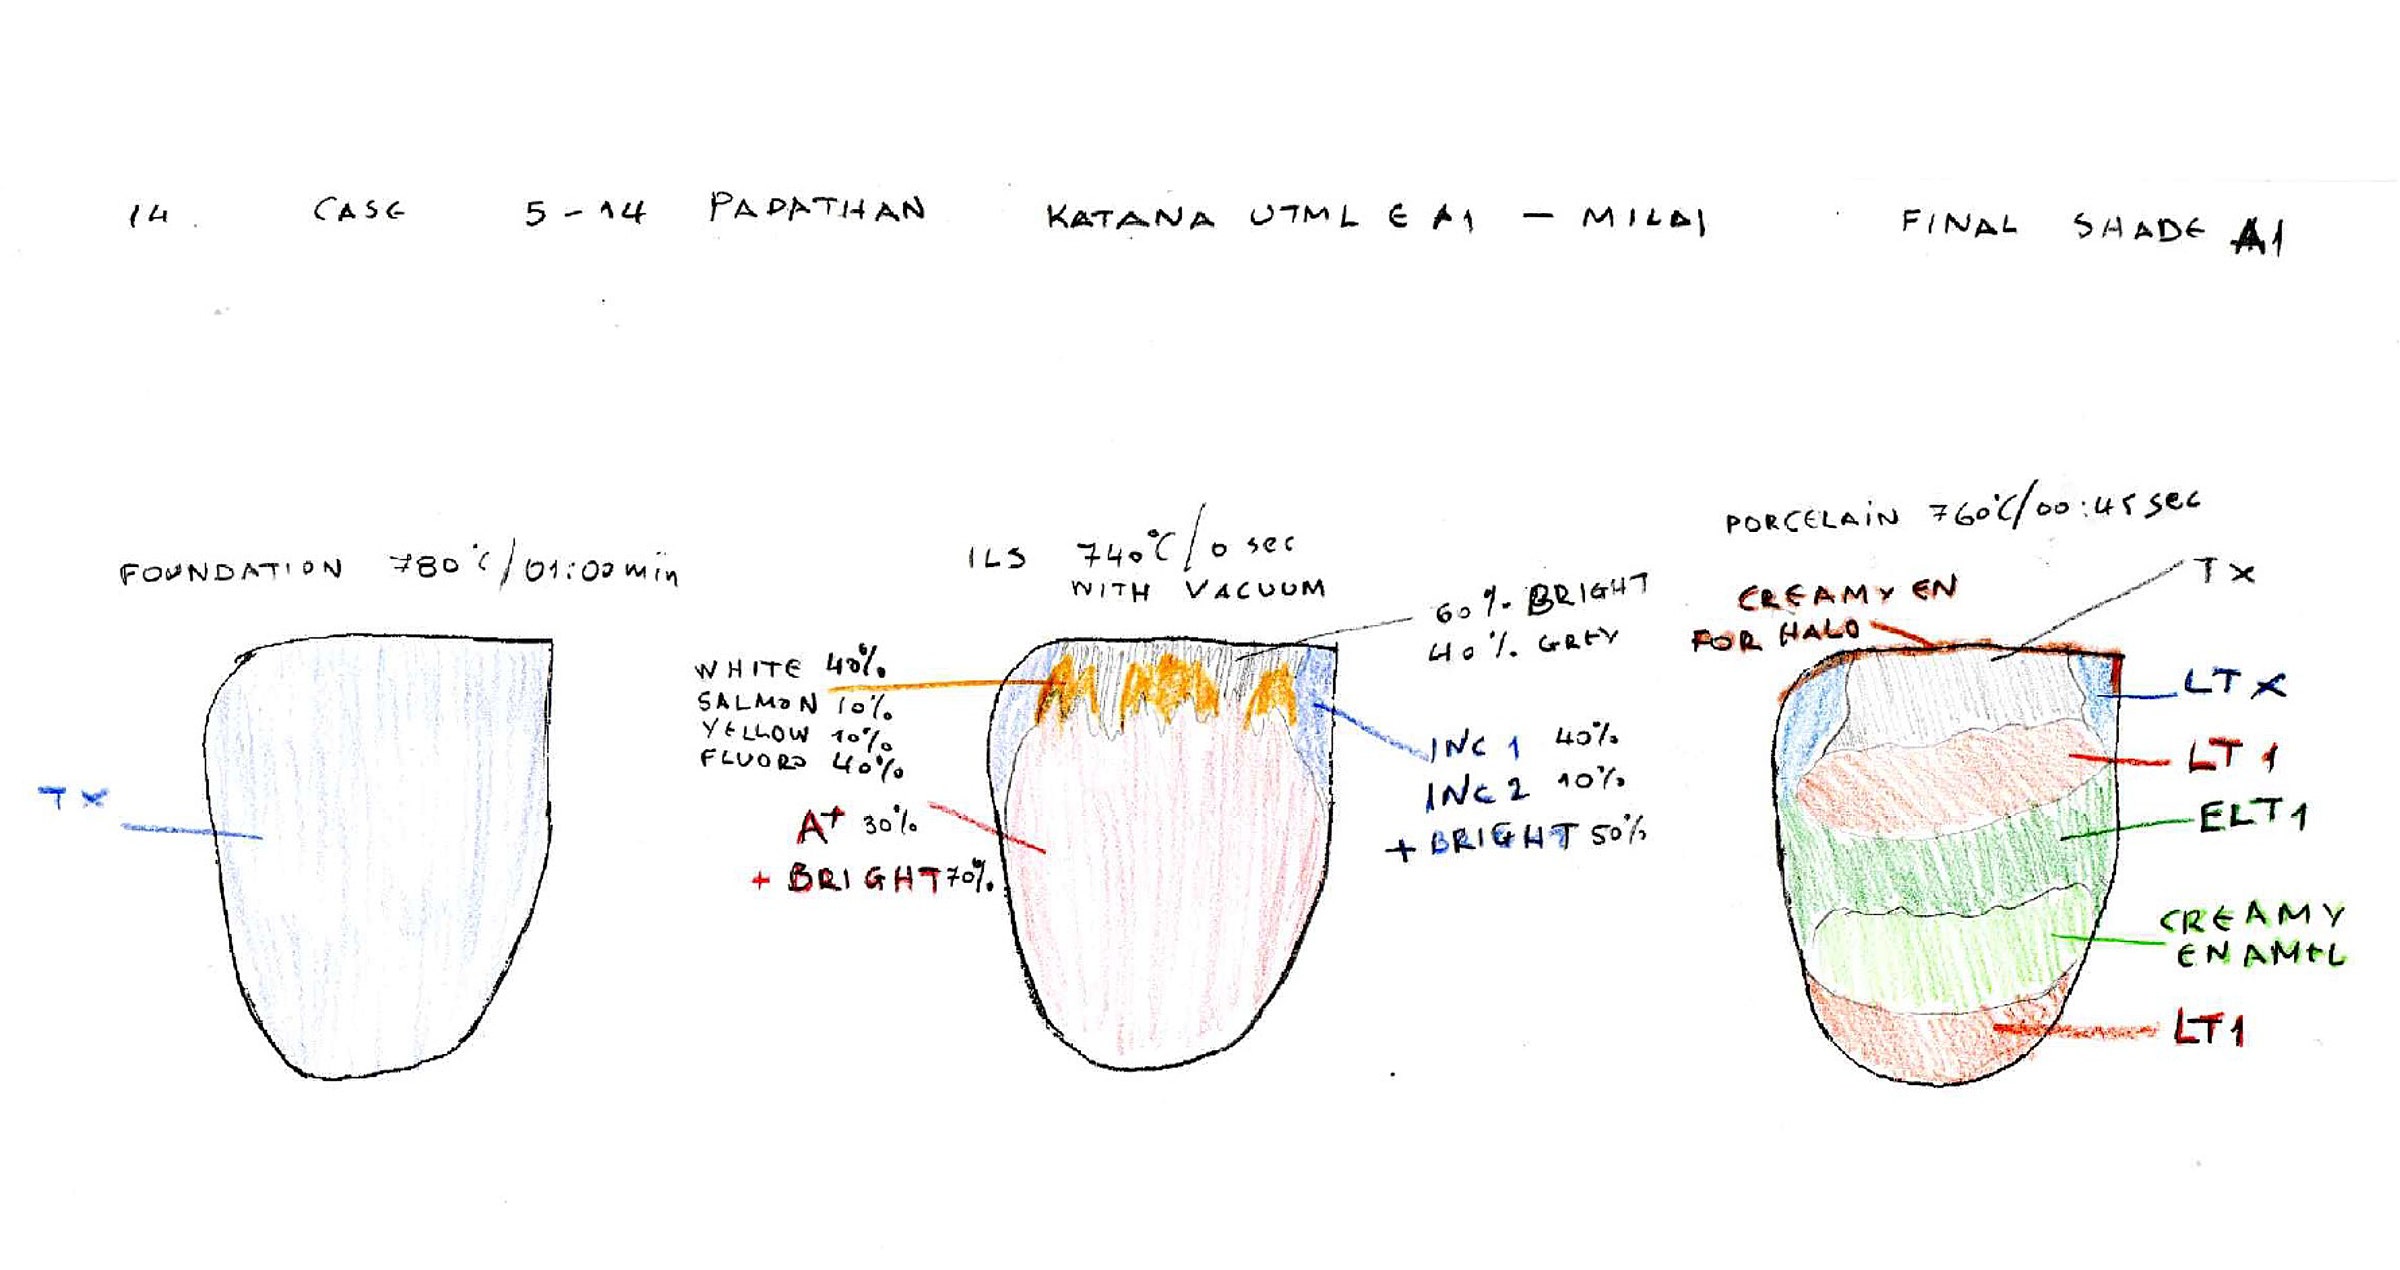
The first stage of framework individualisation is carried out using the Internal Live Stain (ILS) technique (Chroma map 1). At this stage, the zirconia framework is considered the dentinal core of the restoration. The technique is simple to apply, provides an immediate visual effect and is particularly suitable for mirror-image tooth groups as well as white and pink aesthetic rehabilitations (Figs. 7 and 8).
Chroma map 1. Initial internal staining planned.
Fig. 7. Dots of internal stains applied to visualize the planned ILS procedure.
Fig. 8. Planned distribution of the internal stains.
The initial application aims to increase the chroma of the zirconia, while maintaining a high value in the incisal third. The high value of KATANA Zirconia YML helps preserve the overall brightness of the restoration after subsequent micro-layering with CERABIEN MiLai.
The Globule Painting technique used consists of three stages: application, shading and inspection. It also offers a modular approach, allowing additional applications whenever a higher level of individualisation is required.
At this stage, only the deeper optical effects should be reproduced with internal stains. Incisal Blue 2 is used to create opalescence, A+ to increase chroma, and Salmon Pink together with Tissue Red to characterise the gingival tissues (Figs. 9a to c). The internal effects are then assessed before firing. After firing, the colours retain their appearance (Fig. 10), allowing the technician to proceed directly to the micro-layering stage.
Fig. 9a. Incisal Blue 2 applied to the incisal area.
Fig. 9b. A+ applied to increase chroma.
Fig. 9c. Salmon Pink and Tissue Red applied to characterise the gingival tissues.
Fig. 10. Framework after firing following the initial internal staining.
Chroma map 2. Comparison of the planned and completed internal staining.
MICRO-LAYERING
After internal staining, the restoration is ready for micro-layering with CERABIEN MiLai. Depending on the effects to be reproduced and the space provided by the CAD design, translucent, opalescent and lustre porcelains can be used to reproduce the enamel layer. Opaque dentin porcelains, used individually or in combination, can be applied in the cervical and middle thirds or to create a more opaque mamelon effect.
The build-up follows a defined sequence (Layering map 1). CCV2 is applied to maintain translucency while increasing chroma (Fig. 11). LT1 is serves as the main lustre porcelain in the middle third (Fig. 12), while E2 is used as a transition dentin in the incisal area and provides the basis for the subsequent effects (Fig. 13).
Layering map 1. Overview of the planned micro-layering procedure.
Fig. 11. CCV2 applied to maintain translucency while increasing chroma in the cervical area.
Fig. 12. LT1 applied as the principal lustre porcelain in the middle third.
Fig. 13. E2 applied as transition dentin in the incisal area.
To enhance opalescence while maintaining translucency, Aqua Blue 2 is applied to the incisal area (Fig. 14). Value Liner 1 is then applied within the E2 layer, while Aqua Blue 2 is placed over the incisal edge to increase the contrast of the mamelons (Fig. 15).
Fig. 14. Aqua Blue 2 applied to enhance opalescence.
Fig. 15. Value Liner 1 and Aqua Blue 2 applied to increase mamelon contrast.
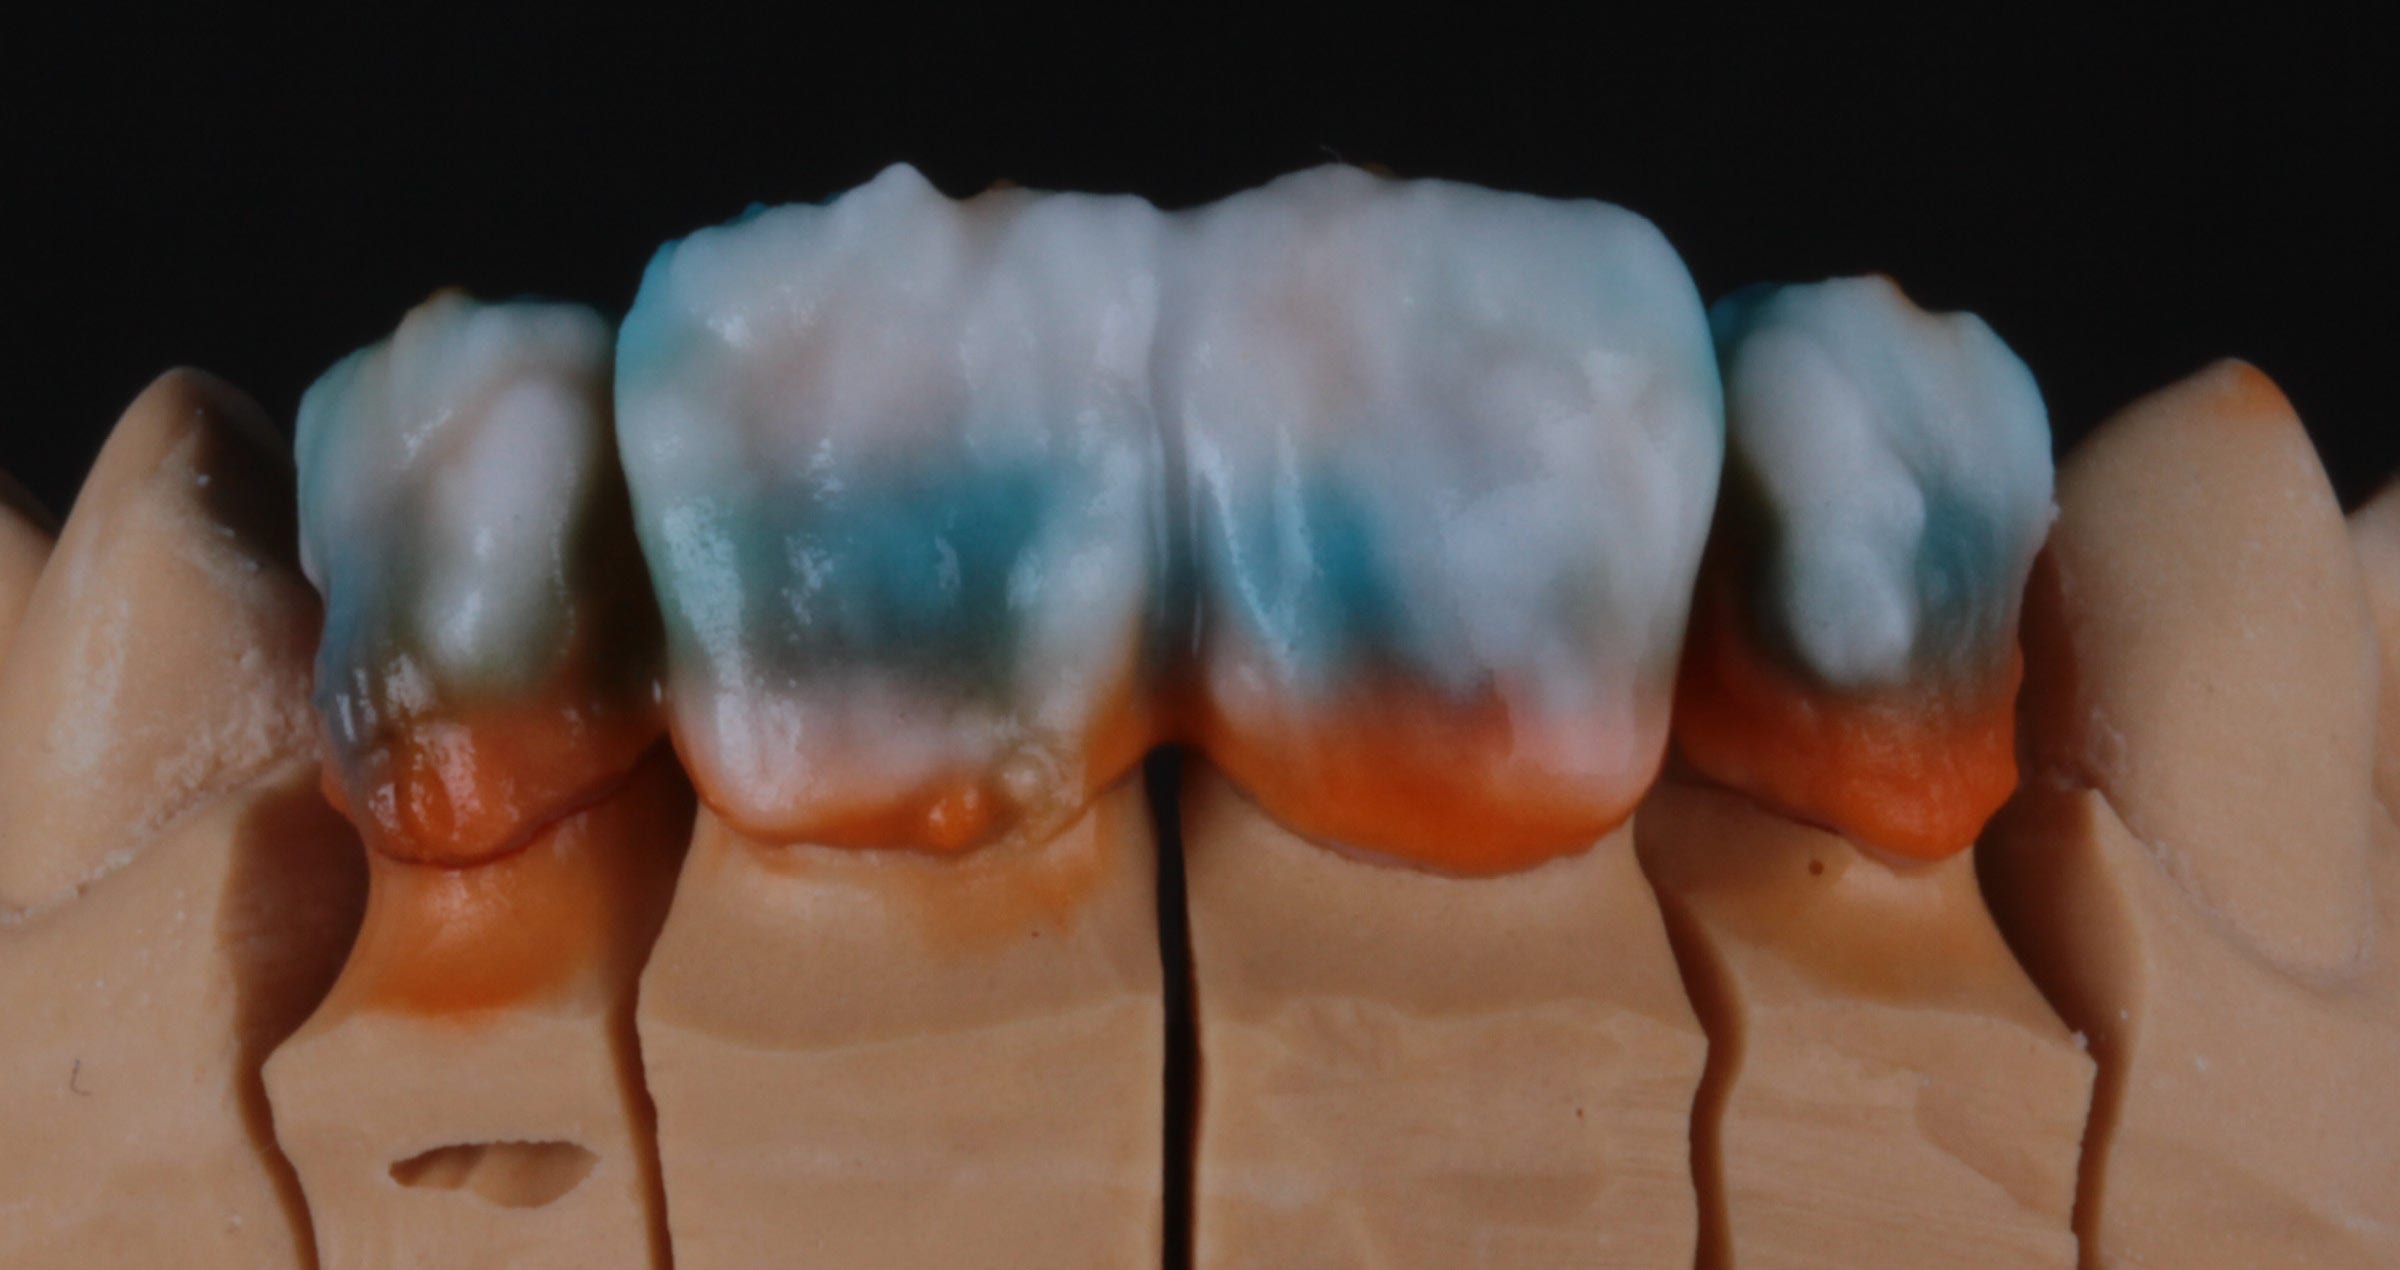
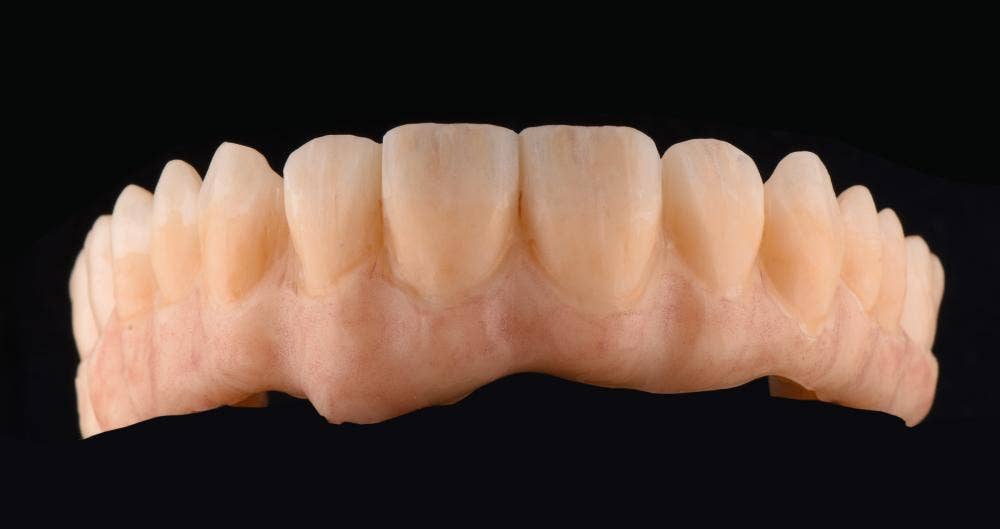
The basic morphology is completed with a further application of LT1, filling the transition between the cervical and incisal areas (Fig. 16). For the gingival portion of the restoration, Tissue 5 is used to reproduce the deeper reddish areas, while Tissue 6 is applied to the superficial alveolar tissues (Fig. 17). After firing, the optical effects created by the internal staining and micro-layering become clearly visible (Fig. 18).
Fig. 16. LT1 applied to complete the transition between the cervical and incisal areas.
Fig. 17. Tissue 5 and Tissue 6 applied to reproduce the gingival tissues.
Fig. 18. Restoration after firing following the micro-layering procedure.
ILS ADJUSTMENT
One of the strengths of the ILS technique is its modularity. Multiple effects can be applied during the initial characterisation, or the firing cycles can be separated to allow additional effects to be added later. Since the internal stains are designed to remain stable during firing and the internal stains contain no internal flux, further characterisation can be carried out without compromising the previous application.
Another advantage is the immediate appearance of the applied effects. This allows the technician to assess the colour distribution directly during application and compare the result with the desired outcome. The colour stability of the internal stains after firing also provides excellent control throughout the procedure. The appearance observed before firing closely corresponds to the fired result, making it possible to verify the characterisation before the restoration is returned to the furnace. This can be particularly useful when digital shade-matching systems, such as photography or spectrophotometry, are used.
Before applying a second layer of internal stains, the fired surface should be refined with fine diamond burs to obtain a smooth surface for the stains (Fig. 19). At this stage, the superficial enamel effects are refined by reinforcing selected characterisation effects, enhancing opalescence and adding localised spots (Chroma map 3).
In the present case, a mixture of White and Mamelon Orange 2 (4:1) was applied to enhance the mamelons. Incisal Blue 2 was then placed adjacent to the mamelons to enhance the contrast.
Chroma map 3. Map visualizing the planned ILS adjustment.
Fig. 19. Refinement of the framework surface before the second application of internal stains.
FINAL LAYERING
The final layering stage is used to refine both the morphology and the enamel effects using lustre and enamel porcelains. At this stage, all areas characterised with ILS should be covered with ceramic.
LT1 can be used to complete the cervical and middle thirds where no further increase in chroma is required while maintaining the value of the restoration. At the same step, LTx is applied from the middle third towards the incisal area to increase translucency and create a lower-value effect in the incisal region (Fig. 20). ELT1 is then used to refine the morphology and reproduce the natural contrast of enamel by creating the impression of greater enamel thickness in the proximal areas. For the gingival tissues, Tissue 5 is applied to compensate for shrinkage between the teeth and in the deeper areas, while Tissue 1 is used to reproduce the translucent appearance of the superficial gingival tissues (Fig. 21).
Fig. 20. Application of LT1 and LTx during the final layering stage.
Fig. 21. Completed enamel and gingival layering.
SURFACE TEXTURE AND FINISHING
After firing the enamel layer, the surface texture is refined using diamond burs of different shapes to reproduce a natural surface morphology (Fig. 22). Before self-glazing, gold powder can be applied to highlight the surface texture and facilitate its evaluation (Fig. 23).
Fig. 22. Surface texture reproduced with rotary instruments.
Fig. 23. Gold powder applied to highlight the surface texture before self-glazing.
Self-glazing enhances the quality and compactness of the porcelain while preserving the natural concavities and convexities of the surface texture. Following glazing, the surface can be refined mechanically using ceramic polishing rubbers to achieve the final polish.
The restoration can be evaluated under different lighting conditions to assess the optical properties of KATANA Zirconia YML (Fig. 24), the micro-layering effects (Fig. 25) and the surface texture. The final result demonstrates the harmony between the white and pink aesthetics (Fig. 26).
Fig. 24. Transmitted-light view revealing the optical properties of the restoration.
Fig. 25. Micro-layering effects visible in the finished restoration.
Fig. 26. Final white and pink aesthetic result.
FINAL REMARKS
This case demonstrates how controlled internal characterisation and selective micro-layering can be used to preserve and enhance the optical properties of a zirconia framework. By combining accurate framework design with minimal ceramic application, highly natural white and pink aesthetics can be achieved in a predictable and efficient workflow.
UNCOMPROMISED.
UNMATCHED.
YOURS.