Clinical case - Composite restoration in less than 10 minutes

By Dr Adham Elsayed


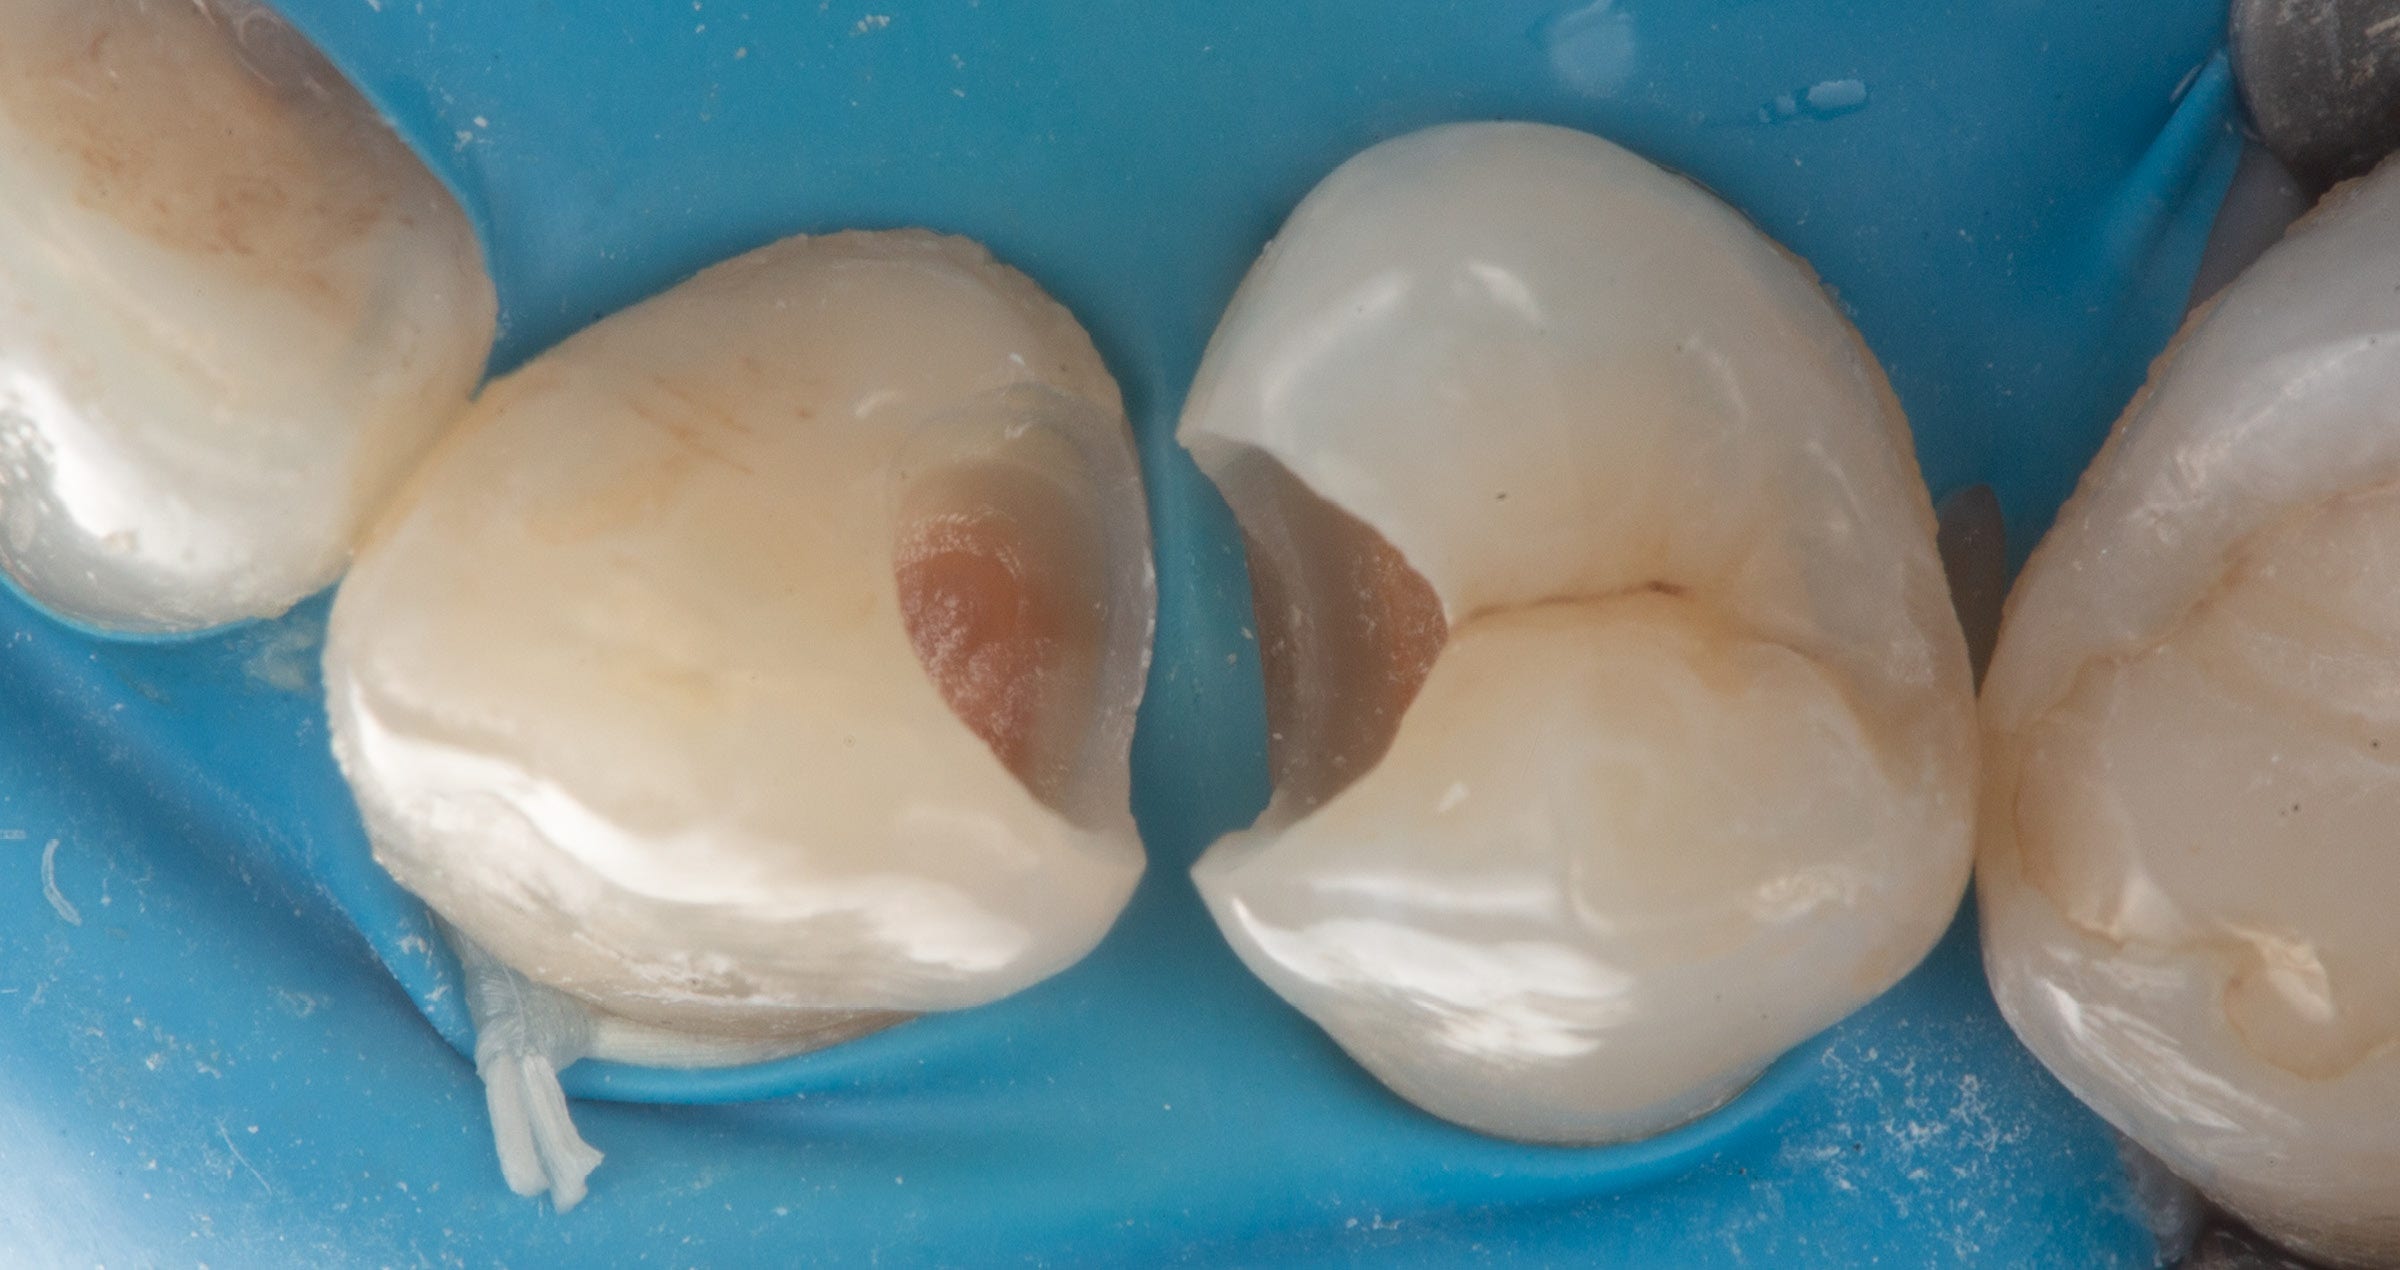
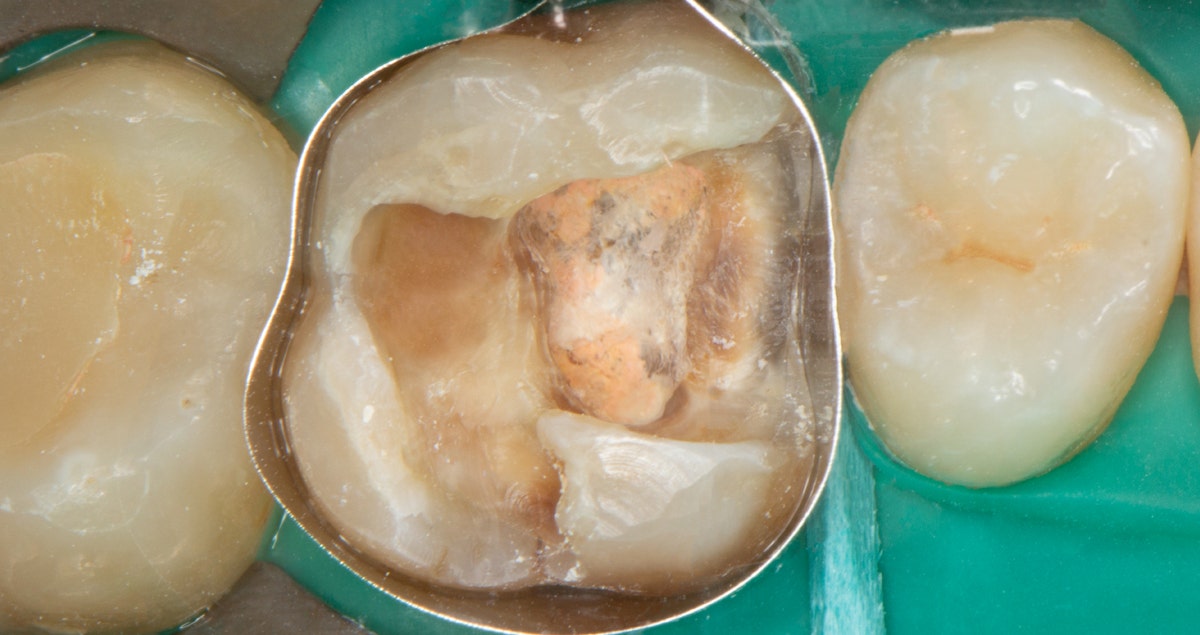
This video explains the concept of doing class I restorations in less than 10 minutes.


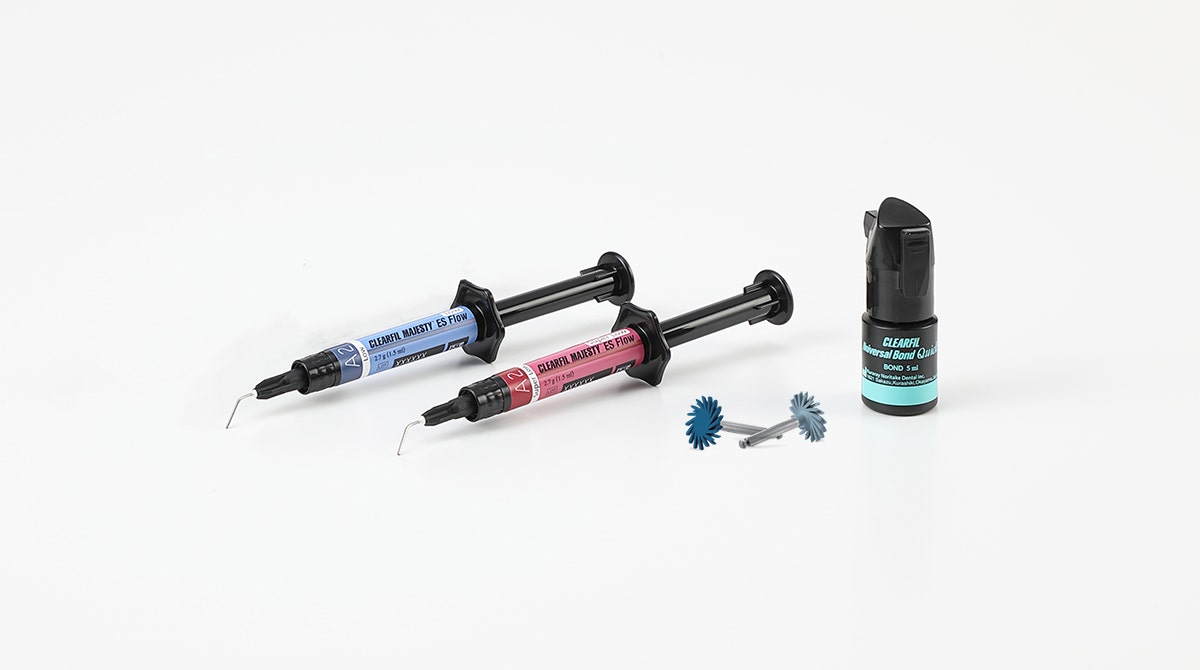
Dr. Elsayed uses Clearfil Majesty ES Flow, Clearfil Universal Bond Quick and Clearfil Twist Dia and shows one of the advantages of flows over conventional composites. Using stamp technique (optional), fast and easy restorations can be done using Clearfil Universal Bond Quick (no waiting time) and different viscosities of flows. This is very practical for composite restorations in the molar area.


Clinical case - Single crown on 11

By Dr Alessandro Devigus


Close up of insufficient crown on tooth 11.


After removal of old crown – discolored stump (endo treatment).


Try-in of the crown after sintering – no intrinsic fluorescence.


Try-in of the crown after glazing.


Try-in of the crown after glazing under cross polarized light to check the shade match.


Try-in of the crown after staining under cross polarized light to check the shade match.


Retraction cord in situ for adhesive cementation with PANAVIA™ V5.


Adhesive cementation using PANAVIA™ V5 opaque to mask dark stump.


Control after 1 week.


Control after 1 week – cross polarized light to check shade.


Control after 1 week – fluorescence check.


FINAL SITUATION


Dentist:


Dr Alessandro Devigus received his degree from Zurich University, Switzerland, in 1987. Since 1990 his working in his own private practice with a focus on CAD CAM and Digital Dentistry. He is also CEREC Instructor at the Zurich Dental School.


Dr Alessandro Devigus is an active member of the European Academy of Esthetic Dentistry (EAED), founder of the Swiss Society of Computerized Dentistry, Neue Gruppe member, ITI fellow and speaker.


Dr Devigus is editor-in-chief of the International Journal of Esthetic Dentistry, author of various publications and an international lecturer.


Clinical case with CLEARFIL MAJESTY™ ES-2

By Drs. Mart Ramaekers


A 20-year-old patient was dissatisfied with her discolored composite restorations on her maxillary central incisors and the right lateral incisor. The original restorations had been placed after an accident with traumatic dental injuries approximately five years ago. We went through all available options that would enable us to improve the aesthetics of her anterior teeth and finally opted for replacement of the existing restorations by new direct restorations made of composite resin.


Prior to the restorative procedure, a home bleaching procedure was carried out with Opalescence 10% (Ultradent). In addition, a palatal silicon index was produced to record the shape and morphology of the existing restorations and dentition.


Initial situation

Frontal view of the initial situation.

Lateral view: The discolorations are particularly visible on the maxillary right central and lateral incisor.

Close-up view of the upper anterior teeth.

The existing restorations were removed after the administration of local anesthesia. Then, labial and palatal bevels were created, followed by sandblasting of the prepared tooth structure with alumina (50 μm). Hereafter, the enamel was etched for 30 seconds (K-Etchant Syringe, Kuraray Noritake Dental), before the primer and bond of CLEARFIL™ SE BOND (Kuraray Noritake Dental) were used according to the instructions.

Build-up of the palatal walls with a first increment of ‘enamel’ composite (CLEARFIL MAJESTY™ ES-2 Premium A2E, Kuraray Noritake Dental) using the silicon index.

Creation of the mesial and distal marginal ridges in A2E enamel composite. The procedure was facilitated by the vertical placement of sectional matrices (Contact Matrices Stiff Flex Large, Danville) in the interproximal space.

Creation of the dentin core and the dentinal mamelons by placement of an opaque composite increment (CLEARFIL MAJESTY™ ES-2 Premium, A2D). It increases the opacity in the middle third of the restoration.

Filling of the space between the mamelons with translucent composite (CLEARFIL MAJESTY™ ES-2 Premium, Translucent Clear).

Labial finishing of the restorations with a layer of semi-translucent composite (CLEARFIL MAJESTY™ ES-2 Premium, A2E).

Application of glycerin gel on top of the last layer of composite to prevent formation of an oxygen inhibited layer during the final light-curing procedure. Final contouring and polishing were performed by using red (fine) and yellow (x-fine) finishing diamonds followed by high gloss polishing with CLEARFIL™ TWIST DIA (Kuraray Noritake Dental).


Final situation

Frontal view of the final situation.

Lateral view: No shade differences or restoration margins are visible.

Close-up view of the new restorations on the upper anterior teeth.


Ceramist:

Drs. Mart Ramaekers

Academic education
2002 - 2007   Tandheelkunde, Radboud Universiteit Nijmegen

Non-academic education
2013 - 2014   Academy of Reconstructive Dentistry, Beuningen
2019              Biomimetic Dentistry, Los Angeles

Career
2008 - 2013    Mondzorg Jekerdal Maastricht
2013 - 2015    De Drietand Maastricht
2009 - 2020    Amalia Kliniek Kerkrade
2020 - now      Espenbos Kliniek Cadier en Keer


Materials used: Kuraray Noritake Dental: CLEARFIL™ SE BOND 2, K-Etchant Syringe, CLEARFIL MAJESTY™ ES-2 Premium Enamel A2E, CLEARFIL MAJESTY™ ES-2 Premium Dentin A2D , CLEARFIL MAJESTY™ ES-2 Premium Translucent Clear and CLEARFIL™ TWIST DIA. Heavy Putty (Provil Novo, Heraeus Kulzer), Glycerine gel (K-Yelly Johnson&Johnson), Rubberdam non-latex Heavy (Sigma), Contact Matrices Stiff Flex Large (Danville), Optragate Regular (Ivoclar)


Clinical case with direct composite applications in anterior teeth

By Dr. PhD. Jusuf Lukarcanin


Is it possible to fulfil high aesthetic demands by restoring anterior teeth with composite resin? It is – provided that several important factors are respected. One of these factors is the faithful reproduction of the natural tooth morphology, which has a decisive impact on aesthetics and function. Moreover, success is determined by the selection of the right shades of high-quality composite resin and their purposeful combination using proper layering techniques.


Introduction

The aesthetic appearance of direct anterior restorations is affected by proper shade selection on the one hand and the creation of a natural shape and texture on the other1. Hence, the dental practitioner’s own artistic skills play a decisive role. According to Fahl, information about the tooth morphology and function, and the optical properties of the tooth should be taken into consideration when the most suitable restorative material and shade are selected2.


These minimally invasive composite restorations are no longer a temporary solution for the anterior region. Instead, they are regarded as an adequate alternative to indirect restorations, as they are both durable and able to closely imitate the natural tooth structure34.


Clinical case example 1

This 45-year-old female patient presented with a diastema and a disproportion in the size and shape of her maxillary central incisors (Fig. 1). In the first step, a detailed case history was taken and an intra-oral examination was carried out. Subsequently, the initial situation was recorded by taking intra-oral photographs, which would allow for a computer-aided morphological evaluation and treatment planning (Fig. 2).

Fig. 1: Pre-operative image.

Fig. 2: Digital mock-up.

The patient’s second visit started with a professional tooth cleaning procedure followed by isolation of the maxillary anterior teeth. Afterwards, the tooth shade was determined and appropriate composite shades were selected. In this case, the shades A2E, Amber Translucent and A3D of CLEARFIL™ Majesty ES-2 Premium (Kuraray Noritake Dental, Japan) appeared to be most suitable. In addition, a mock-up was created using mock-up resin in order to produce a silicone key.


Opting for a minimally invasive procedure, no mechanical tooth preparation using drills was performed after removal of the mock-up. Instead, the enamel was merely etched with 35% phosphoric acid gel (K-Etchant, Kuraray Noritake Dental) to increase the surface roughness. After rinsing and drying, the adhesive agent (CLEARFIL™ Universal Bond, Kuraray Noritake Dental) was applied to the etched surfaces. Composite layering started with the build-up of palatal shells with the aid of the silicone key. Following light-curing of the shells, a small amount of composite in the dentin shade A3D was applied to the proximal surfaces using a thin spatula and a brush. The aim was to reduce light transmission in the area of the dentin core. The restoration was completed with a combination of the composite shades A2E (enamel) and Amber Translucent, which were applied using a modeling brush.


Finishing and polishing was accomplished using flexible rubber polishing discs containing diamond particles (CLEARFIL™ Twist DIA, Kuraray Noritake Dental) with a low-speed handpiece. No additional finishing and contouring was necessary due to the use of a brush during layering, which ensured the creation of a natural shape and surface texture. Figure 3 shows the outcome of the restoration procedure.


Fig. 3: Treatment outcome immediately after polishing.

Oral hygiene training was provided and follow-up examinations were performed after three, six and twelve months (Fig. 4). Healthy hard and soft tissue conditions were observed during these visits.

Fig. 4: Clinical situation at the one-year recall.

Clinical case example 2

This 30-year-old female patient had a diastema, irregularly shaped anterior teeth and showed signs of abrasive tooth wear (Fig. 5). Following a detailed anamnesis and intra-oral examination, the tooth shade was determined and the composite CLEARFIL™ Majesty ES-2 Premium selected in the monochromatic shade Universal A1.

Fig. 5: Pre-operative clinical situation.

Following the isolation of the working field, 35% phosphoric acid etchant (K-Etchant) was applied to the enamel of all teeth between the maxillary right canine and the maxillary left first molar. The surfaces were then treated with a universal bonding agent (CLEARFIL™ Universal Bond) as recommended by the manufacturer. Modeling was carried out with a thin spatula and a modeling brush for composite. Neither a silicone key nor any wetting or modeling resin were used in the procedure. For polishing, the flexible polishing discs CLEARFIL™ Twist DIA were used at low rotational speed. Thanks to the use of the modeling brush, no additional finishing with diamond-coated instruments was necessary. Figures 6 and 7 show the final restoration at baseline and one week after completion of the treatment.


Fig. 6: Treatment outcome at the day of the restorative procedure.


Fig. 7: Clinical situation after one week.

This patient also received oral hygiene training and presented for recalls three, six and twelve months after the treatment. The patient maintained an exemplary oral hygiene behaviour, so that it came as no surprise that the soft tissues were healthy and the restorations were in a perfect condition after one year (Fig. 8).


Fig. 8: Clinical situation one year after the restorative treatment.


Discussion

Nowadays, direct composite restorations are becoming increasingly popular. Especially for young patients and all those who do not want to sacrifice large amounts of healthy tooth structure, the technique is an ideal treatment option5. In many cases, aesthetic outcomes are possible without mechanical tooth preparation, but a selective etching procedure only6.


The clinical lifetime of these restorations depends on many factors. Important prerequisites for high-quality outcomes include the selection of a suitable composite material with the required surface hardness, appropriate finishing and polishing, a good oral hygiene behaviour, and proper maintenance measures during periodical follow-up visits. As a matter of course, the manual skills of the dental practitioner and the use of selected materials according to the manufacturer’s instructions for use also have a direct impact on the long-term success of the restorations789. A user’s inability to meet one of these requirements and failure to carry out all working steps correctly may have a direct impact on the quality of the restoration.


Conclusion

Composite resin is a popular material class for the production of aesthetic anterior restorations die to their straightforward use and rapid application, good repair options and high aesthetic potential when used properly . The two case examples illustrate that a treatment with composite resin is often the best treatment option when a non-invasive procedure completed within a single visit is desired.


About the author

Dr. Jusuf Lukarcanin is a Certified Dental Technician (DCT) and a Doctor of Dental Science (DDS). He studied dentistry at the Ege University Dental Faculty in Izmir, Turkey, where he obtained a Master‘s degree in 2011. In 2017, he received a Ph.D. degree from the Department of Restorative Dentistry of the same university. Between 2012 and 2019, Dr. Lukarcanin was the head doctor and general manager at a private clinic in Izmir. Between 2019 and 2020, he worked at Tinaztepe GALEN Hospital as a Restorative Dentistry specialist, between 2020-2022 he worked at MEDICANA International Hospital Izmir as a Restorative Dentistry specialist. Currently he is an owner of a private clinic for aesthetics and cosmetics in Izmir.


References

1. Heymann HO (1987) The artistry of conservative esthetic dentistry Journal of the American Dental Association 115(Supplement)14-23.

2. Fahl N Jr (2012) Single-shaded direct anterior composite restorations: A simplified technique for enhanced results Compendium of Continuing Education in Dentistry 33(2) 150-154.

3. Barrantes, J. C. R., Araujo Jr, E., & Baratieri, L. N. (2014). Clinical Evaluation of Direct Composite Resin Restorations in Fractured Anterior Teeth. Odovtos-International Journal of Dental Sciences, (16), 47-61.

4. Vargas M (2011) Clinical techniques: Monocromatic vs. polycromatic layering: How to select the appropriate technique ADA Professional Product Review 6(4) 16-17.

5. Ferracane, J. L. (2011). Resin composite—state of the art. Dental materials, 27(1), 29-38.

6. Norling, N. A. (2010). Combining “prep-less” and conservatively prepared veneers to correct enamel defects and asymmetry. Journal of Cosmetic Dentistry, 2010.

7. Ölmez, A., & Kisbet, S. (2012). Kompozit rezin restorasyonlarda bitirme ve polisaj işlemlerindeki yeni gelişmeler. Acta Odontologica Turcica, 30(2), 115-22.

8. Senawongse, P., & Pongprueksa, P. (2007). Surface roughness of nanofill and nanohybrid resin composites after polishing and brushing. Journal of Esthetic and Restorative Dentistry, 19(5), 265-273.

9. Giacomelli, L., Derchi, G., Frustaci, A., Bruno, O., Covani, U., Barone, A., Chiappelli, F. (2010). Surface roughness of commercial composites after different polishing protocols: an analysis with atomic force microscopy. The open dentistry journal, 4, 191.

10. Hickel, R., Heidemann, D., Staehle, H. J., Minnig, P., & Wilson, N. H. F. (2004). Direct composite restorations. Clin Oral Invest, 8, 43-44.

11. Korkut, B., Yanıkoğlu, F., & Günday, M. (2013). Direct composite laminate veneers: three case reports. Journal of dental research, dental clinics, dental prospects, 7(2), 105.

Clinical Case of KATANA AVENCIA Block and PANAVIA SA Cement Universal

To achieve excellence it is crucial to know the properties of modern materials and their correct clinical procedure. With this premise, surprising clinical results can also be achieved by combining different materials in the same clinical case.


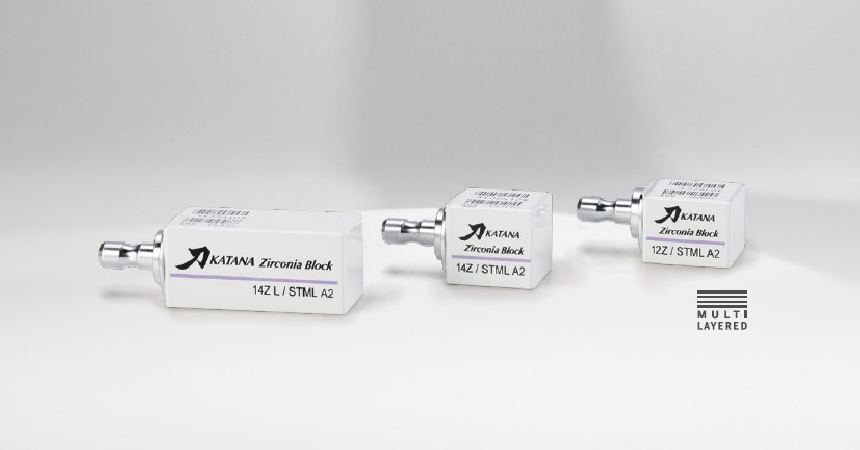
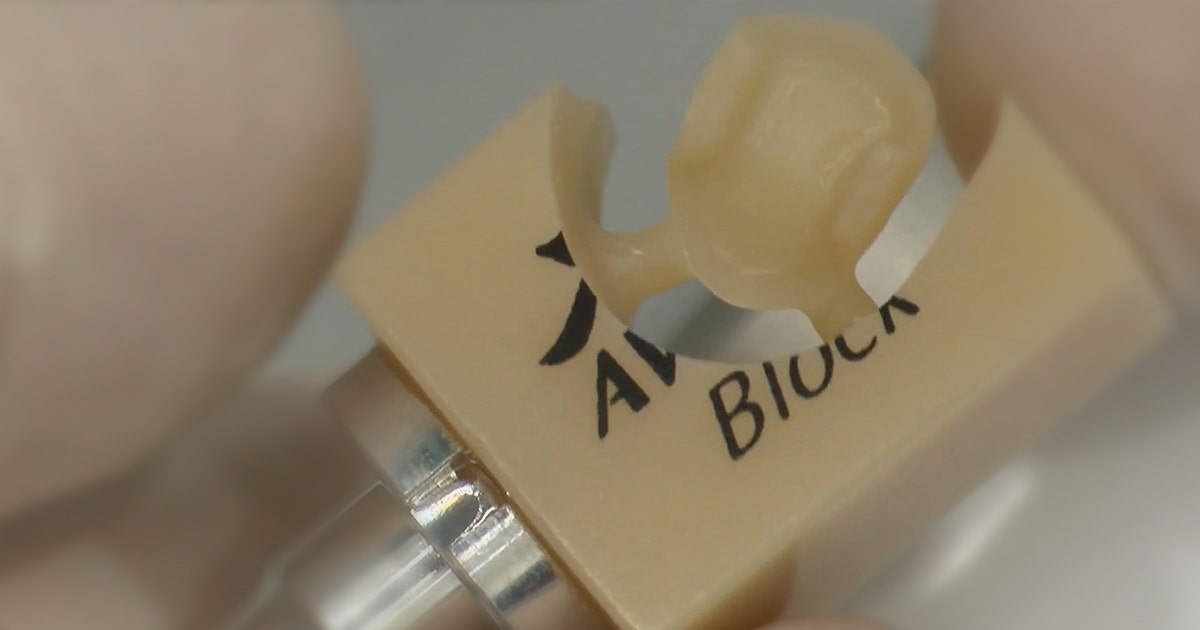
This clinical case follows the aesthetic request of the patient who wanted to solve the pathology concerning the incisors with a direct composite restoration on 2.1 and a KATANATM STML crown on 1.1.


Following the mock-up the patient wanted larger incisor shapes with a strong character. The 2.1 was restored only with the MAJESTYTM ES-2 Classic A2 mass exploiting the extraordinary ability of mimicry that comes from the Kuraray Noritake Dental light diffusion technology - LDT. The restoration on the 2.5 was performed with a CAD/CAM hybrid ceramic block - KATANATM AVENCIATM.


KATANATM AVENCIATM Block was characterized with a staining resin before cementation with the new PANAVIATM SA Cement Universal. PANAVIATM SA Cement Universal includes in its formulation a new type of silane coupling agent – LCSi monomer and this ensures strong and durable chemical bond to glass ceramics and composite resins without pretreatment with silane.


Clinical case - Central incisor veneers with PANAVIA V5

By Irfan Abas
Dental implantologist & restorative dentist

Irfan Abas is a specialist in the field of oral implantology & restorative dentistry and an international speaker on the subject. He has given more than 20 presentations, workshops and live surgery courses throughout the world. TP - a dutch dental magazine, of which he is also editor, has published multiple articles under his name. Another highlight is a publication in the NTvT, in collaboration with Prof. Gert Meijer (Radboud UMC), under whose supervision Abas successfully completed the four-year postdoctoral training Reconstructive Dentistry in 2014. He is also an instructor and lecturer for the AAIE and chair of MINEC Netherlands. Irfan Abas has his own practice in Bussum, the Netherlands (tandartsabas.nl).

A healthy 42 year-old male patient requested reconstruction of his central incisors, which were badly worn.

Pre-Treatment

After producing the mock-up, grooves were prepared through the mock-up.

To fit two lithium disilicate veneers, a preparation of 1 mm was required. After removing the mock-up, the preparation was perfected.

Checking the space using a silicone mold.

Definitive preparation (frontal)

Temporary veneers made from temporary resin based material (Protemp)

Spot-etching before bonding the temporary veneers in place.

A small amount of flowable composite applied to the etched surfaces.

Light curing the entire surface of the temporary veneers.

Finished temporary veneers.

The veneers constructed by the dental technician.

Checking the fit of the veneers

Rubber dam fitted to enable controlled adhesive cementation.

Etching with 35% phosphoric acid K-Etchant Syringe for 10 seconds.

Treatment with selfetching primer PANAVIA™ V5 Tooth Primer (left on for 20 sec.)

Etching of the lithium disilicate veneers with hydrogen fluoride.

Clearfil Ceramic Primer Plus MDP-silane primer applied to the veneers.

Veneers secured to a placement instrument before definitive cementation

PANAVIA V5 Paste applied to the inner surface of the veneer.

PANAVIA V5 Paste spread over the veneer.

Veneer fitted and excess removed.

Light curing (minimum 10 sec.).

Immediately after the adhesive cementation with PANAVIA V5.

Immediately post-op.

Immediately post-op.

Two months post-op.

One year post-op.

One year post-op.

Adhesive cementation of porcelain facings with PANAVIA V5

By Paul de Kok, Amsterdam (KVPA) Periodontic Clinic & ACTA


Picture 1


The Patient
Joris reported to the clinic with two discoloured composite two discoloured class IV composite restorations in tooth 11 and 21 11 and 21 (picture 1). These vital teeth were traumatized in his childhood. He was not satisfied with the aesthetics of the restorations neither with the overall shape and colour of the two teeth. It was therefore decided to make porcelain facings for tooth 11 and 21.


Picture 2


The preparation
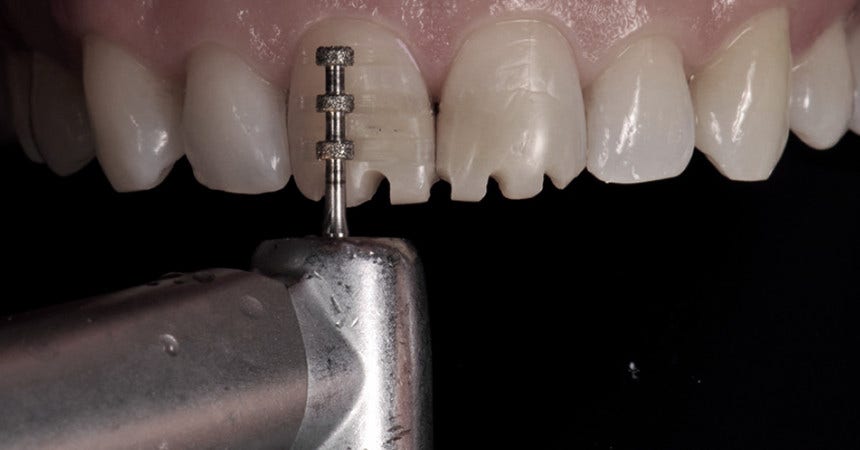
In order to limit the sacrifice of healthy tooth tissue while still creating sufficient space for the porcelain, a preparation was chosen with an incisal reduction of 1.5mm and a buccal reduction of 0.5mm. A so-called depth cutter – a diamond drill with 0.5mm deep recesses – was used to achieve this (picture 2).


Picture 3


To be able to adjust the shape of the mid-line to the new facings, cutting was carried out centrally through the contact. From the distal aspect the contactpoint was remained. The thin shoulder was positioned equi-gingivally, so that a dry operative field could be achieved without damage to the gingiva.


The preparations were then finished using fine drills and polishing discs. The existing, well bonded diamonds composite restorations were left in situ (picture 3).


Picture 4


Since the transparent facings are very thin, the colour of the cut teeth is significant. The colour of the cores was therefore matched using the Natural Die colour guide (picture 4). Finally, impressions were made. Temporary restorations were placed by means of 4 spot etching points and bonding.


Picture 5


Cementation
To combine superior aesthetics with adequate strength, pressed lithium disilicate restorations were chosen for Joris. Prior to cementing the facings, they were tried for size and checked for marginal integrity, contact points, occlusion/articulation and aesthetics. Then the correct cement colour was established by testing the facings with various try-in colours PANAVIATM V5 Universal (A2); Universal (A2) appeared to be the most appropriate colour in Joris’s case. The teeth were then polished with pumice and the facings were cleaned with alcohol, after which the teeth from 14 up to and including 24 were isolate by a rubber dam.
An incisor clamp was placed on the first teeth to be cemented. The facing was tried for fitting once more to ensure that it was free of contact with the rubber dam or the clamp and that the operative field of the preparation was totally dry (picture 5).


Picture 6


The facing was etched with 9% fluoricacid (picture 6) for 20 seconds to achieve micro-mechanical retention.


Picture 7


It was then rinsed with water for 20 seconds before being neutralised in a solution containing ceramic neutralising powder. CLEARFILTM CERAMIC PRIMER PLUS was then applied to the facing. This ensures chemical bonding between the facing and the composite cement thanks to the incorporated silane and MDP. The adjacent teeth were separated by means of a transparent strip, after which the preparation was etched with 35% phosphoric acid (picture 7). TOOTH PRIMERTM was applied after thorough rinsing with water and drying after it had taken effect for 20 seconds.


Picture 8


A thin layer of PANAVIA V5 cement was then applied to the facing. The facing was placed on the preparation with the application of light finger pressure. A microbrush was used to remove the major excess along the margins. The cement of the buccal and palatal aspect was light cured for 5 seconds. A sharp scaler and floss were used to remove the final excess. Glycerine gel was then applied to the outline to avoid oxygen inhibition during curing. The cement was finally light cured from both sides for 20 seconds, the glycerine gel was rinsed away and the margins were finished by means of a composite polishing stone. After placement of the first facing, the rubber dam clamp was moved to the neighbouring tooth so the cementation of the second facing could proceed. This facing was once more tried for fit, pre-treated and cemented in an identical manner (picture 8).


Picture 9


The result
The facings were checked a few weeks later (picture 9). Joris was very satisfied with the aesthetics of his two central incisors. The transitions from tooth to restoration were invisible and the gingiva was healthy.


Picture 10


The transparency, surface structure and gloss are better adjusted to the neighbouring elements and to Joris’s smile (picture 10).


Dentist:


Paul de Kok, Amsterdam Periodontics Clinic

Paul de Kok studied dentistry at the ACTA and is an authorised restorative dentist at the Amsterdam Periodontic Clinic (KvPA), where he treats referred patients with restoration and aesthetic issues. In addition, Paul teaches indirect restorative dentistry at the Oral Functional Anatomy faculty of ACTA as well as conducting research in the Materials Science department. He also delivers lectures about this discipline at both a national and international level.


Dental technician: Eric van der Winden, Oral Design Center Holland


PAUL DE KOK USED CLEARFIL CERAMIC PRIMER PLUS AND PANAVIA V5 FOR HIS CASE STUDY