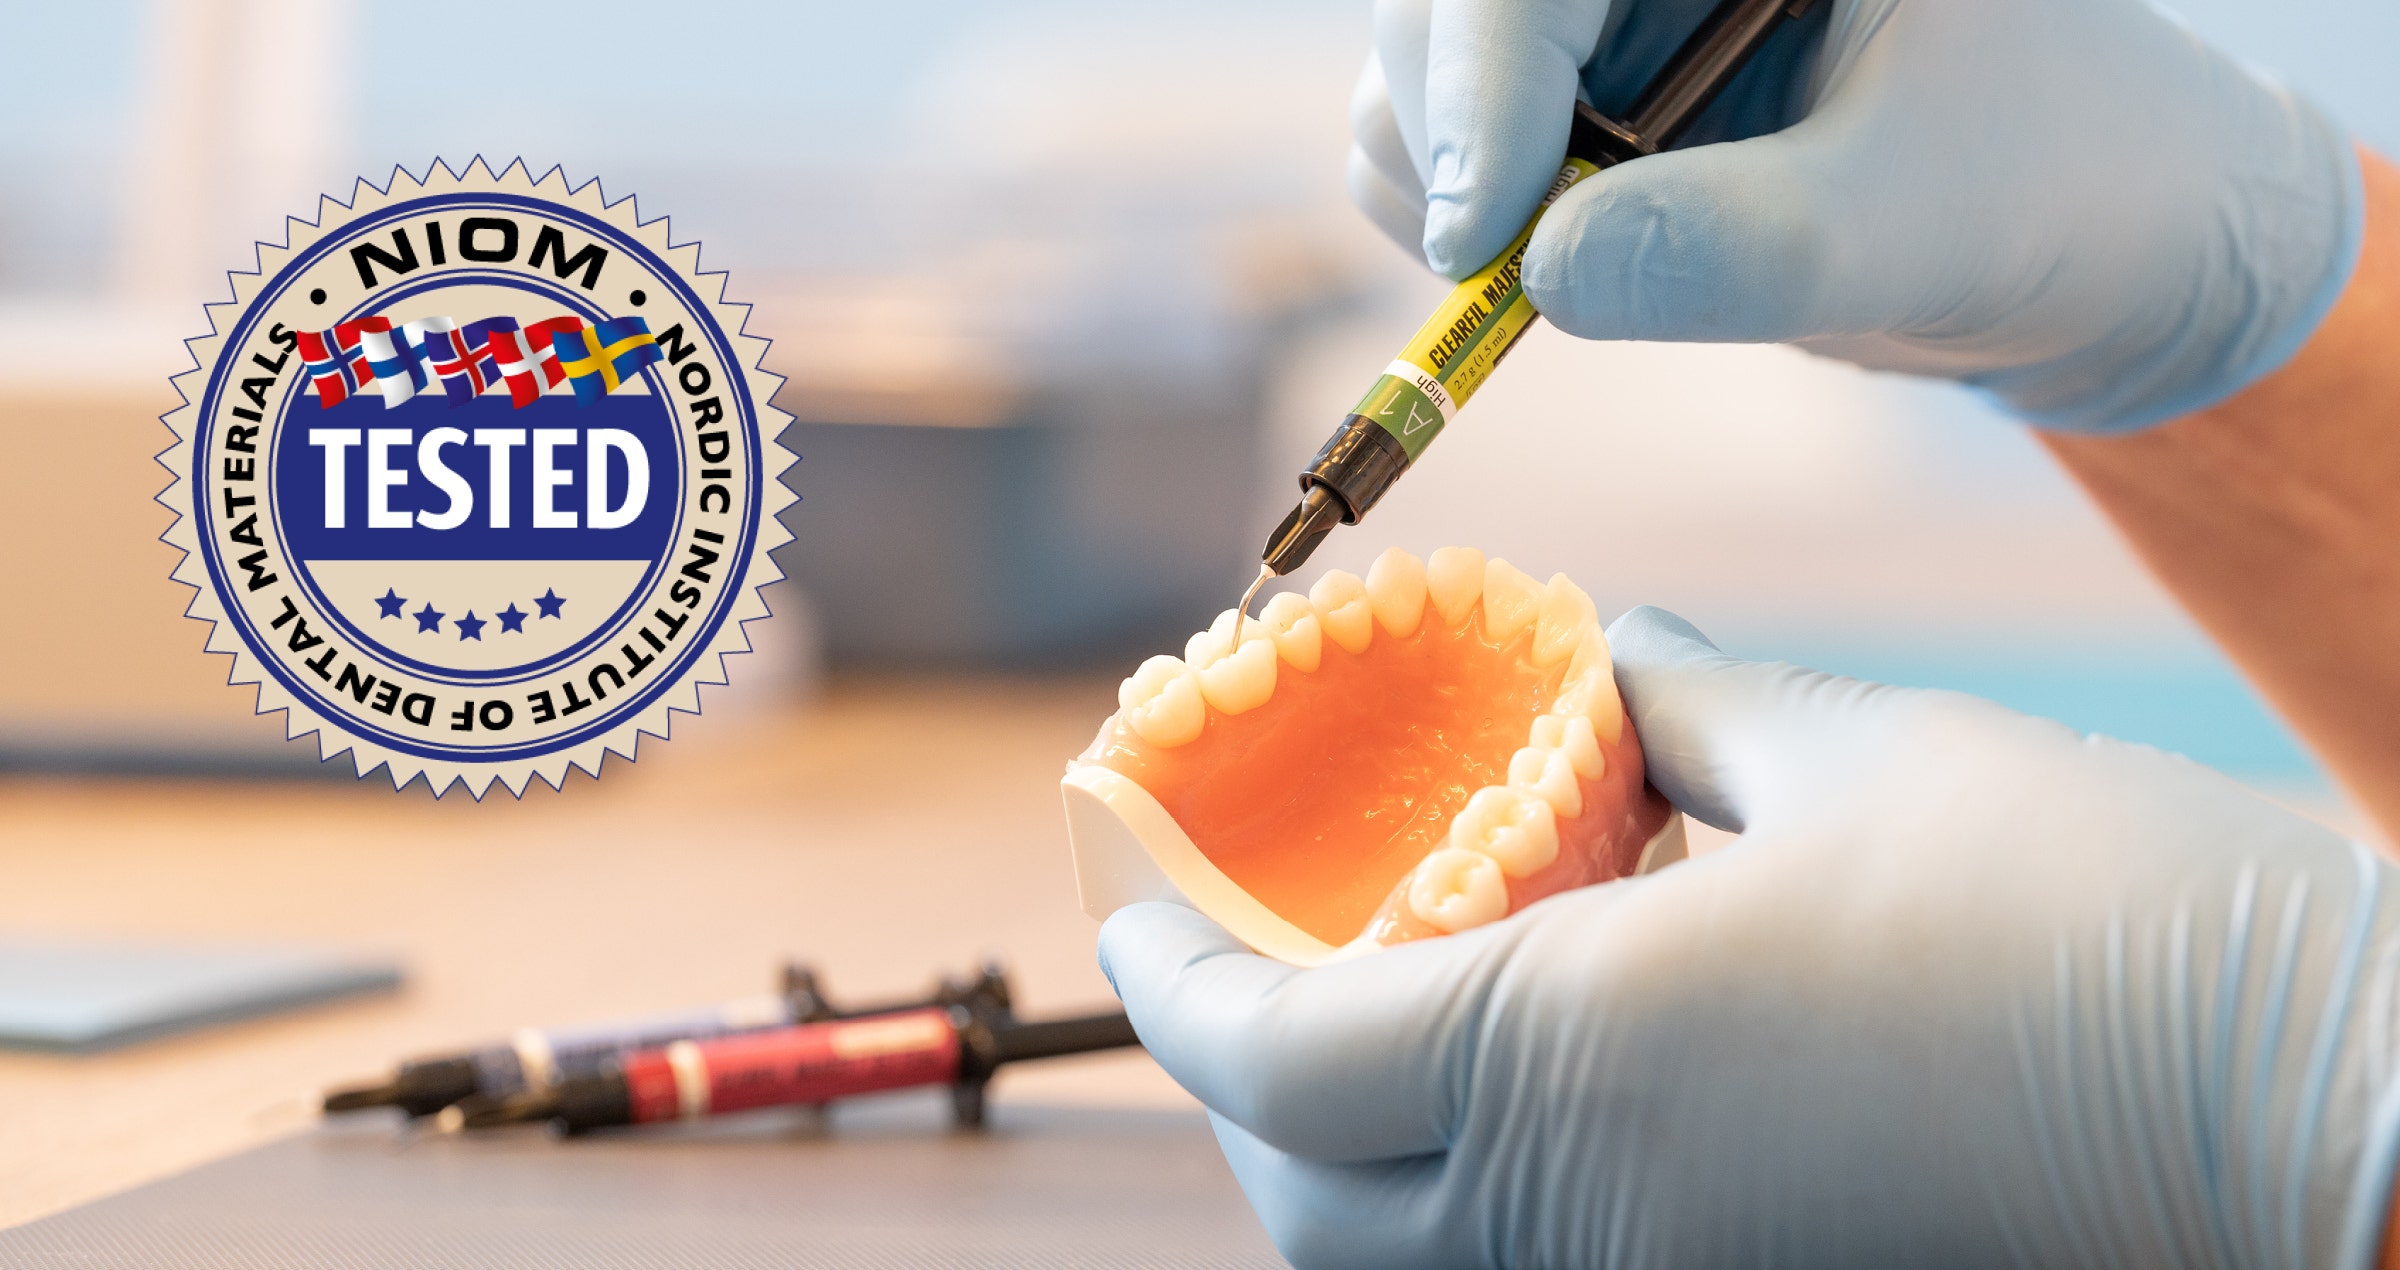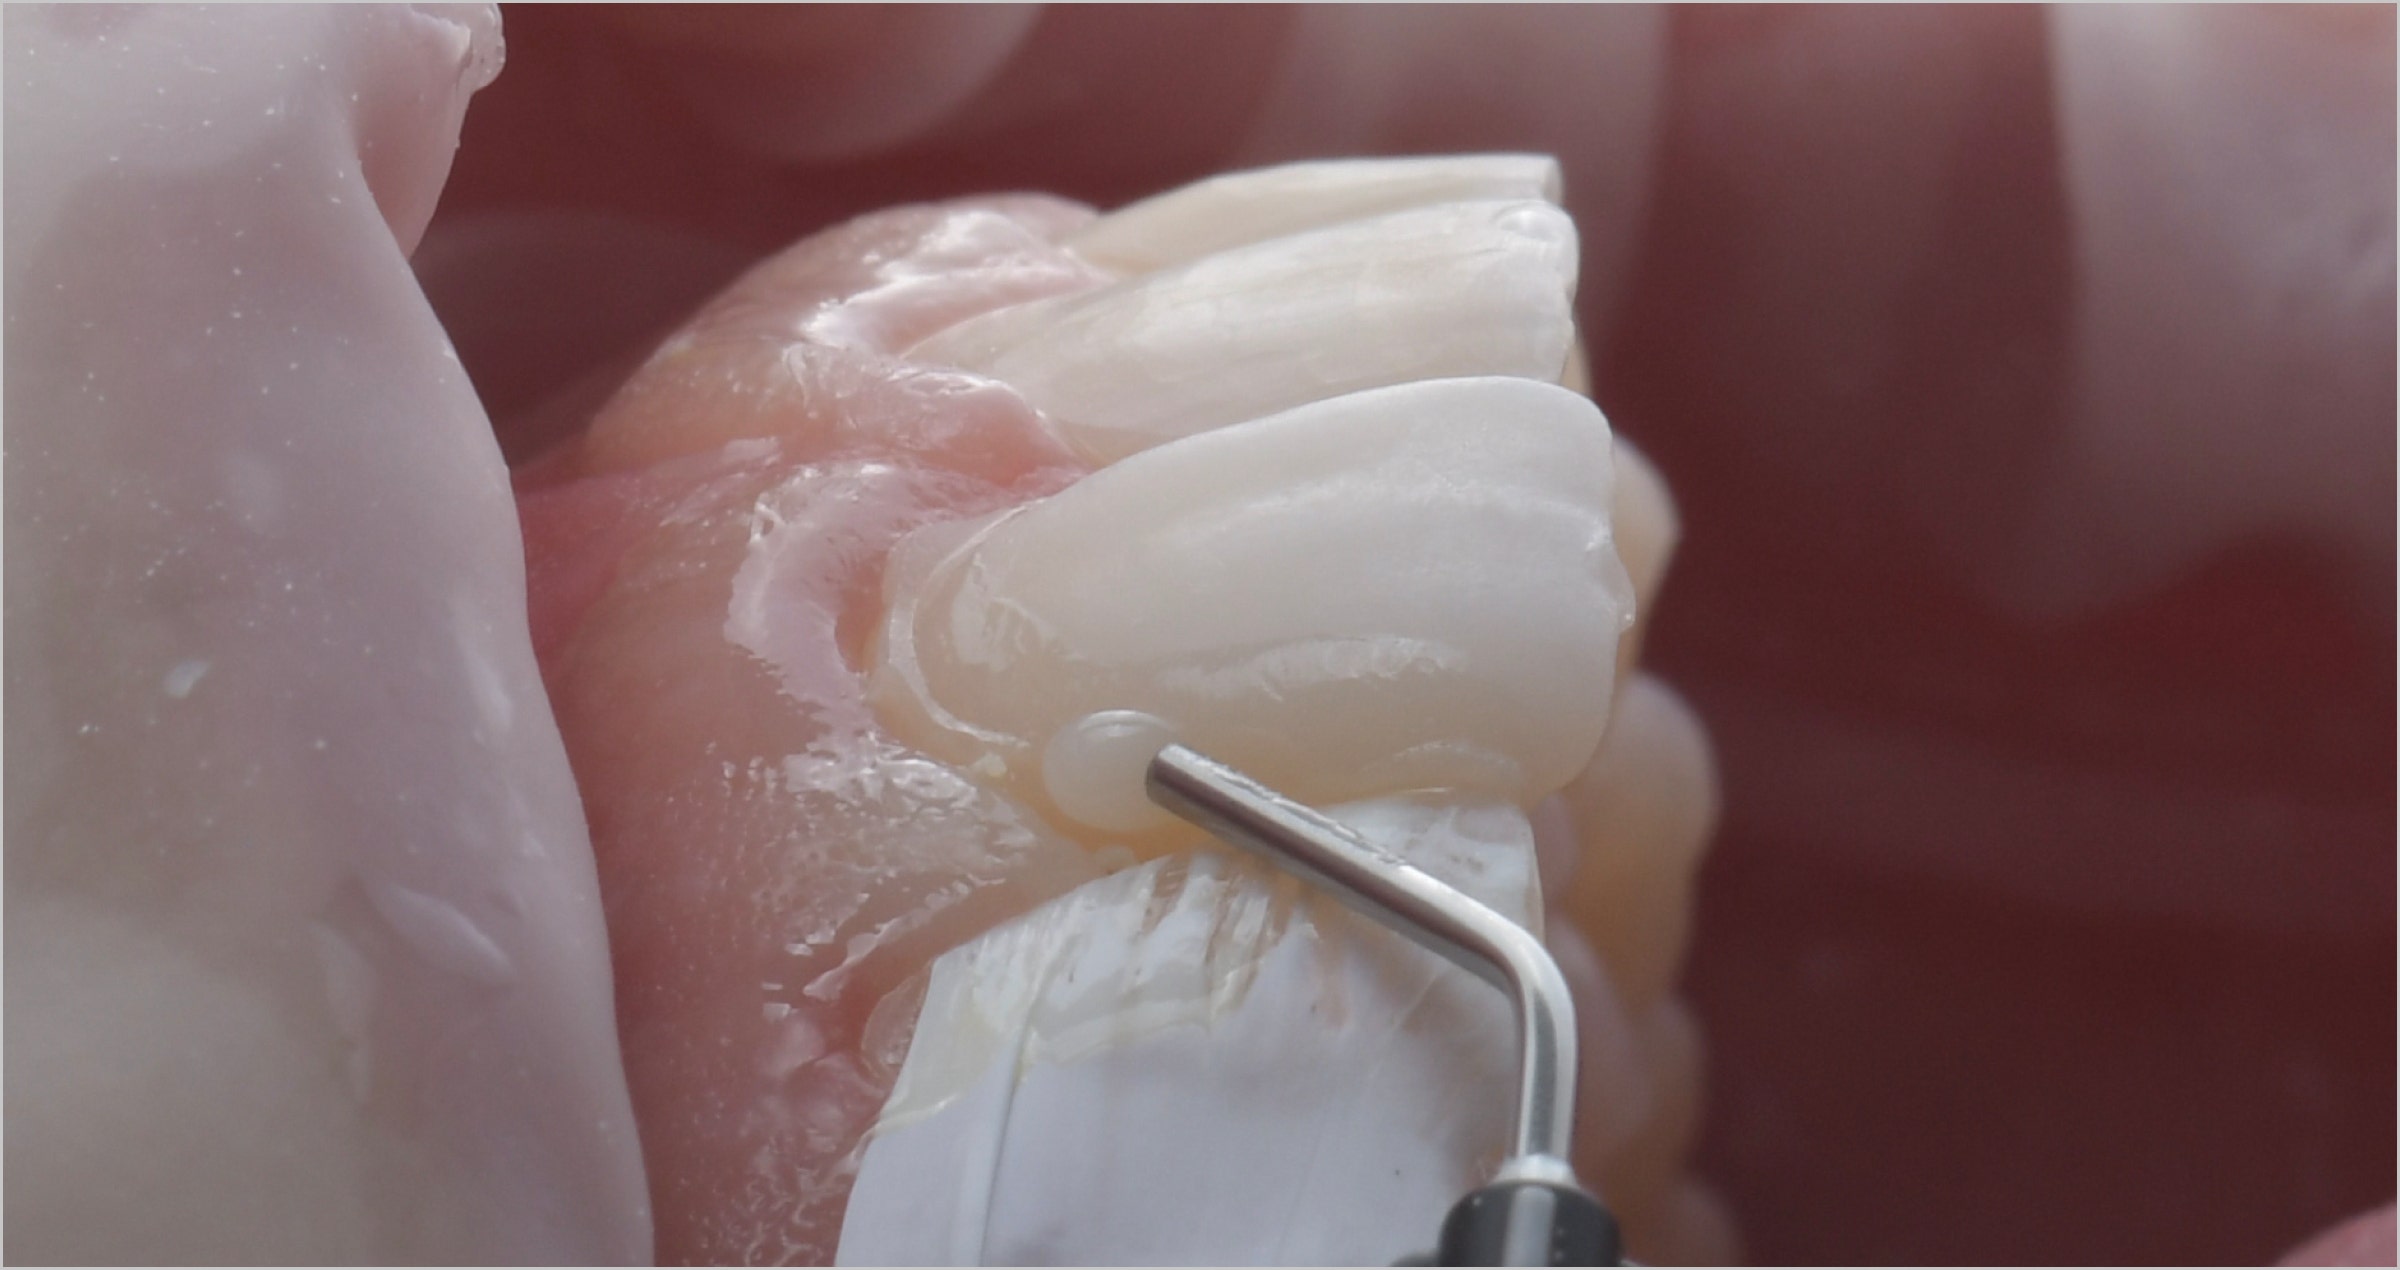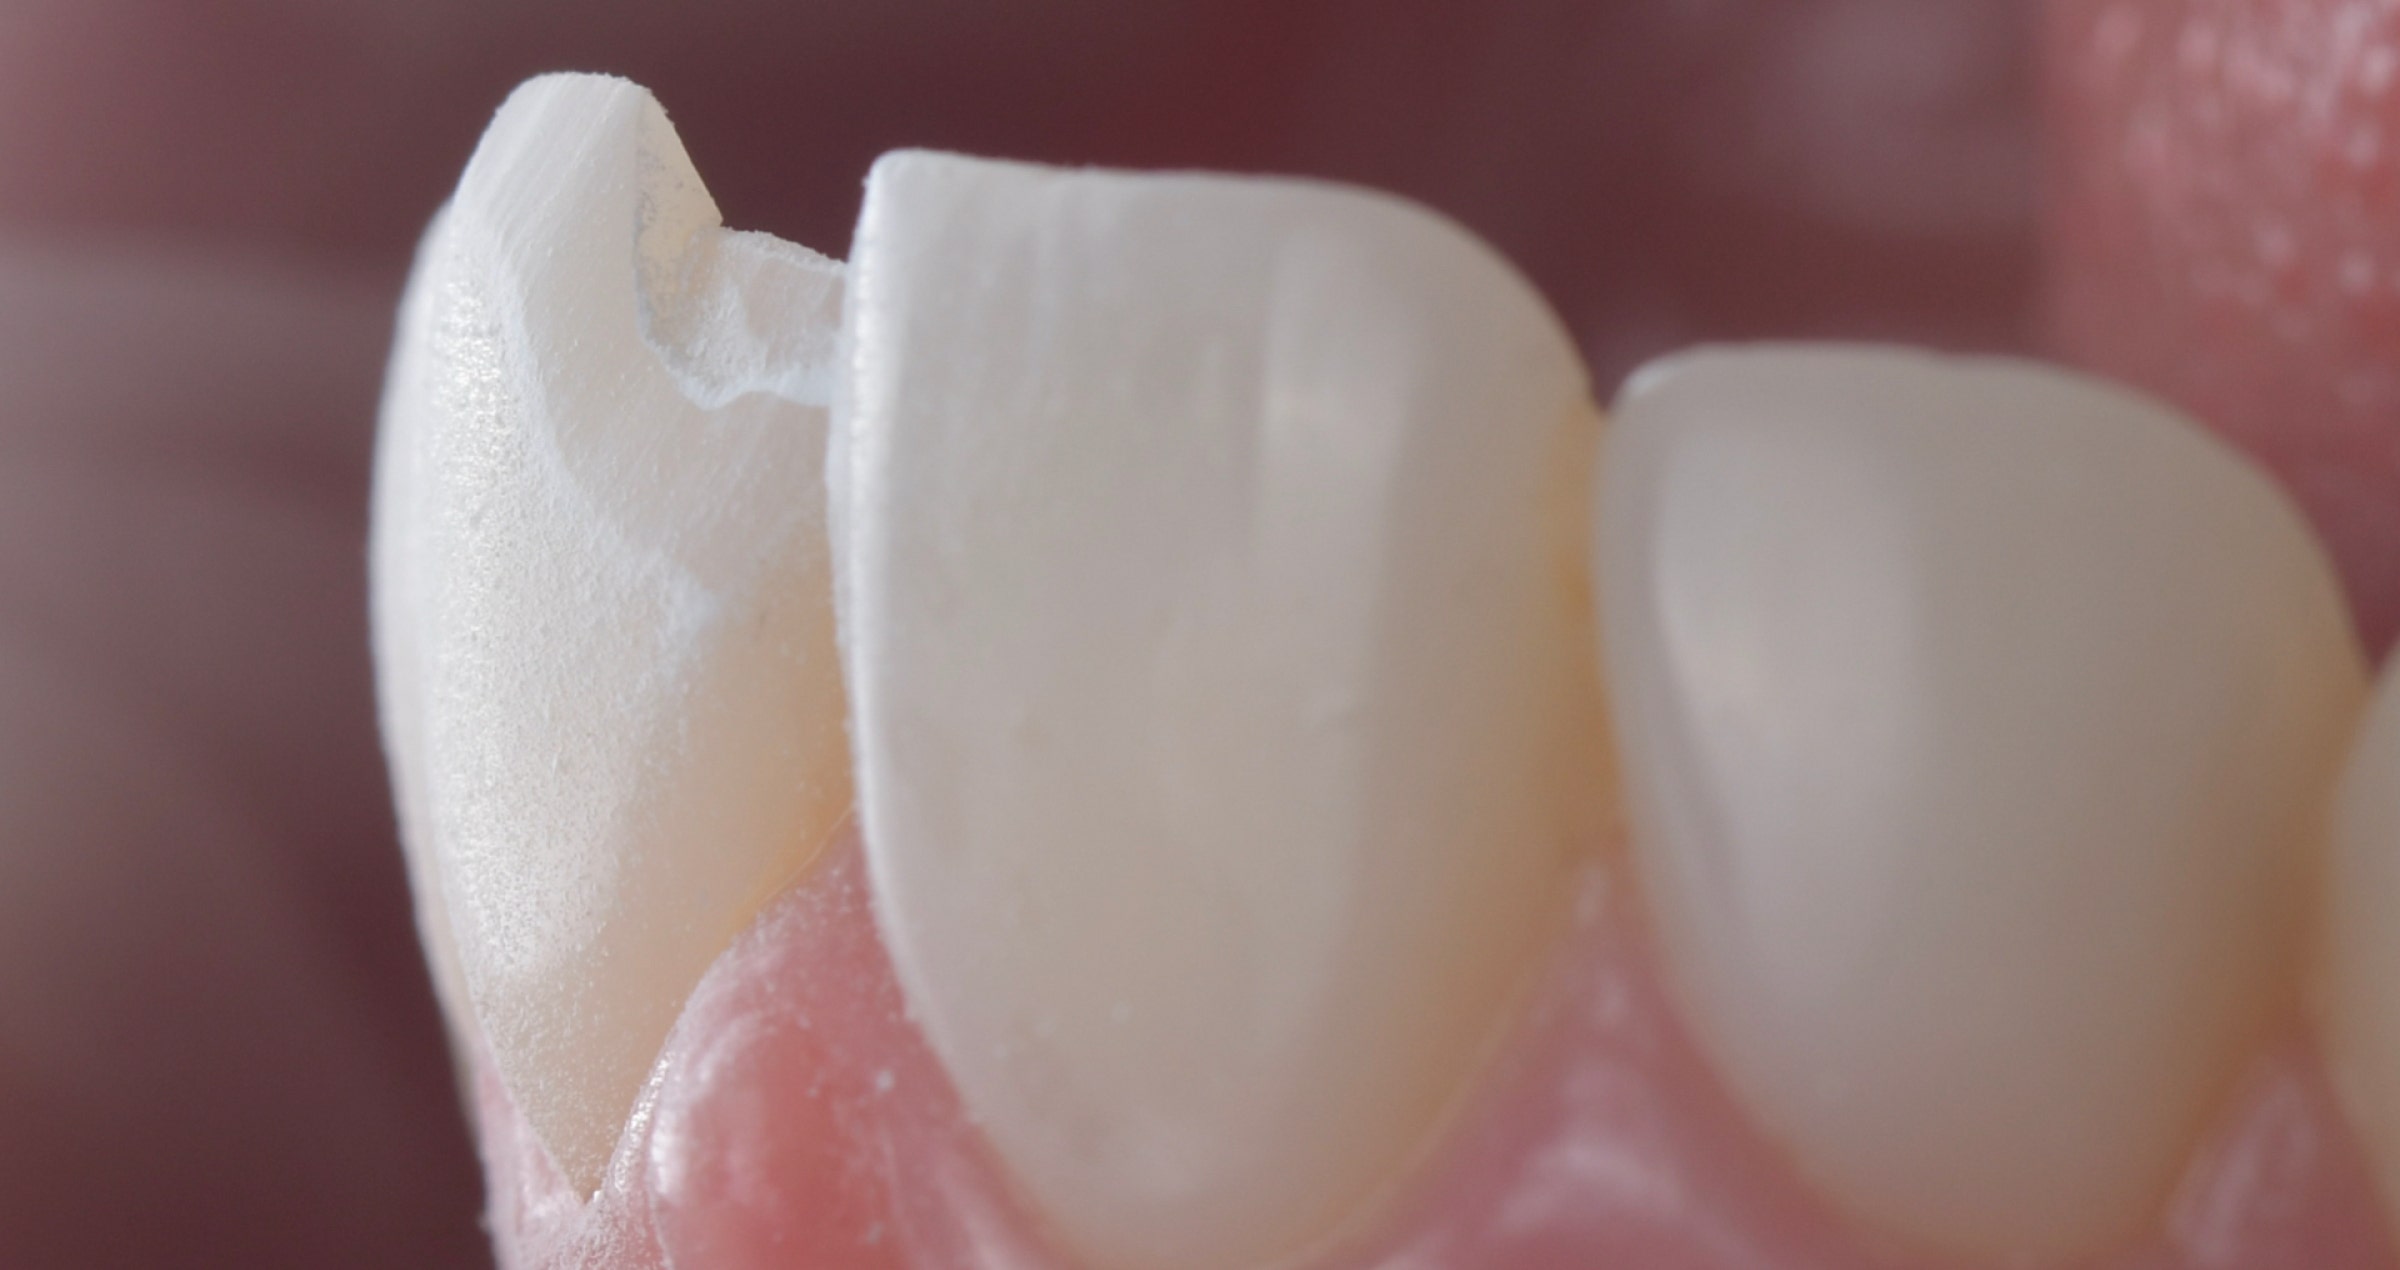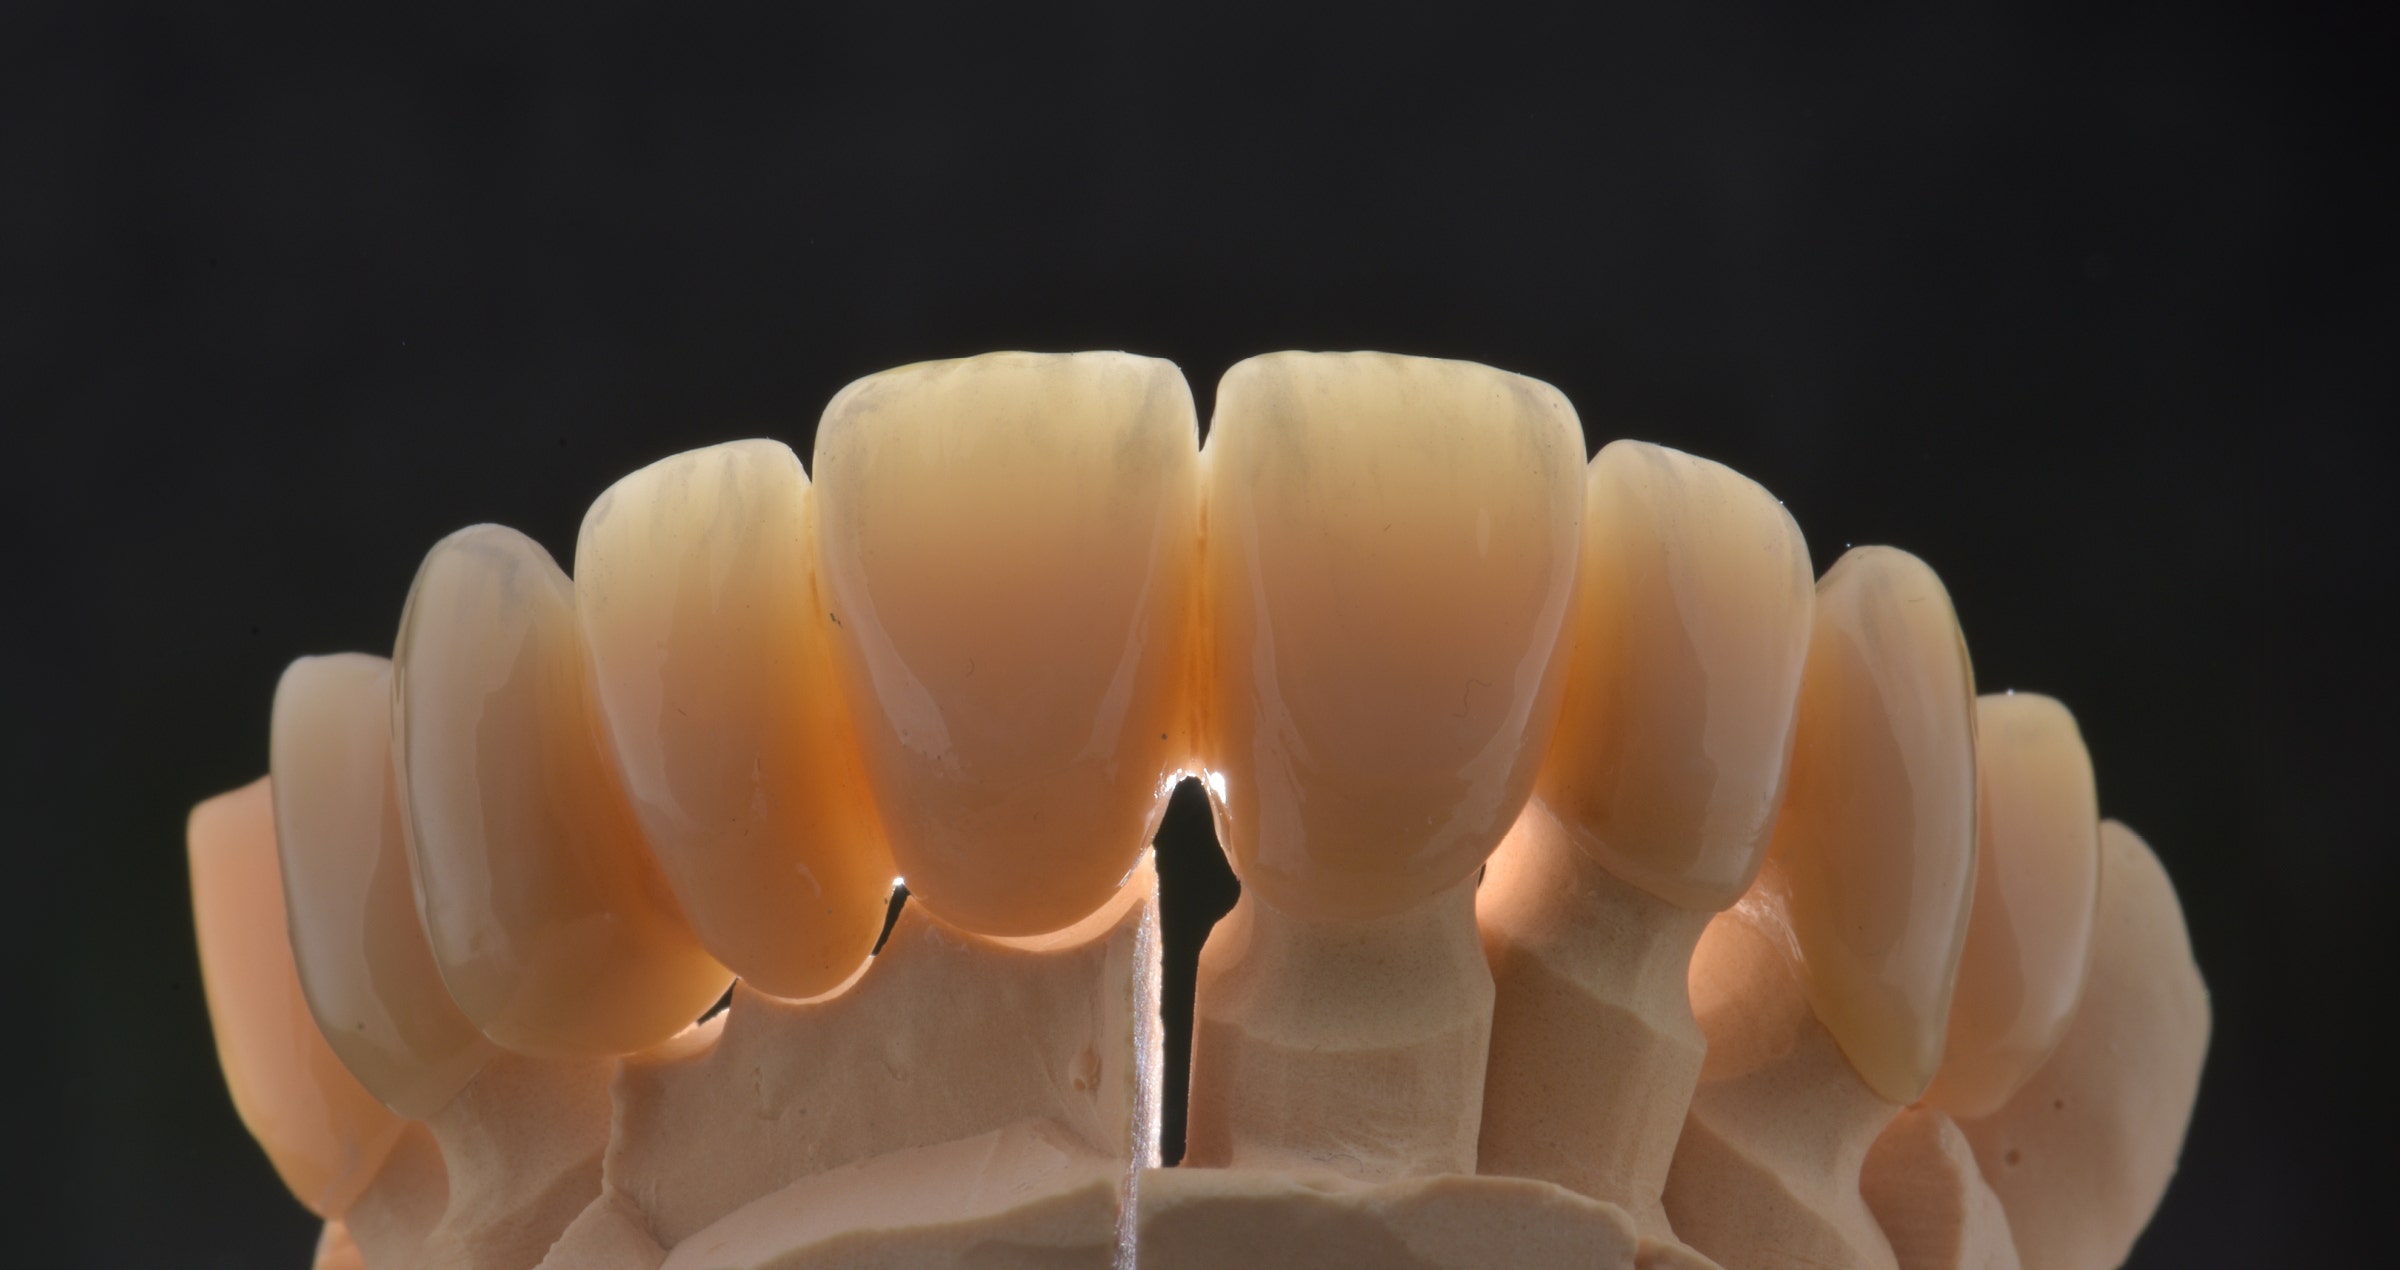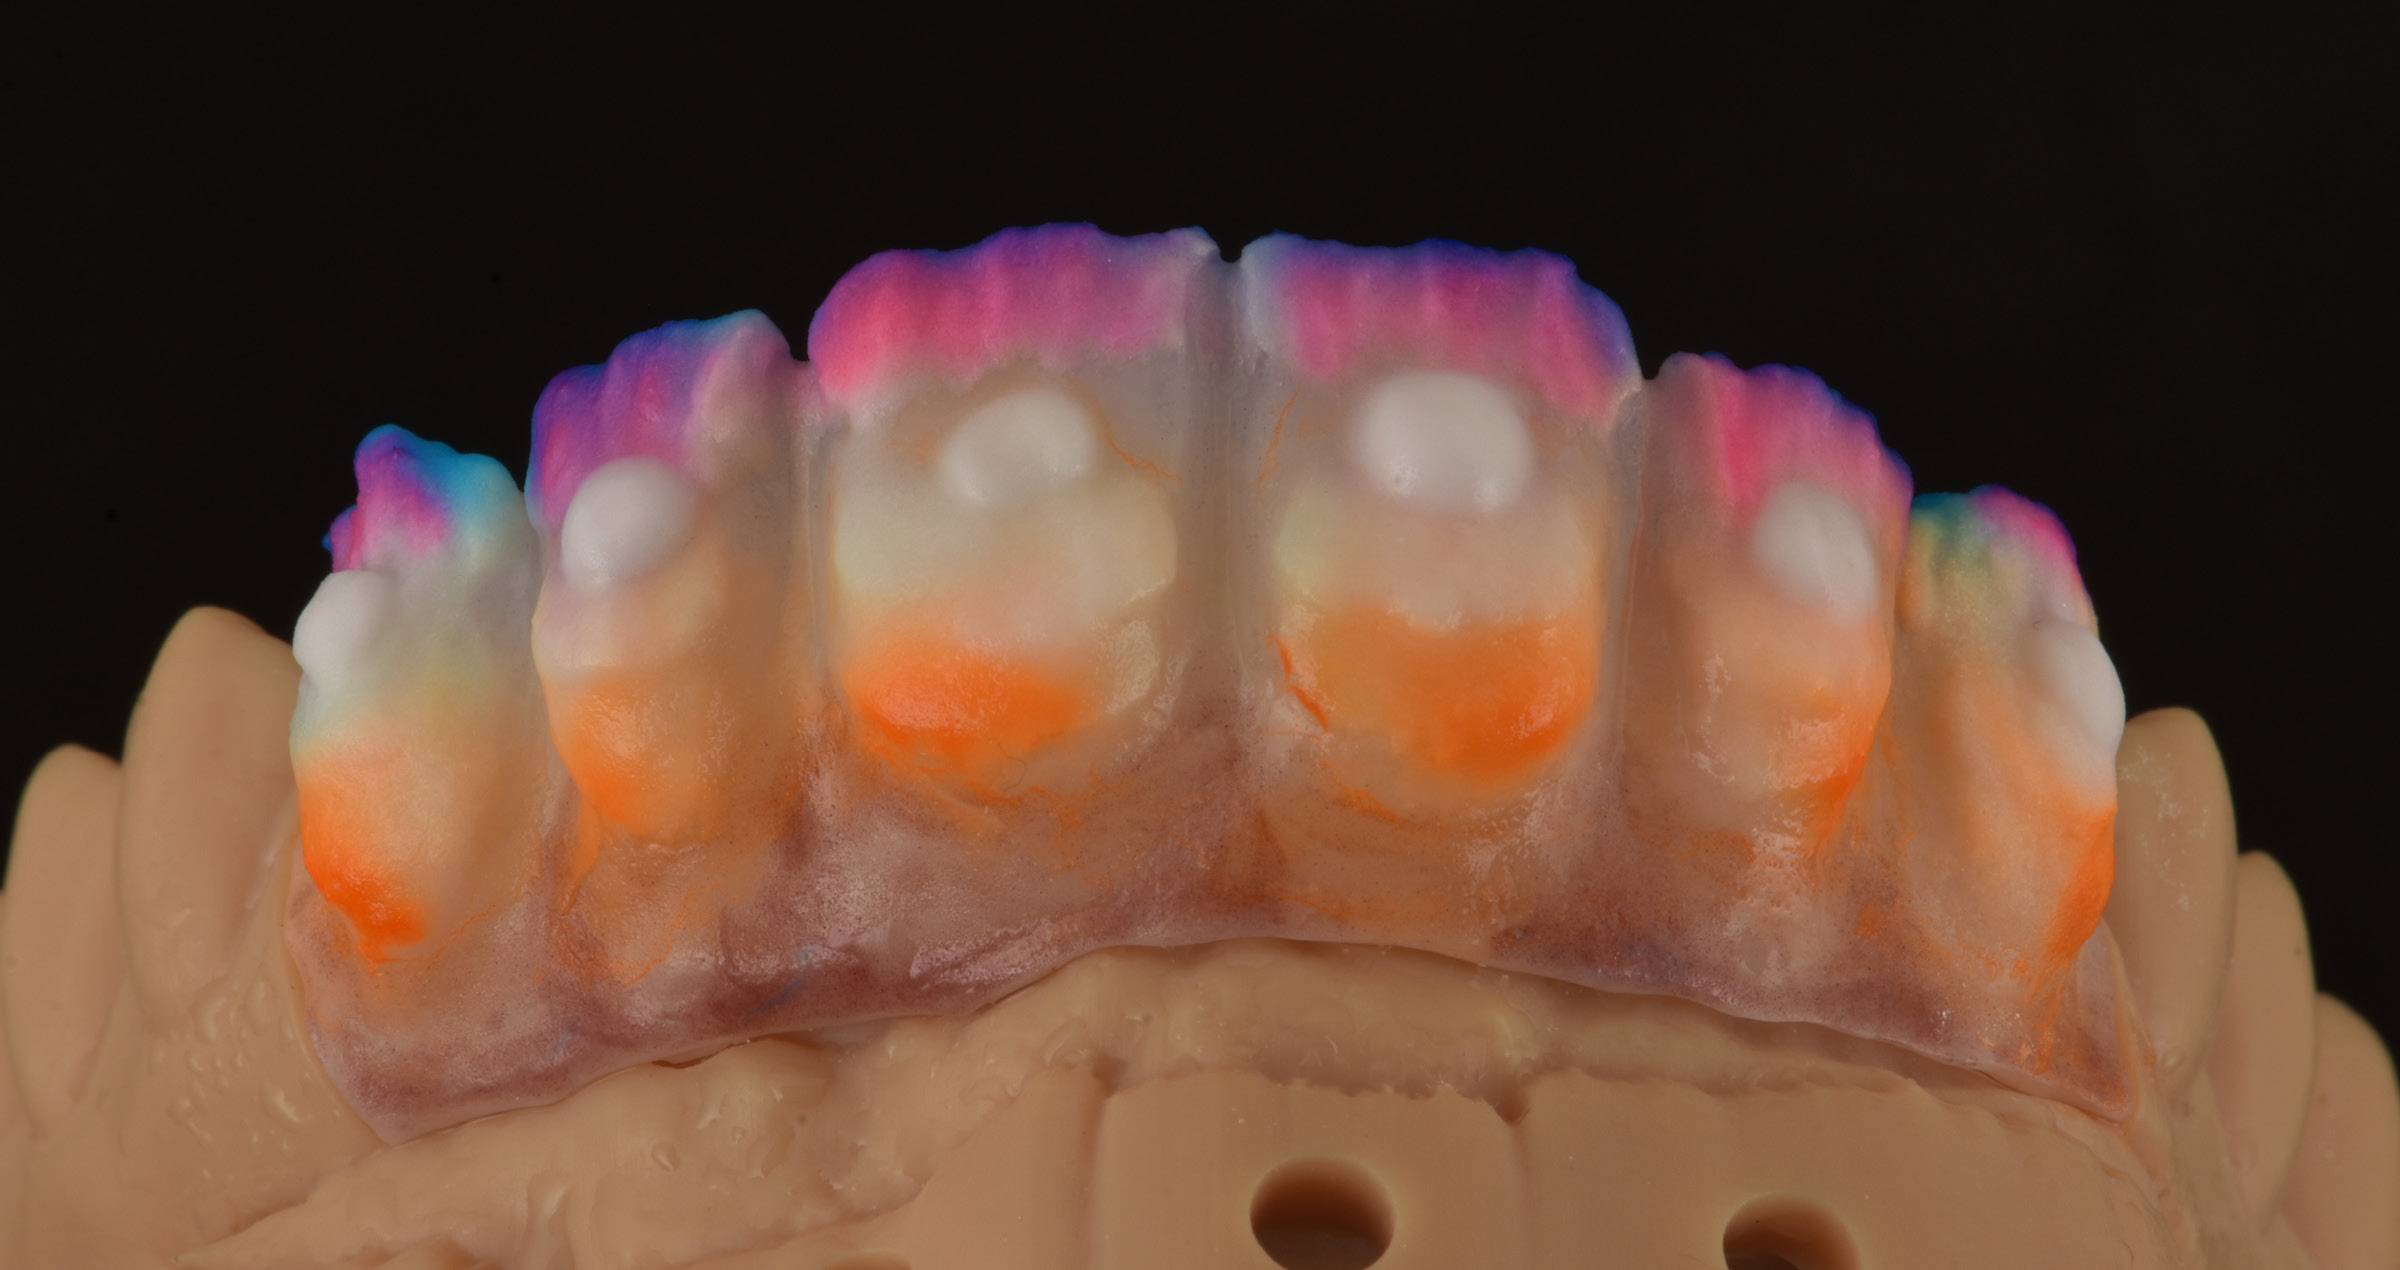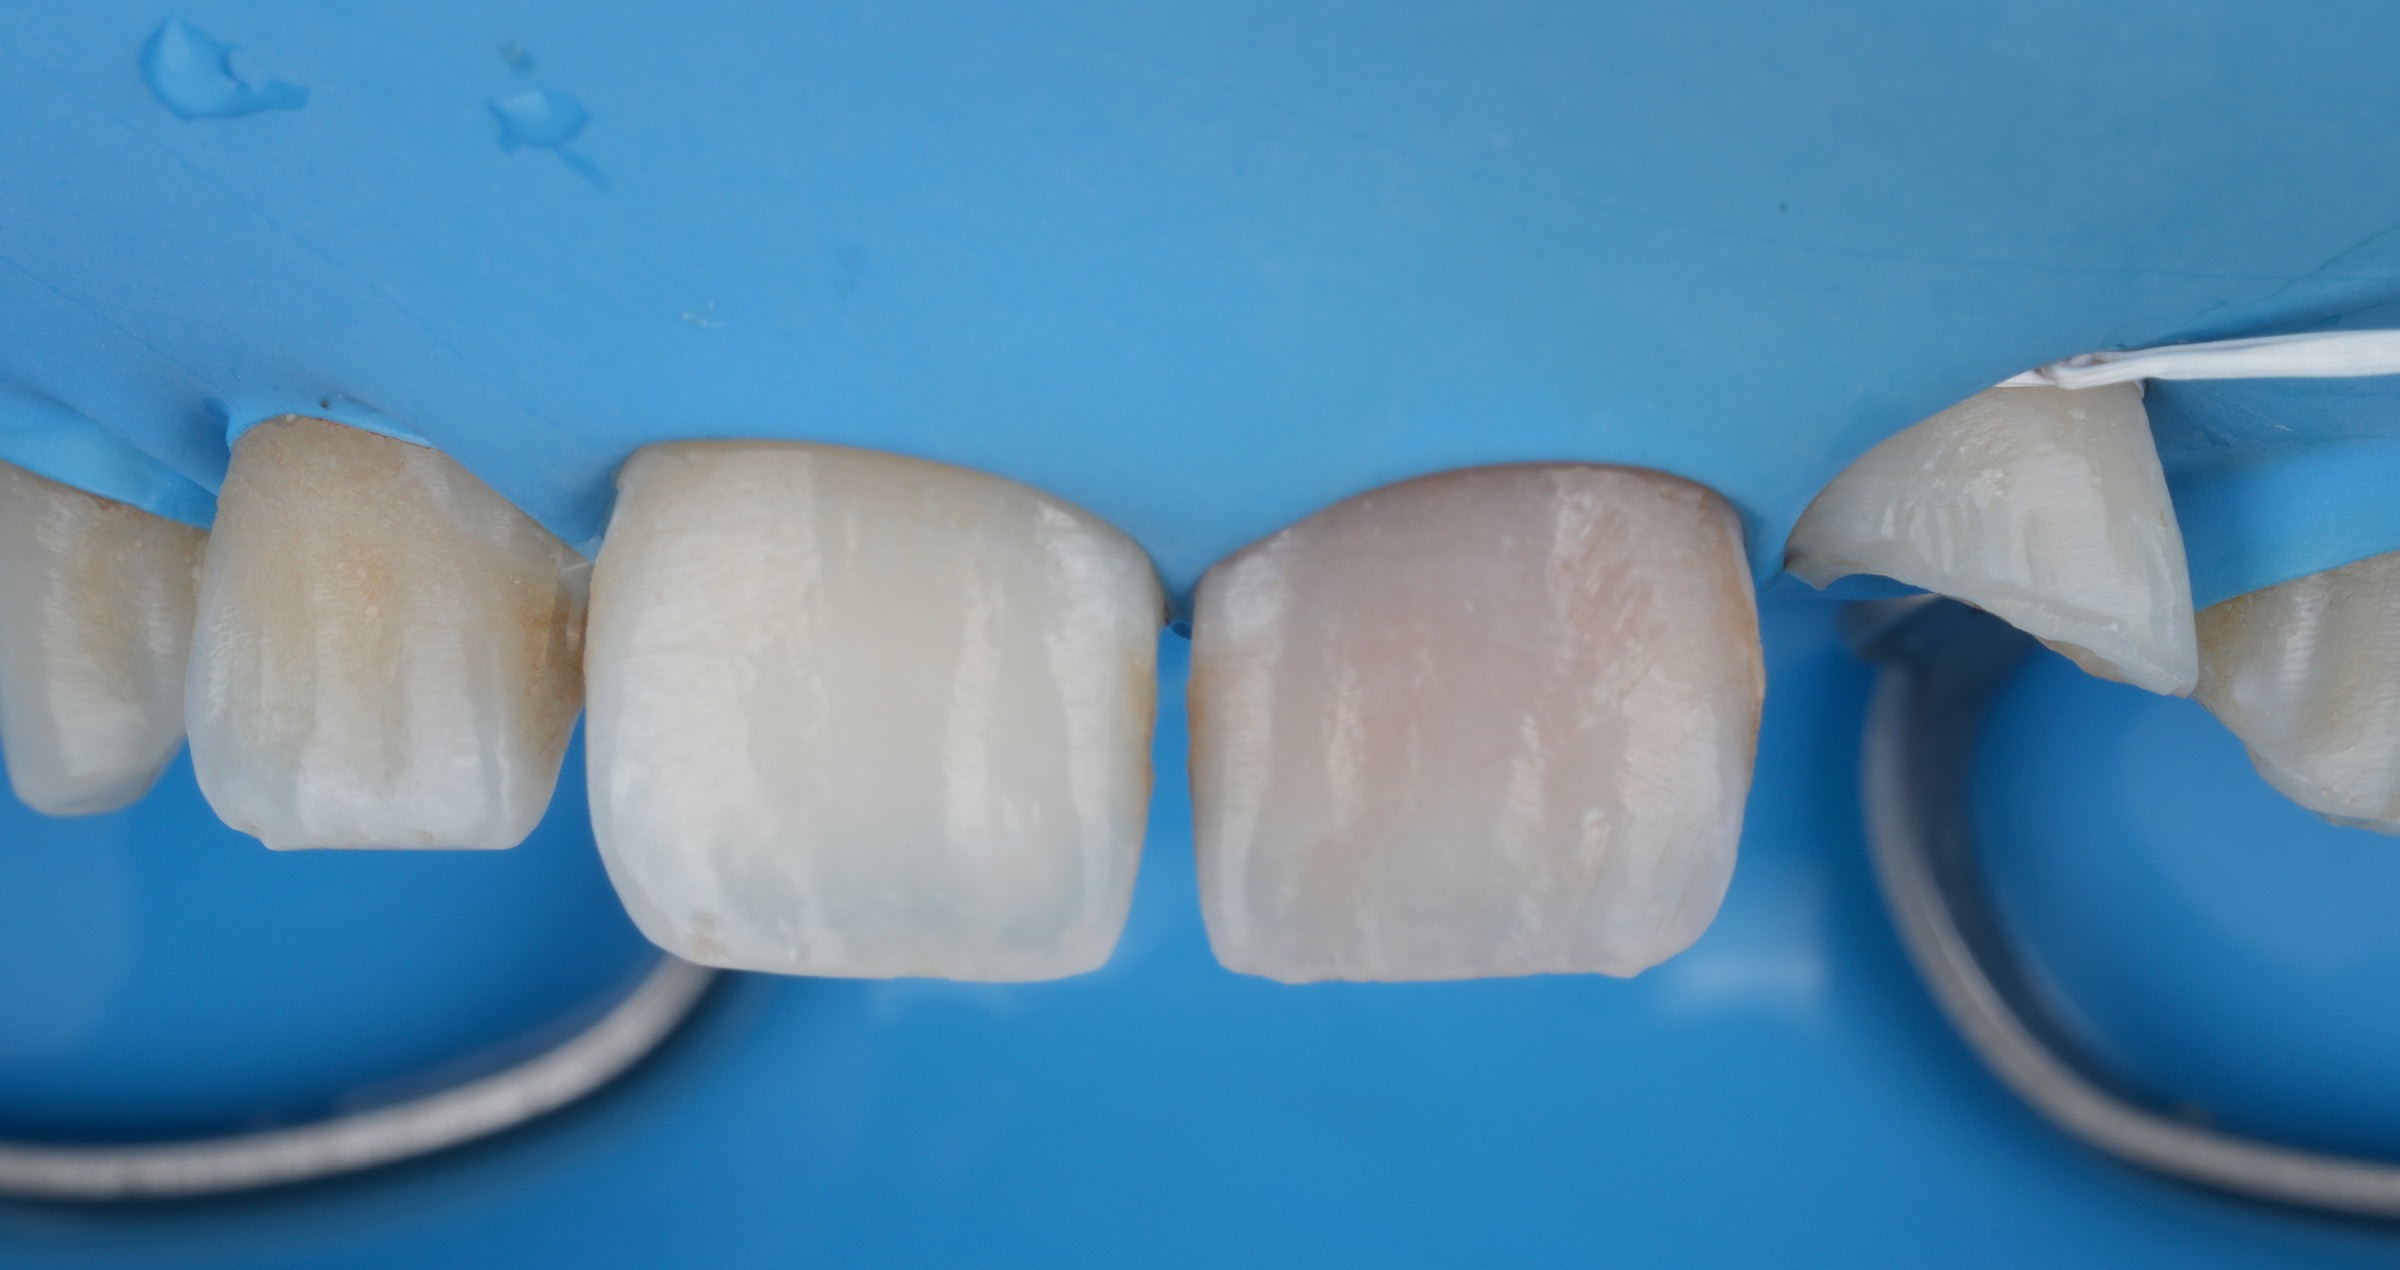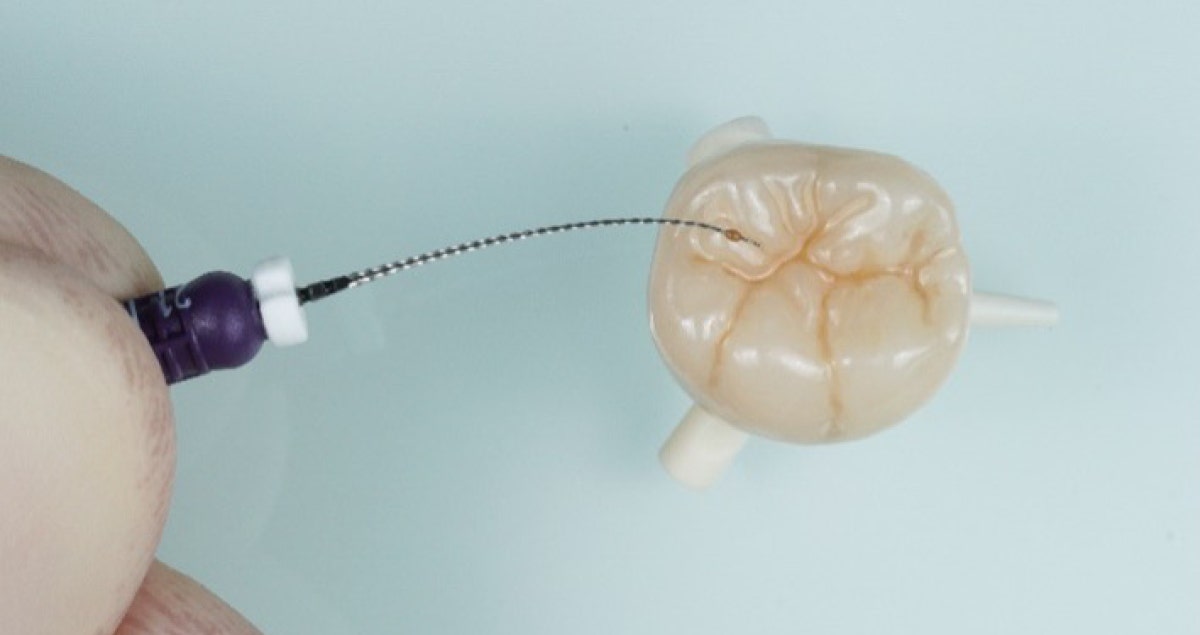
News Feature When a product is as good as it claims to be 3 dec. 2024 CLEARFIL MAJESTY™ ES FLOW RECEIVES “NIOM TESTED” QUALITY SEAL Before being allowed to market a dental composite filling material, it must, among other things, meet the set standards within ISO 4049:2019 Dentistry - Polymer-based restorative materials. Prompted by the tremendous positive response Kuraray Noritake Dental Inc. received from users of the CLEARFIL MAJESTY™ ES Flow series, we asked the Nordic Institute of Dental Materials (NIOM), an independent research institute, to test this product line on key aspects within the said ISO standard. While it was not mandatory for us to have the CLEARFIL MAJESTY™ ES Flow series tested, our confidence in the quality of our product prompted us to do so. NIOM thoroughly evaluated CLEARFIL MAJESTY™ ES Flow in all three different levels of flowability: High, Low, and Super Low (Fig. 1). Among the properties assessed were depth of cure, flexural strength, water sorption and solubility, and colour stability after irradiation and water sorption. NIOM found that regarding all properties, the three flowabilities and different shades proved to comply with the requirements. We are pleased to have gone the extra mile and proud that an independent party verified that our product meets the stringent ISO standards. Fig. 1. CLEARFIL MAJESTY™ ES Flow in its three different levels of flowability. IMPLICATIONS FOR CLINICAL USE These test results are an external proof for users of the popular flowable composite series that they safely can be used as specified by Kuraray Noritake Dental Inc. in the product’s instructions for use. The NIOM test results obtained regarding the depth of cure imply that, when applied to the recommended layer thickness, the composite will polymerise adequately – which is essential for a great long-term performance. In addition, all three flowabilities offer sufficient strength and water sorption/solubility behaviour even to be suitable for restorations, including the occlusal surface of molars and pre-molars. This means that the materials are very well suited for a wide range of indications, including restoring all cavity classes and repairing existing restorations and cementing (Fig. 2).Fig. 2. Three variants of CLEARFIL MAJESTY™ ES Flow and the suggested use areas. GREAT AESTHETICS AND HANDLING On top of these well-balanced mechanical properties, CLEARFIL MAJESTY™ ES Flow in its innovative syringe handles well due to an easy dispensing, bubble-free application, easy sculpting facilitated by its non-sticky formulation, and easy polishing behaviour. Coming in a variety of shades (Fig. 3) and equipped with proprietary Light Diffusion Technology, the material in its three different levels of flowability blends nicely and effortlessly with the surrounding tooth structure, creating a natural overall look. Both handling and aesthetics have been rated very good to excellent by dental advisor consultants in the context of a clinical evaluation. Fig. 3. Overview of shades available per flowability. NIOM also provides proof of the positive aesthetic properties: the institute's tests to evaluate colour stability after irradiation and water sorption reveal that CLEARFIL MAJESTY™ ES Flow is expected to remain stable over time. This feature is important for the long-term aesthetics of the restorations created with the materials. Choose a reliable, high-quality, flowable, direct restorative material that withstands rigorous testing.
News Feature Selektiv adhesivcementering – det bästa av två världar 20 nov. 2024 En beskrivning av den här nya tekniken och vetenskapligt stöd för uppnådd effekt tillhandahålls i den artikeln av prof. Breschi och hans kollegor på universitetet i Bologna. Titel; “Selective adhesive luting: A novel technique for improving adhesion achieved by universal resin cements”. PANAVIA™ SA Cement Universal är ett universalresincement som kan användas utan andra komponenter som självhärdande cement i många kliniska situationer. Cementet ger till och med en god bindning till litiumdisilikat utan att man tillför ytterligare silan. In-vitrostudier har påvisat att resincementet är mycket fukttolerant och mångsidigt och att det ger starka och hållbara bindningar till praktiskt taget alla restaurativa material liksom till emalj och dentin. Till tandsubstans har dock de bästa resultaten uppnåtts genom applicering av CLEARFIL™ Universal Bond Quick som separat primer. Därför vill du kanske anamma den här tvåkomponentstekniken för adhesiv cementering som redskap i särskilt utmanande situationer. Tekniken är fortfarande mindre komplicerad än traditionella adhesiva tekniker och ger utomordentliga resultat. Medan självhärdande cement är mindre känsliga för fukt kräver universaladhesiver fullständig torrläggning av arbetsområdet för att de ska fungera som tänkt. Därför undrar du säkert vilken teknik som ska användas i fall där du behöver starkast möjliga kemiska bindning till emalj och dentin, men där tillräcklig torrläggning med kofferdam är utmanande eller omöjligt att åstadkomma – till exempel i fall där stödtanden är väldigt kort eller preparationsgränsen ligger subgingivalt. Lösningen i dessa fall heter selektiv adhesivcementering. Selektiv applicering av en universaladhesiv i de områden av etsad emalj som inte riskerar att kontamineras av fukt.
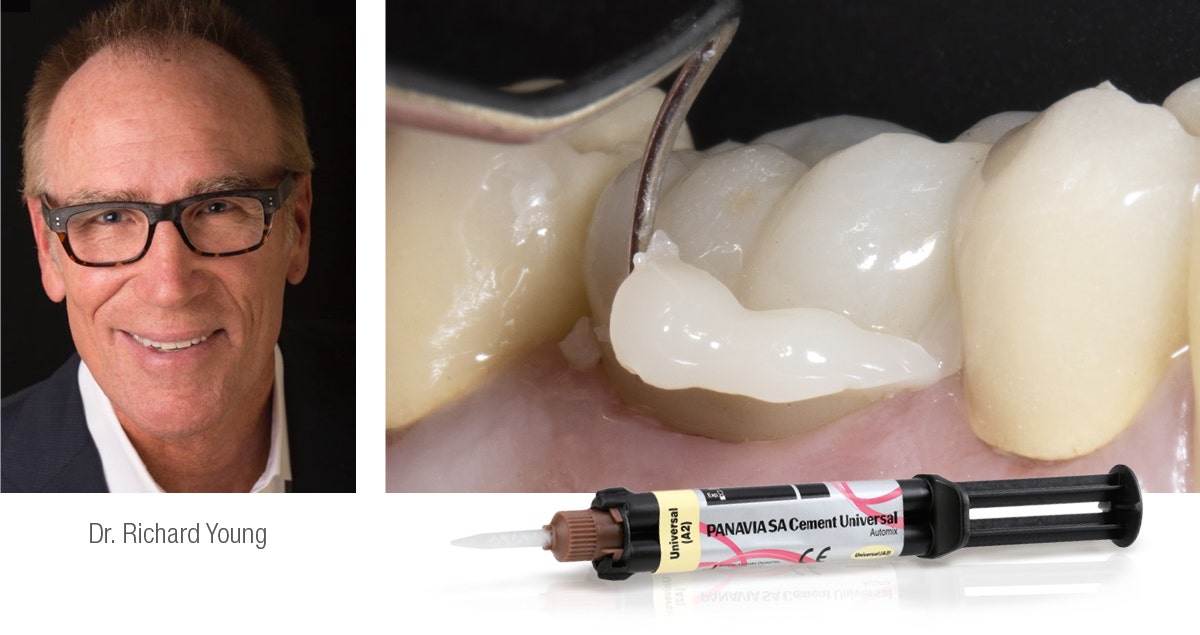
Clinical Cases, Chairside Cementering av litiumdisilikatkronor 20 nov. 2024 Enkel arbetsgång, pålitligt resultat: det är vad de flesta tandläkare eftersträvar när de cementerar en indirekt ersättning. Följande kliniska fall visar på ett enkelt, men mycket framgångsrikt protokoll för cementering av litiumdisilikatkrona. Fig 1. Litiumdisilikatkrona efter inprovning och fluorvätesyraetsning av innerytan. Fig 2a. KATANA™ Cleaner appliceras inuti kronan för komplett avlägsanande av föroreningar; proteiner från blod och saliv, som kan kompromettera kvaliteten hos alla resincement. ELLER Fig 2b. Alternativt kan KATANA™ Cleaner appliceras på en blandningsbricka. Fig 3. KATANA™ Cleaner appliceras sedan på kronans inneryta. Fig 4. KATANA™ Cleaner appliceras på den preparerade tanden på samma sätt (gnugga under 10 sekunder, skölj sedan rent och torka). Fig 5. Applicering av PANAVIA™ SA Cement Universal i den rengjorda kronan. Fig 6. Cementet innehåller ett unikt silankopplingsmedel - LCSi-monomeren - för en stark och pålitlig bindning till litiumdisilikater och andra restorativa material, som glaskeramer och hybridkeramer. I blandningspetsen aktiveras silanet av Original MDP I blandningspetsen aktiveras silanet av Original MDP. Fig. 7. Cementöverskottet är enkelt att avlägsna efter två till fem sekunders punkthärdning. Fig 8. Cementöverskottet, som är i gelstadiet, avlägsnas med hjälp av en sond. SLUTRESULTAT Fig 9. Behandlingsresultat direkt efter cementering. Dentist: RICHARD YOUNG DDS KLINISKT FALL OCH BILDER MED TILLSTÅND AV RICHARD YOUNG DDS, SAN BERNADINO, CA
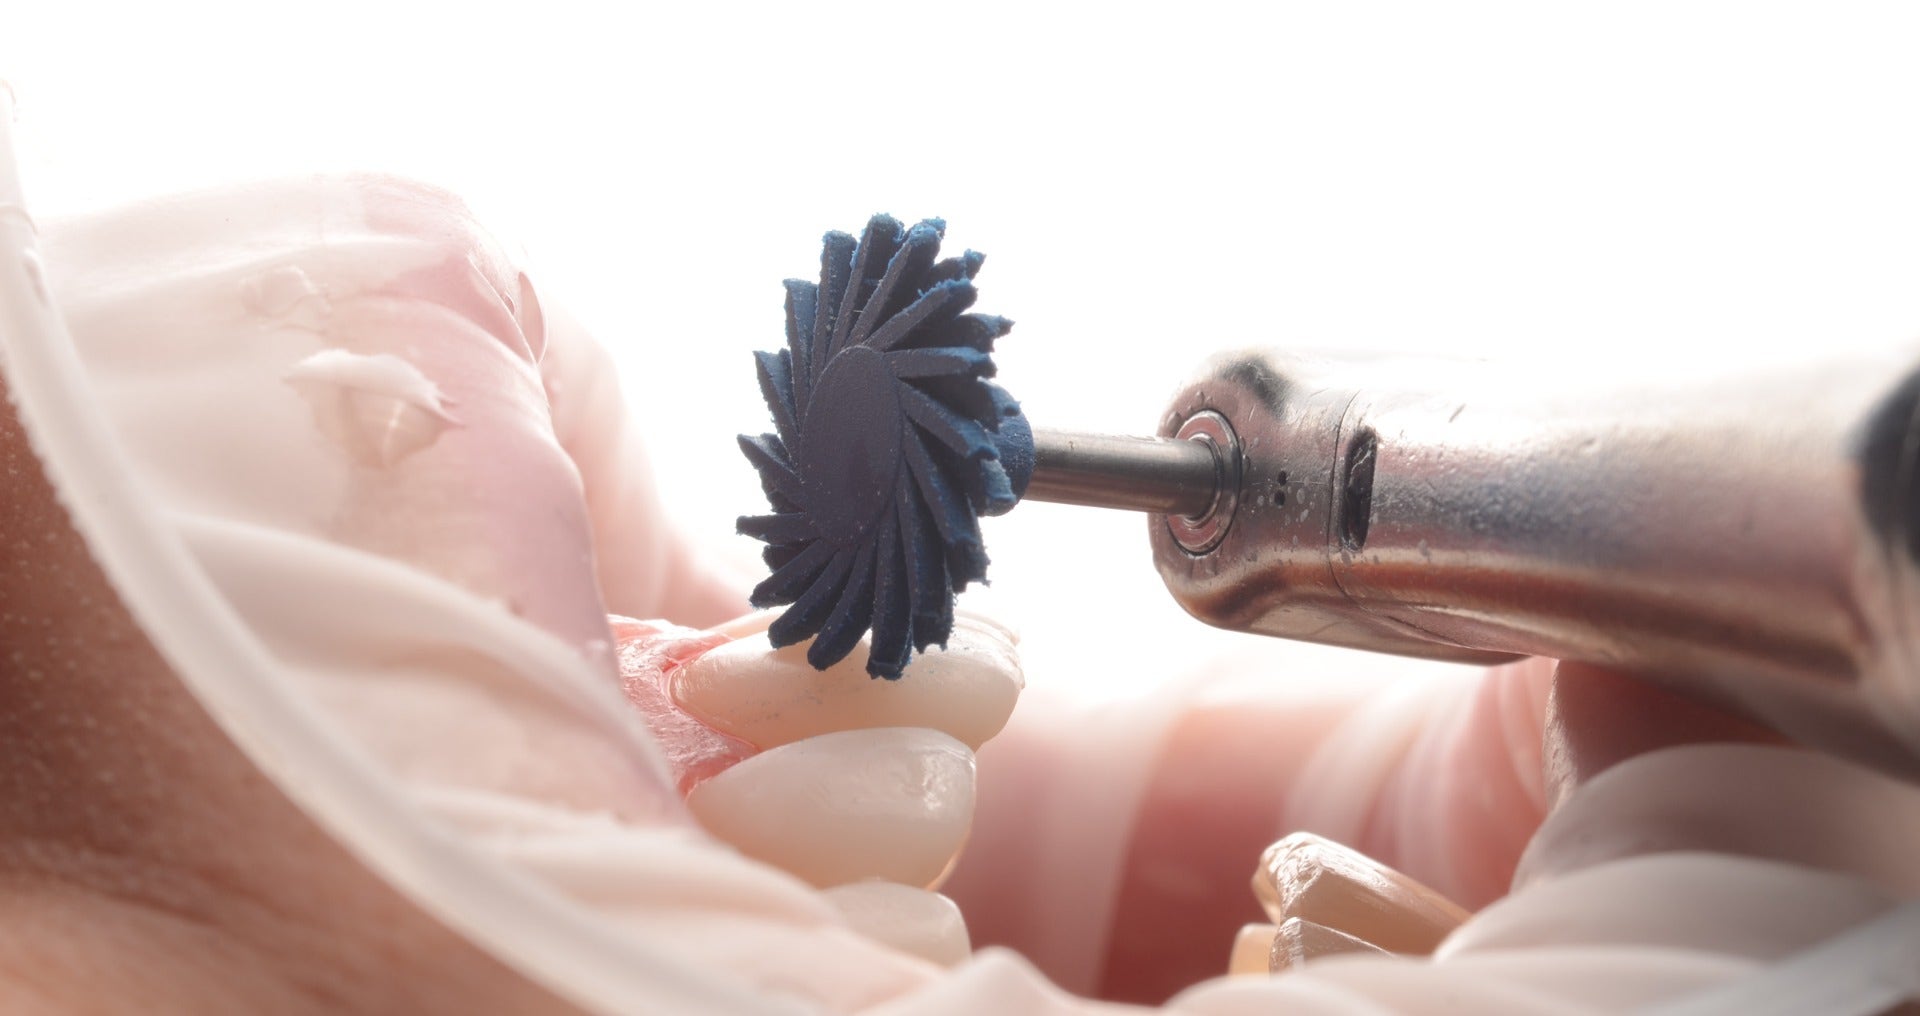
News Feature Injektionsteknik: Hur putsar man kompositersättningar? 1 nov. 2024 Kompositersättningens hållbarhet är beroende av många faktorer. En del av dem är relaterade till patienten; använder hen hård eller mjuk tandborste, vilken tandkäm använder hen, borstteknik, kost, alkohol, te, kaffe och tobak samt hygienvanor. Men att följa det bästa putsprotokollet är dock helt upp till tandläkaren. Syftet med korrekt putsning är att avlägsna det syreinihiberade ytskiktet och att skapa en slät yta. En korrekt polerad ersättning förhindrar missfärgning som orsakas av mat, dryck, tobak, te, kaffe eller alkohol och garanterar en långvarig estetik. Att putsa komposit är en process som kräver extra uppmärksamhet och det består av flera arbetsmoment och principer: Att använda polerdiskar ger en jämn och slät yta, avverkar överskott och ger den slutgiltiga formen. Det är viktigt att putsen sker på fuktad yta och med ett 1:1-handtycke på maxhastigheten 5,000 - 10,000 rpm. Gummitrissor finns i många typer och former. En av de mest användbara är TWIST™ DIA for Composite. Kitet består av två gummitrssor med olika abrasionsgrad. Den första (mörkblå) används för grovavverkning, den andra (ljusblå) används för f inputs. Puts med dessa trissor ska ske på torr yta utan vattenkylning. Att arbeta utan vattenkylning kan irritera pulpan och därför ska hastigheten begränsas till mellan 5000 och 10000 rpm och det är viktigt att undvika hårt tryck. TI nästa steg använder man en diamantpasta med kornstorlekar mellan 1 och 5 micron. Rekommendationen är att använda en putstrissa av gethår tillsammans med diamantpastan. Det viktigaste är att inte använda en hård borste eftersom en sådan kan repa kompositen. Med putstrissa och polerpasta kommer man åt svåråtkomliga skrymslen som det cervikala området och approximalytor. För att slutföra detta steg används en diamantremsa för mera exakt puts av approximalytorna. För att inte förstöra kontaktpunkterna ska lågabrasiva (Super Fine) remsor användas. Ett ytterligare steg för att öka ytglansen och därigenom skydda ytan från att missfärgas är puts med aluminiumoxidpasta och bomullstrissa. Resultatet av att använda en sådan pasta, som ursprungligen är avsedd för puts av keramer, är en exceptionellt slät yta och hög glans. Detta moment utförs på torr yta och med en maxhastighet på 5,000 - 10,000 rpm. Vid injektionstekniken, precis som vid alla andra tekniker, påverkar putsgraden hållbarheten, såväl som optiska och estetiska egenskaper. Därför ska detta nyckelmoment ägnas tillräckligt med tid. Olika sorters komposit karaktäriseras av både sin sammansättning och fyllnadsgrad, faktorer som inte bara påverkar egenskaperna utan också avgör deras polerbarhet. I vissa fall måste putsprocessen upprepas flera gånger för att man ska uppnå ett högglansigt resultat. Trots sin höga halt av fillers är CLEARFIL MAJESTY™ ES Flow är en komposit som är mycket enkel att putsa till hög glans. Särskilt anpassade gummihjul, putstrissor och pastor gör det enkelt att åstadkomma en jämn och slät yta som i sin tur avgör det långvariga resultatet. Före Efter 3 års återkontroll LÅT DEM SKINA, LÅT DEM LE! Dentist: MICHAL JACZEWSKI Michał Jaczewski tog examen från Wroclaw Medical Universtity 2006 och idag driver han sin privatklinik i Legnica, Polen. Han har specialiserat sig på minimalinvasiv tandvård och digital tandvård och är grundare till Biofunctional School Of Occlusion där han föreläser och ger workshops med fokus på heltäckande patientbehandlingar.
Company Updates “Kuraray Noritake Dental Inc. is the Apple of the Dental World” 17 okt. 2024 Technical Specialist for Chairside, Volkan Kacmaz, Introduces Himself Volkan Kacmaz not only worked as a dentist in Turkey, but he also managed two clinics and earned a Master of Business Administration in Berlin. His diverse experiences seem to have led him to his current role as a Technical Specialist at Kuraray Noritake Dental Inc., headquartered near Frankfurt. Who is this friendly, smiley, and curious team member, and why did he specifically choose Kuraray? While most dentists continue practicing dentistry throughout their careers, Volkan Kacmaz chose a different path. After graduating in 2011, he established his own dental clinic in Istanbul. A few years later, he served in the military for a year as a military dentist. Afterward, he founded two more franchise clinics, taking on the dual roles of manager and dentist. It was during this time that he realized dentistry wasn’t limited to clinical practice. “I’m eager to learn and have always been curious about how products work, the processes behind them, research and development, and the launch of new innovations,” he explains. INNOVATION In 2022, Kacmaz became the first dentist to enrol at the Berlin School of Economics and Law, where he learned about marketing, sales, negotiation, and regulations. Upon completing his Master of Business Administration, he made a deliberate decision to join Kuraray Noritake. “Kuraray Noritake's products are of very high quality, both labside and chairside. I already knew this from my experience as a dentist. The company has an excellent and trustworthy reputation among dental professionals,” he says. Kacmaz also admires the innovative nature of the company. “Kuraray Noritake is responsible for some of the most significant innovations in dentistry. Just look at products like PANAVIA™ cement, the original MDP monomer, and multi-layered zirconia discs and blocks. It’s easy to see that Kuraray Noritake is a major force in the dental market. With their commitment to continuous improvement and innovation, you could call them the Apple of the dental world,” he adds. Another aspect Kacmaz appreciates is Kuraray Noritake's product lineup. “The catalog isn't extensive, but it’s highly specialized. The company doesn’t produce just any product, but focuses on the ones it excels at, ensuring top-notch quality.” Lastly, Kacmaz loves the company culture. “It's a very respectful environment. I’ve had some bad experiences with respect in the past,” he says with a laugh, referring to his time in the military. “But at Kuraray Noritake, you can feel the respect for employees, which is very important to me. I’m very happy to be part of the Kuraray Noritake family.” COURAGE When comparing dentistry in Turkey to Western Europe, Kacmaz doesn’t see significant differences. “The brands, quality, and approaches are all the same.” However, he has noticed one small distinction: German dentists aren’t as enthusiastic about digital dentistry as their Turkish counterparts. Kacmaz draws on all his previous experiences and knowledge in his role as part of the scientific marketing team. His responsibilities include finding scientific support for marketing initiatives. He collaborates with lecturers and dentists to manage research studies using Kuraray Noritake products, works to update measurements in response to market dynamics, and evaluates new products. His goal? “To become an authority in the dental world,” he says with a smile. It may sound like an ambitious goal, but Kacmaz has learned to dream big. “The biggest decision of my life was leaving my comfort zone and moving to a country where I didn’t speak the language. But I believe it’s a courage you have to show. If you don’t, your dreams and plans will fade, and you’ll miss out on everything.” LEARNING NEW THINGS Moving to Germany, which Kacmaz describes as "the epicentre of the dental market," hasn’t always been easy. Coming from a Mediterranean culture, he was used to a more communal and lively environment. In Germany, he noticed that shops close early, and people value their privacy. Another challenge has been the language. While he prefers English, he says, “ein bisschen Deutsch, nicht so gut.” Fortunately, Kuraray Noritake provides him with German lessons, and he has the best teacher at home—his three-year-old daughter, who learns the language faster than he does and sometimes corrects him. Despite the challenges, all the adapting and hard work have been worth it. “I’ve realized that there are no limits to learning. Whether you’re in your 40s, 50s, or even 60s, there’s always something new to discover. You just have to be open to it.” CONTACT Volkan Kacmaz can be reached at +49 69 305 35134 or via [email protected]. ABOUT KURARAY NORITAKE DENTAL INC. Kuraray was founded in 1926 in Kurashiki, Japan. Today, it is a leading global manufacturer of medical products, materials, textiles, chemicals, resins, and more. In 2012, Kuraray Medical and Noritake Dental Supply merged to form Kuraray Noritake Dental Inc. The company continues to deliver reliable dental bonding agents, ceramics, and other products to over 90 countries worldwide. Well-known products include the KATANA™ Zirconia range, CLEARFIL™ Universal Bond Quick, and PANAVIA™ resin cements.
News Feature Bonding in minimally invasive repair procedures: tips and tricks 8 okt. 2024 Article by Dr. Michał Jaczewski Resin composites are wonderful restorative materials: They allow for minimally invasive, defect oriented tooth preparation, may be modelled as desired, and can be modified and repaired whenever necessary. To achieve all of this, however, a strong and long-lasting bond is an absolute requirement. The bond needs to be established either between enamel and dentin on one side and the resin composite on the other, or between the existing and the newly applied composite material. UNIVERSAL ADHESIVE Committed to keeping clinical procedures as simple as possible, I use an 8th-generation bonding agent – CLEARFIL™ Universal Bond Quick (Kuraray Noritake Dental Inc.) in my dental office. Containing Rapid Bond Technology, it allows for a particularly easy and straightforward use without the need for extensive rubbing or long waiting times. At the same time, it bonds well to various substrates including enamel, dentin and resin composite as it contains the original MDP monomer. Its composition and resulting versatility make CLEARFIL™ Universal Bond Quick the first choice for many indications including non- to minimally-invasive repair procedures. As it works extraordinarily well in situations where we want to bond to dentin, enamel or old composite (Fig.1), it is usually not necessary to remove the whole existing restoration that needs to be repaired or modified. Instead, preparation may be limited to the composite part, so that no additional tooth structure needs to be removed. Fig. 1. CLEARFIL™ Universal Bond Quick establishes a strong bond to dentin, enamel or old composite. CLINICAL PROTOCOL Depending on the condition of the existing restoration surface, the repair protocol may be slightly different. The basic steps are as follows: PROTOCOL 1: OXYGEN INHIBITION LAYER STILL ON THE SURFACE - No surface treatment required, rinse with water in case of contamination with blood or saliva, followed by air-drying and (optionally) adhesive application - Apply new layer of composite immediately PROTOCOL 2: OXYGEN INHIBITION LAYER ALREADY REMOVED FROM THE COMPOSITE SURFACE - Remove the composite around the defect and create a bevel at the cavity margin with rotating instruments - Sandblast the surface with aluminium oxide particles - Fresh composite surface: Clean the surface with KATANA™ Cleaner (Kuraray Noritake Dental Inc.) or etch with phosphoric acid etchant - Composite surface older than two weeks: Etch with phosphoric acid etchant - Apply the universal adhesive (which contains silane) - Apply a new layer of composite CLINICAL RECOMMENDATIONS 1. STAY IN THE COMPOSITE DURING PREPARATION When an old composite restoration needs to be replaced – e.g. because the existing restoration shows discolouration or the patient asks for a brighter shade – it is possible to remove only a part of the composite and leave the rest in place to save the underlying healthy tooth structure. Accurate control over the amount of material removed and the amount of material left in place is offered by the use of UV light. Under UV light, the composite is perfectly visible (Fig. 2). Hence, a highly conservative structure removal is supported (Fig. 3). Fig. 2. Controlling structure removal with UV light, which nicely reveals the old composite. Fig. 3. Tooth preparation with rotating instruments. 2. INCREASE ADHESION BY SANDBLASTING Creating a clean, micro-retentive composite surface ideal for bonding: This is the aim of sandblasting the affected composite area with aluminium oxide particles (Fig. 4). The particle size I prefer is 27 μm. Residual particles, may be removed with 37% orthophosphoric acid, which needs to be rinsed off thoroughly before air-drying the surface (Figs. 5a and 5b). Fig. 4. Air-abrasion with 27 μm aluminium oxide particles. Fig. 5a. Phosphoric acid etching. Adjacent teeth are protected with PTFE tape. Fig. 5b. Thorough rinsing to remove the etchant from the surface. 3. USE A UNIVERSAL ADHESIVE THAT CONTAINS SILANE When bonding to old composite, silanisation of the surface is recommended to increase the bond strength. On dentin, a separate silane shows no positive effect. Hence, it is recommended to apply a separate silane to the composite surface only, a challenging task in situations with a surface consisting of tooth structure and composite. As CLEARFIL™ Universal Bond Quick contains silane, the separate silane application step may be skipped, which clearly simplifies the procedure (Figs. 6a and 6b). Fig. 6a. Application of CLEARFIL™ Universal Bond Quick to the prepared surface. Fig. 6b. Solvent evaporation with a gentle stream of air. 4. IF IN DOUBT, USE A UNIVERSAL ADHESIVE DURING REPAIR PROCEDURES Whenever detected during restoration, defects in the composite layer or air bubbles can be repaired or eliminated right away. As long as the oxygen inhibition layer is still present, another layer of composite may be applied immediately without any prior steps. However, if the surface has been contaminated by saliva or blood (Figs. 7a and 7b) or it is unclear whether we are bonding to dentin, enamel or composite, CLEARFIL™ Universal Bond Quick may be applied (Fig. 8). On top, a new layer of composite is placed to restore the defect (Fig. 9). Fig. 7a. Composite surface with a defect near the margin with blood contaminating the affected area. Fig. 7b. Composite surface with a defect near the margin after thorough rinsing and drying. Fig. 8. Application of the universal adhesive. Fig. 9. Application of composite material to restore the defect. 5. IF AVAILABLE, PLACE A SILICONE INDEX TO SIMPLIFY ANATOMICAL SHAPING If the defect is small, it is possible to apply the flowable composite directly and remove the excesses (Fig. 10). The obtaining of a natural shape and smooth transition between old and new composite, however, is simplified by the use of a silicone index or matrix (Fig. 11), which might still be present from the original restoration procedure. A possible outcome of this type of repair is shown in Figure 12; both images were taken prior to finishing and polishing. Fig. 10. Flowable composite spreading and excess removal. Fig. 11. Silicone index placed over the teeth including the tooth with the defect. Fig. 12. Outcome of the flowable injection procedure. CONCLUSION Elimination of bubbles or defects in a freshly created restoration, changes in the colour of an existing filling or a shape correction due to wear processes: Modifying composite restorations can be easy – provided that appropriate materials and techniques are used. One of the key elements on the path to success is the selection of a suitable adhesive system, preferably a universal single-bottle adhesive like CLEARFIL™ Universal Bond Quick, which allows for streamlined procedures and supports excellent outcomes. By respecting the provided tips, it is possible to create the desired outcomes in a minimally invasive, straightforward way, laying the foundation for long-lasting aesthetics and function. Dentist: MICHAŁ JACZEWSKI Michał Jaczewski graduated from Wroclaw Medical University in 2006 and today runs his private practice in the city of Legnica, Poland. He specializes in minimally invasive dentistry and digital dentistry and is the founder of the Biofunctional School of Occlusion. Here he lectures and runs workshops with focus on full comprehensive patient treatments.
News Feature Don't take your work with you 1 okt. 2024 Leaving work at work, unplugging your mind from the dental office is not rocket science - provided that high-quality dental materials are used. Ideally, they are well-adapted to operator, case, and patient-specific needs. When it comes to restoring cavities with composite, Kuraray Noritake Dental Inc. has got the right products for any dental professional. The CLEARFIL MAJESTY ES family of dental composites is composed of different product lines designed to meet specific needs. Altogether, the line-up offers a solution for every technique and handling preference, clinical situation and patient requirement. UNIVERSAL SOLUTION FOR UTMOST SIMPLICITY When utmost simplicity is desired, a highly innovative universal solution such as CLEARFIL MAJESTY ES-2 Universal is an excellent choice. This paste-type composite system includes only four shades: Universal, Universal Light, Universal Dark, and Universal White. The Universal shade has the highest translucency and is, therefore, most suitable in cases where several cavity walls are still present, such as in Class I or II cavities and the cervical area. In cavities where light easily passes through, the lower-translucency variants Universal Light (for teeth with shades up to A3) and Universal Dark (for teeth darker than A3) are the best options. Universal White is the go-to solution for young patients and whitened teeth. Consequently, there is usually no need for a shade guide, and the optical properties allow application without an opaquer or blocker in most of cases. Both features greatly simplify the clinical procedure. CLASSIC AND PREMIUM OPTIONS FOR SINGLE- AND DUAL-SHADE LAYERING Clinicians who prefer classical single-shade layering according to a shade guide and a greater number of shades available may prefer CLEARFIL MAJESTY ES-2 Classic. With a line-up of 18 shades, it supports straightforward procedures and leads to aesthetic results. Whenever the aesthetic needs are very high, such as in the context of restoring a large cavity in the aesthetic anterior region, CLEARFIL MAJESTY ES-2 Premium may be the best option. Designed for simplified multi-shade layering, it comes with fixed shade combinations of dentin and enamel opacity, that greatly support predictable outcomes. MECHANICAL PROPERTIES All the CLEARFIL MAJESTY ES paste-type composite systems offer a well-balanced viscosity and excellent mechanical properties, including a high flexural strength of 118 MPa a filler load of 78 wt% a compressive strength of 347 MPa a low volumetric shrinkage of 1.9 % a curing depth of 2.0 mm and a long working time under ambient light of 4.5 minutes VERSATILITY POWERHOUSE IN THREE VISCOSITIES> A flowable composite completes the portfolio. As the ideal level of viscosity depends on individual preferences and on the specific indication, CLEARFIL MAJESTY ES Flow comes in three different flowabilities: high, low and super low. They have: a high flexural strength of 145, 151 and 152 MPa, respectively a filler load of 71, 75 and 78 wt%, respectively a compressive strength of 358, 373 and 374 MPa, respectively and a working time under ambient light of 100 seconds. In addition, they are well-received for their easy application, fast polishing and high polish retention. All these features make the product a true versatility powerhouse. Moreover, it is offered in an innovative syringe designed for bubble-free application of the desired amount of composite and easy modelling. THE IDEAL PORTFOLIO FOR PEACE OF MIND The CLEARFIL MAJESTY ES portfolio offers highly suitable products for many clinical situations, demands and treatment techniques. As they support predictable outcomes and long-lasting success, using them gives dental practitioners the peace of mind needed to leave work at work and truly enjoy their free time—in the evening at home, on weekends or on holiday. For more information about Kuraray Noritake Dental Inc.’s composite solutions visit the website.
News Feature Universal adhesive in the context of different repair procedures 27 sep. 2024 Article by Dr. Michał Jaczewski When working with composite, one of the most important aspects is to understand the mechanisms of adhesion. Choosing the right composite is one thing, but choosing a suitable bonding system and using it correctly is an equally important aspect affecting the long-term performance of a direct restoration. There are many bonding products on the market - two-bottle (primer and bond) but also single-bottle systems. For anyone trying to select an ideal adhesive for a specific clinical case, the sheer number of available products can be challenging. The temptation to use them all, in slightly different ways, has the potential to create errors. In my dental practice, I am committed to simplifying procedures. This is why I started looking for a bonding system that would offer a sense of security in terms of adhesion, but also ease of use in different clinical situations. I have opted for the 8th-generation bonding agent with the desired features - CLEARFIL™ Universal Bond Quick (Kuraray Noritake Dental Inc.). The single-bottle universal adhesive is ideal for a broad variety of bonding procedures carried out in the dental office. IMPRESSIVE FEATURES CLEARFIL™ Universal Bond Quick can be used in the total-etch as well as the selective enamel etching technique in combination with an etching gel such as K-ETCHANT Syringe (Kuraray Noritake Dental Inc.). It is also a self-etching adhesive. Used in combination with the dual-cure build-up material CLEARFIL™ DC CORE PLUS or the dual-cure universal resin cement PANAVIA™ SA Cement Universal (both Kuraray Noritake Dental Inc.), it is also an ideal choice for cementation in the root canal and for cementing inlays or crowns made of a variety of different restorative materials – from metal to zirconia or lithium disilicate. Efficient clinical procedures are supported by the incorporated Rapid Bond Technology, which eliminates the need for extensive rubbing or waiting for the adhesive to penetrate the substrate and the solvent to evaporate. Among the key components of this technology are hydrophilic amide monomers, which allow the adhesive solution to penetrate moist dentin extraordinarily quickly, while also having a high curing ability. In addition, the original MDP monomer is included in the formulation. Together with the amide monomers, it provides for a high bond strength to enamel and dentin – achievable in a simple procedure of application, air-drying and light-curing. The described properties turn CLEARFIL™ Universal Bond Quick into one of the most versatile and easy-to-use adhesive bonding solutions in the dental office. Operator sensitivity is low, as is its technique sensitivity, since the three-step procedure is always the same. The following case examples illustrate its use in the context of different repair procedures. REPAIR OF COMPOSITE RESTORATIONS One of the major benefits of using composite as a restorative material lies in the fact that it may be modified and repaired at any time. Regardless of whether an air bubble is detected on the surface, the shade needs to be adjusted, a fracture occurs or materials need to be added as a result of wear, modification or repair is easily accomplished without needing to sacrifice additional amounts of healthy tooth structure. Whenever a silicone index has been produced for the initial treatment and is still available, and the user knows which composite has been utilized for the original restoration, the Flowable Injection Technique may be selected as a particularly easy and efficient way of repairing a restoration. However the recommended protocol is slightly different depending on the state of the restoration surface. CASE EXAMPLE 1: IMMEDIATE REPAIR PROCEDURE When a restoration has been damaged or an air bubble has appeared during injection of a flowable composite, the procedure is slightly different. In this case, the oxygen inhibition layer is usually still present on the surface of the restoration. Therefore, it is possible to simply apply an additional portion of composite (Figs. 1a to 1d). Even after contamination of the composite surface with water, saliva or blood, this measure is possible. The surface merely needs to be rinsed thoroughly and dried before applying the new portion of composite. For maximum safety, a universal adhesive may be used as well. Fig. 1a. Repair procedure applicable for defect within a composite restoration whenever the oxygen inhibition layer has not yet been removed: Air bubble detected in the interproximal region. Fig. 1b. Application of a new portion of composite after rinsing and drying. The adjacent surface is protected with PTFE tape. Fig. 1c. Repositioned silicone index used to give the restoration the originally planned shape. Fig. 1d. Final restoration. CASE EXAMPLE 2: REPAIR PROCEDURE AFTER POLISHING If a similar defect is detected during finishing and polishing, i.e. when the oxygen inhibition layer has already been removed (Fig. 2), a roughening of the surface is strictly necessary. With a bevelled preparation of the area with the air bubble, optimal conditions are created for another layer of composite that blends in well with the surrounding material (Fig. 3). After bevelling, the surface needs to be sandblasted and cleaned either with KATANA™ Cleaner (Kuraray Noritake Dental Inc.) (Fig. 4a) or with 37 % orthophosphoric acid (Fig. 4b). After thorough rinsing and drying, an additional portion of composite may be applied to the surface (Figs. 5a to 5c). As the defect is small, the composite may be applied instead of injected and the silicone index repositioned afterwards. Fig. 2. Void on the surface, detected during finishing. Fig. 3. Removed void and bevelled area around the defect. Fig. 4a. Option 1: Cleaning of the surface with KATANA™ Cleaner. Fig. 4b. Option 2: Etching with K-ETCHANT Syringe. Fig. 5a. Application of composite (CLEARFIL MAJESTY™ ES Flow Low). Fig. 5b. Repositioning of the original silicone index to obtain the desired shape. Fig. 5c. Final restoration with a nice blend-in of the different layers of composite. CASE EXAMPLE 3: REPAIR PROCEDURE AFTER TWO OR MORE WEEKS For damaged restorations which have been in place for more than two weeks, an ideal composite-composite interface needs to be created by bevelling and roughening of the surface. A perfect example is presented in Figure 6. The most important step influencing the success of the procedure is proper preparation of the composite surface. To lay the foundation for a strong bond between the new and the old composite as well as for aesthetic outcomes, a bevel needs to be created (Figs 7a and 7b) to facilitate a smooth transition between the two layers. Once the bevel is completed, the surface should be sandblasted with alumina particles sized 27 μm (Fig. 8). The following recommended steps are etching of the composite with 37 % orthophosphoric acid (Fig. 9) and finally application of CLEARFIL™ Universal Bond Quick (Fig. 10). As the universal adhesive contains a silane coupling agent, separate silane application is not necessary. Instead, the new layer of composite may be applied immediately e.g. using the flowable injection technique with an existing matrix (Fig. 11). Fig. 6. Fractured anterior composite restoration benefitting hugely from repair – the remaining composite is in a great state regarding colour and shape. Fig. 7a. Bevelling with dedicated instruments. Fig. 7b. Ideal bevel created to provide for a strong bond and great optical blend-in. Fig. 8. Sandblasting of the surface with alumina particles. Fig. 9. Phosphoric acid etching. Fig. 10. Application of the universal adhesive. Fig. 11. Composite applied using the flowable injection technique. Fig. 12. Treatment outcome. CONCLUSION The three described repair protocols are straightforward and work well – provided that a strong bond is established at the composite-composite interface. The way it is established may be slightly different depending on whether the oxygen inhibition layer is still present or has already been removed. Using a universal adhesive like CLEARFIL™ Universal Bond Quick, the procedure is simplified owing to elimination of steps such as the separate application of silane. Dentist: MICHAŁ JACZEWSKI Michał Jaczewski graduated from Wroclaw Medical University in 2006 and today runs his private practice in the city of Legnica, Poland. He specializes in minimally invasive dentistry and digital dentistry and is the founder of the Biofunctional School of Occlusion. Here he lectures and runs workshops with focus on full comprehensive patient treatments.
News Feature Quality and Inventory Management in the Dental Lab 24 sep. 2024 DELICATE BALANCE BETWEEN COSTS AND AESTHETICS IN DENTAL LAB When you are a lab owner striving to achieve high-end results using modern digital techniques, the initial investment in CAD/CAM technology is significant, followed by ongoing costs for expendable items such as milling tools and blanks. That cost can be reduced by selecting universal, high-quality materials. Undoubtedly, zirconia stands out as one of the most popular materials on the market. From an inventory perspective, however, lab owners often find themselves purchasing multiple discs of the same shade and thickness. The reason is that they need to meet all requirements for strength and aesthetics in different settings – enabling them to cover all kinds of restorations and deliver excellent patient outcomes. UNIVERSAL SOLUTION FOR DENTAL LABS At Kuraray Noritake Dental Inc., we take pride in not only developing the first-ever multilayer zirconia, KATANA™ Zirconia ML, but also in our commitment to delivering the highest quality materials that we can. KATANA™ Zirconia YML, our latest addition to the KATANA™ Zirconia line-up, exemplifies this dedication and offers universal applicability. The universal feature is based on the fact that KATANA™ Zirconia YML disc not only offers colour gradation, but also impressive flexural strength and translucency gradation, with maximum values of up to 1,100 MPa and 49 % translucency, respectively. INHOUSE PRODUCTION - THE PATH TO HIGH QUALITY ZIRCONIA DISC Like all our zirconia offerings, KATANA™ Zirconia YML begins its journey to the dental lab in our Japanese facility where raw zirconia powder undergoes special treatment process before the addition of essential components. Once the material has undergone this thorough initial stage, it progresses to the pressing and pre-sintering phase to form the disc. Every detail is carefully calculated, managed and controlled. This phase of the process takes several days, underscoring our goal to achieve the most aesthetic product. HIGH-SPEED SINTERING PROGRAM: 54 MINUTES The unique powder formulation and refinement process, as well as the pressing and pre-sintering technique, is the key to allow our customers to realize restorations of up to three-unit bridges without any compromise in terms of aesthetics or mechanical properties using the 54-minute high-speed sintering* process. This high quality, lengthy production process results in an exceptionally dense material, which once sintered, goes on to deliver a high strength, high aesthetic final restoration. HIGH PRECISION SHRINKAGE AND STABLE CTE VALUES FOR EXCEPTIONAL FIT Outstanding deformation stability during the sintering procedure, contributes to the stability during the final sintering process in the dental laboratory, providing for an exceptional fit of large-span bridges and other restorations. MULTI-LAYERED STRUCTURE AND EASE OF POSITIONING OF RESTORATIONS IN THE BLANK To enhance aesthetic qualities, all KATANA™ Zirconia YML discs are designed using ratios rather than fixed measurements of different layers in the multi-layered structure. This means that regardless of the disc's thickness, there is always a consistent ratio of 35 % of raw material that constitutes the translucent enamel zone. Hence, discs with an increased height, which are typically used for the production of larger restorations, will always offer sufficient space in the enamel zone, while smaller discs are optimized for smaller restorations. ONE DISC. ALL INDICATIONS. These qualities empower dental lab owners to deliver a wide range of restorations. The material is suitable for single crowns to full-arch structures, for full-contour designs to conventional frameworks, using a single material without compromising on aesthetics: KATANA™ Zirconia YML. For finishing, we offer a well-aligned portfolio of solutions designed for internal and external staining, micro-layering and full layering. EXPLORE KATANA™ Zirconia YML: WEALTH OF RESOURCES, CLINICAL CASES AND FAQS Visit our website to discover more about KATANA™ Zirconia YML. You will find useful materials such as brochure, technical guide, in-depth technical information. Would you like to see the material in action – browse the blog section of our website that offers a variety of clinical cases and articles by world-renowned experts showcasing and proving the versatility and aesthetics of KATANA™ Zirconia YML. *The material is removed from the furnace at 800°C. A furnace with a configurable KATANA™ Zirconia YML firing program is required.
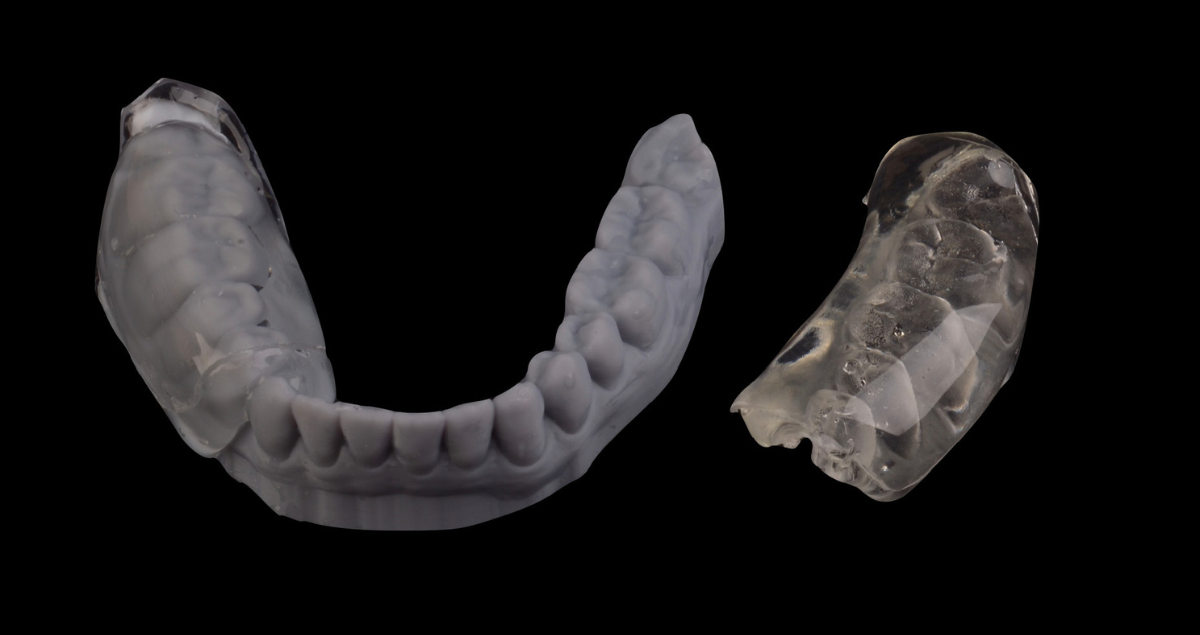
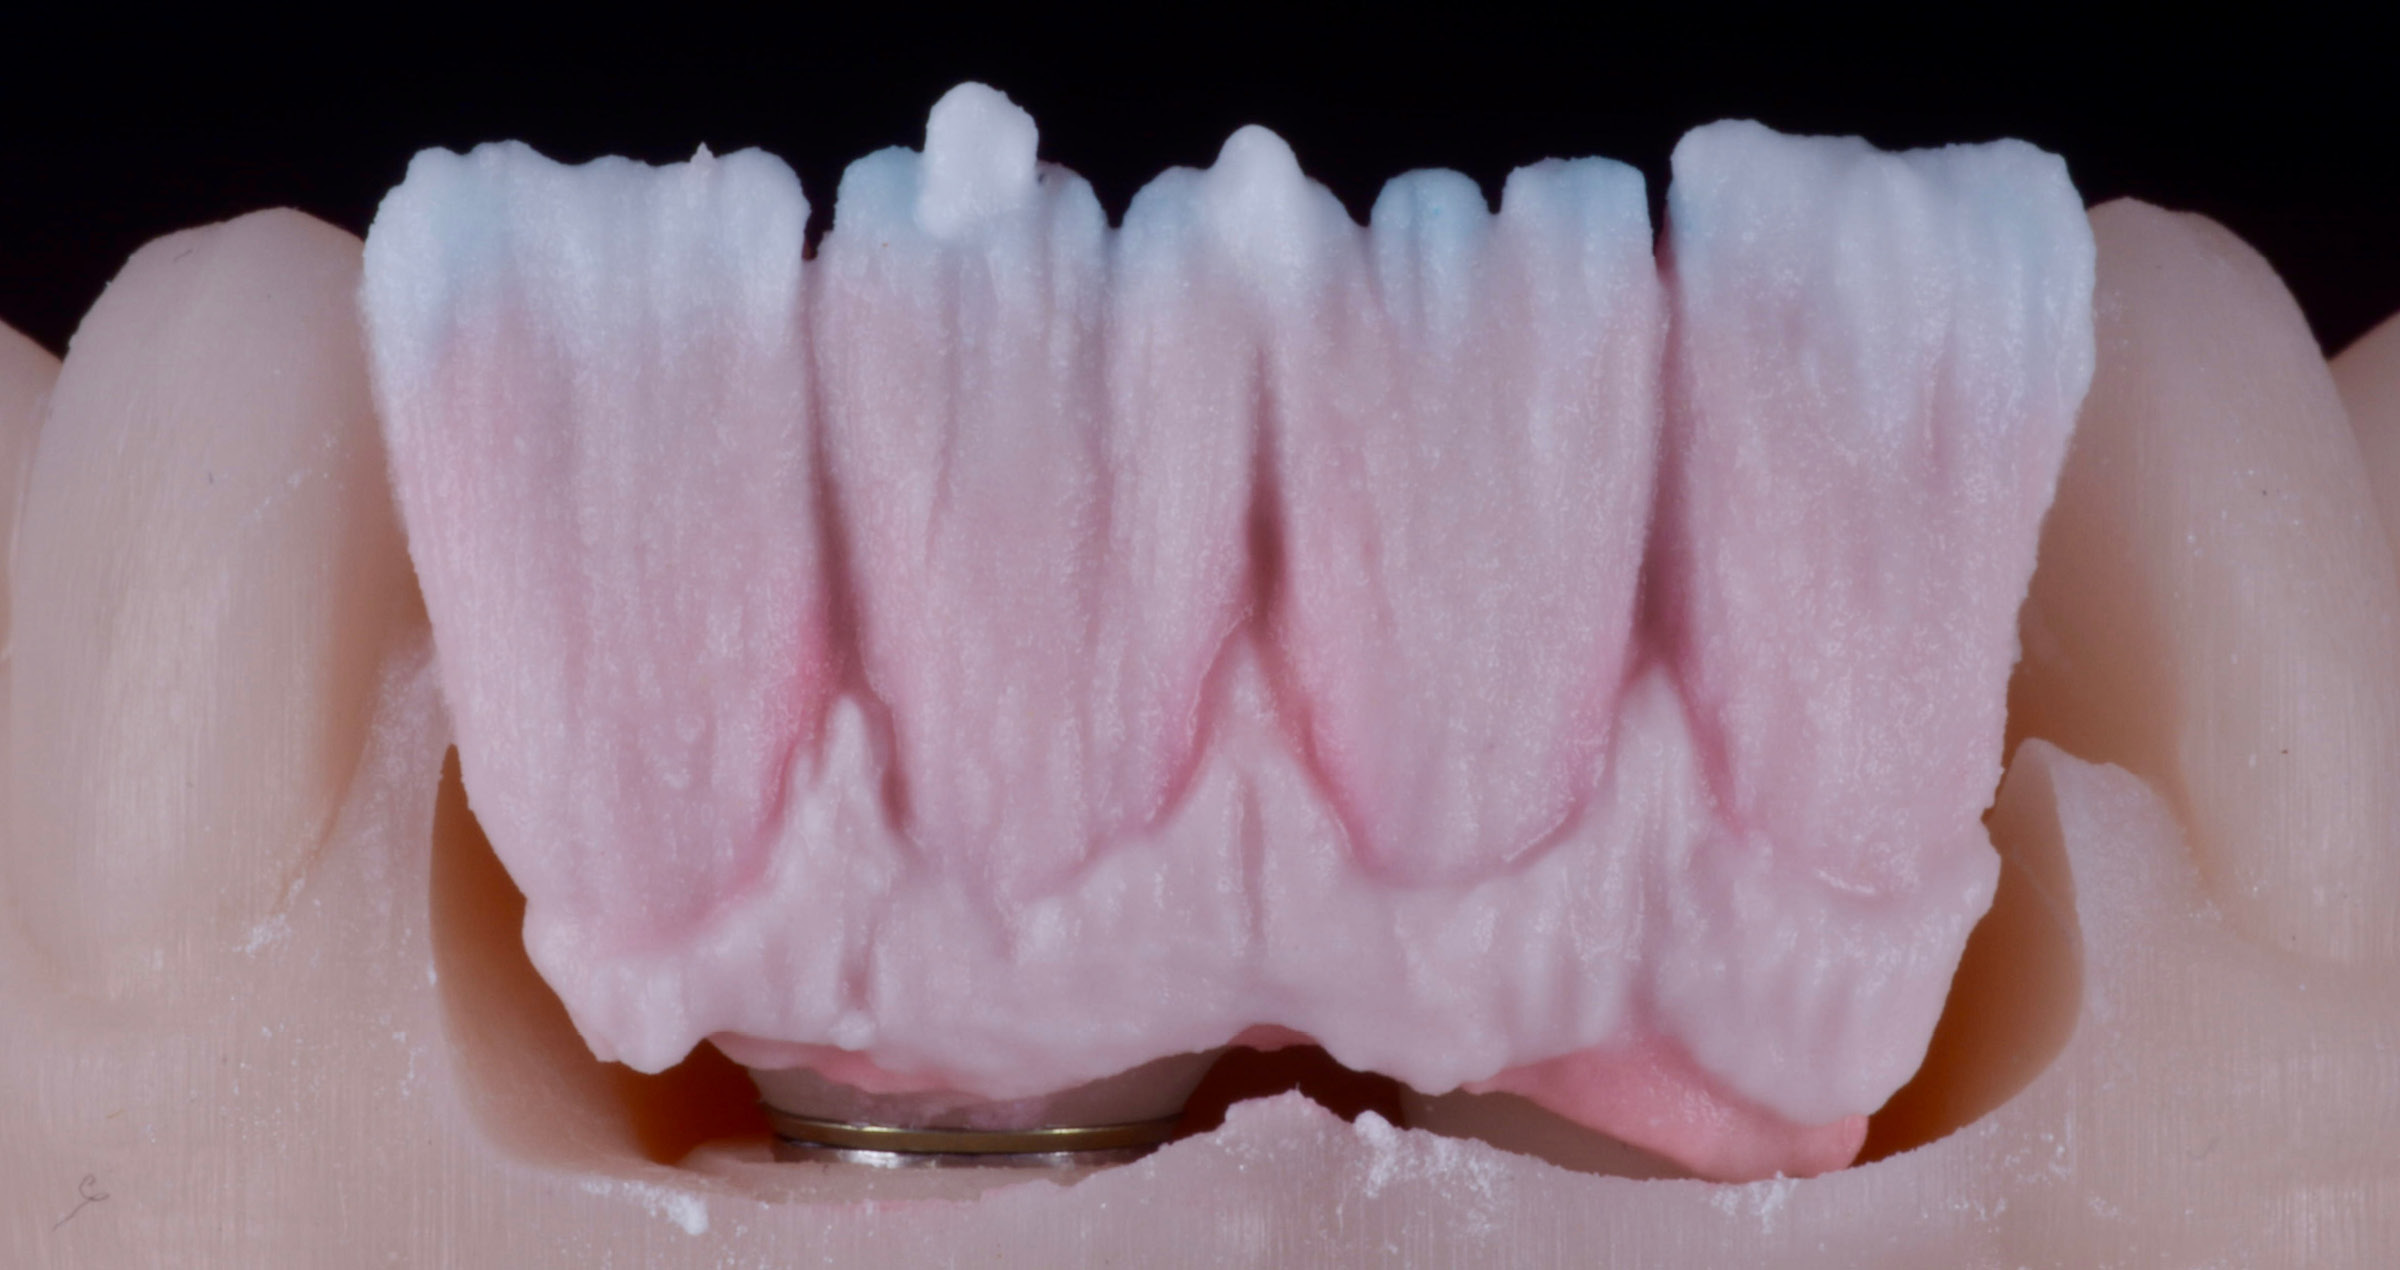
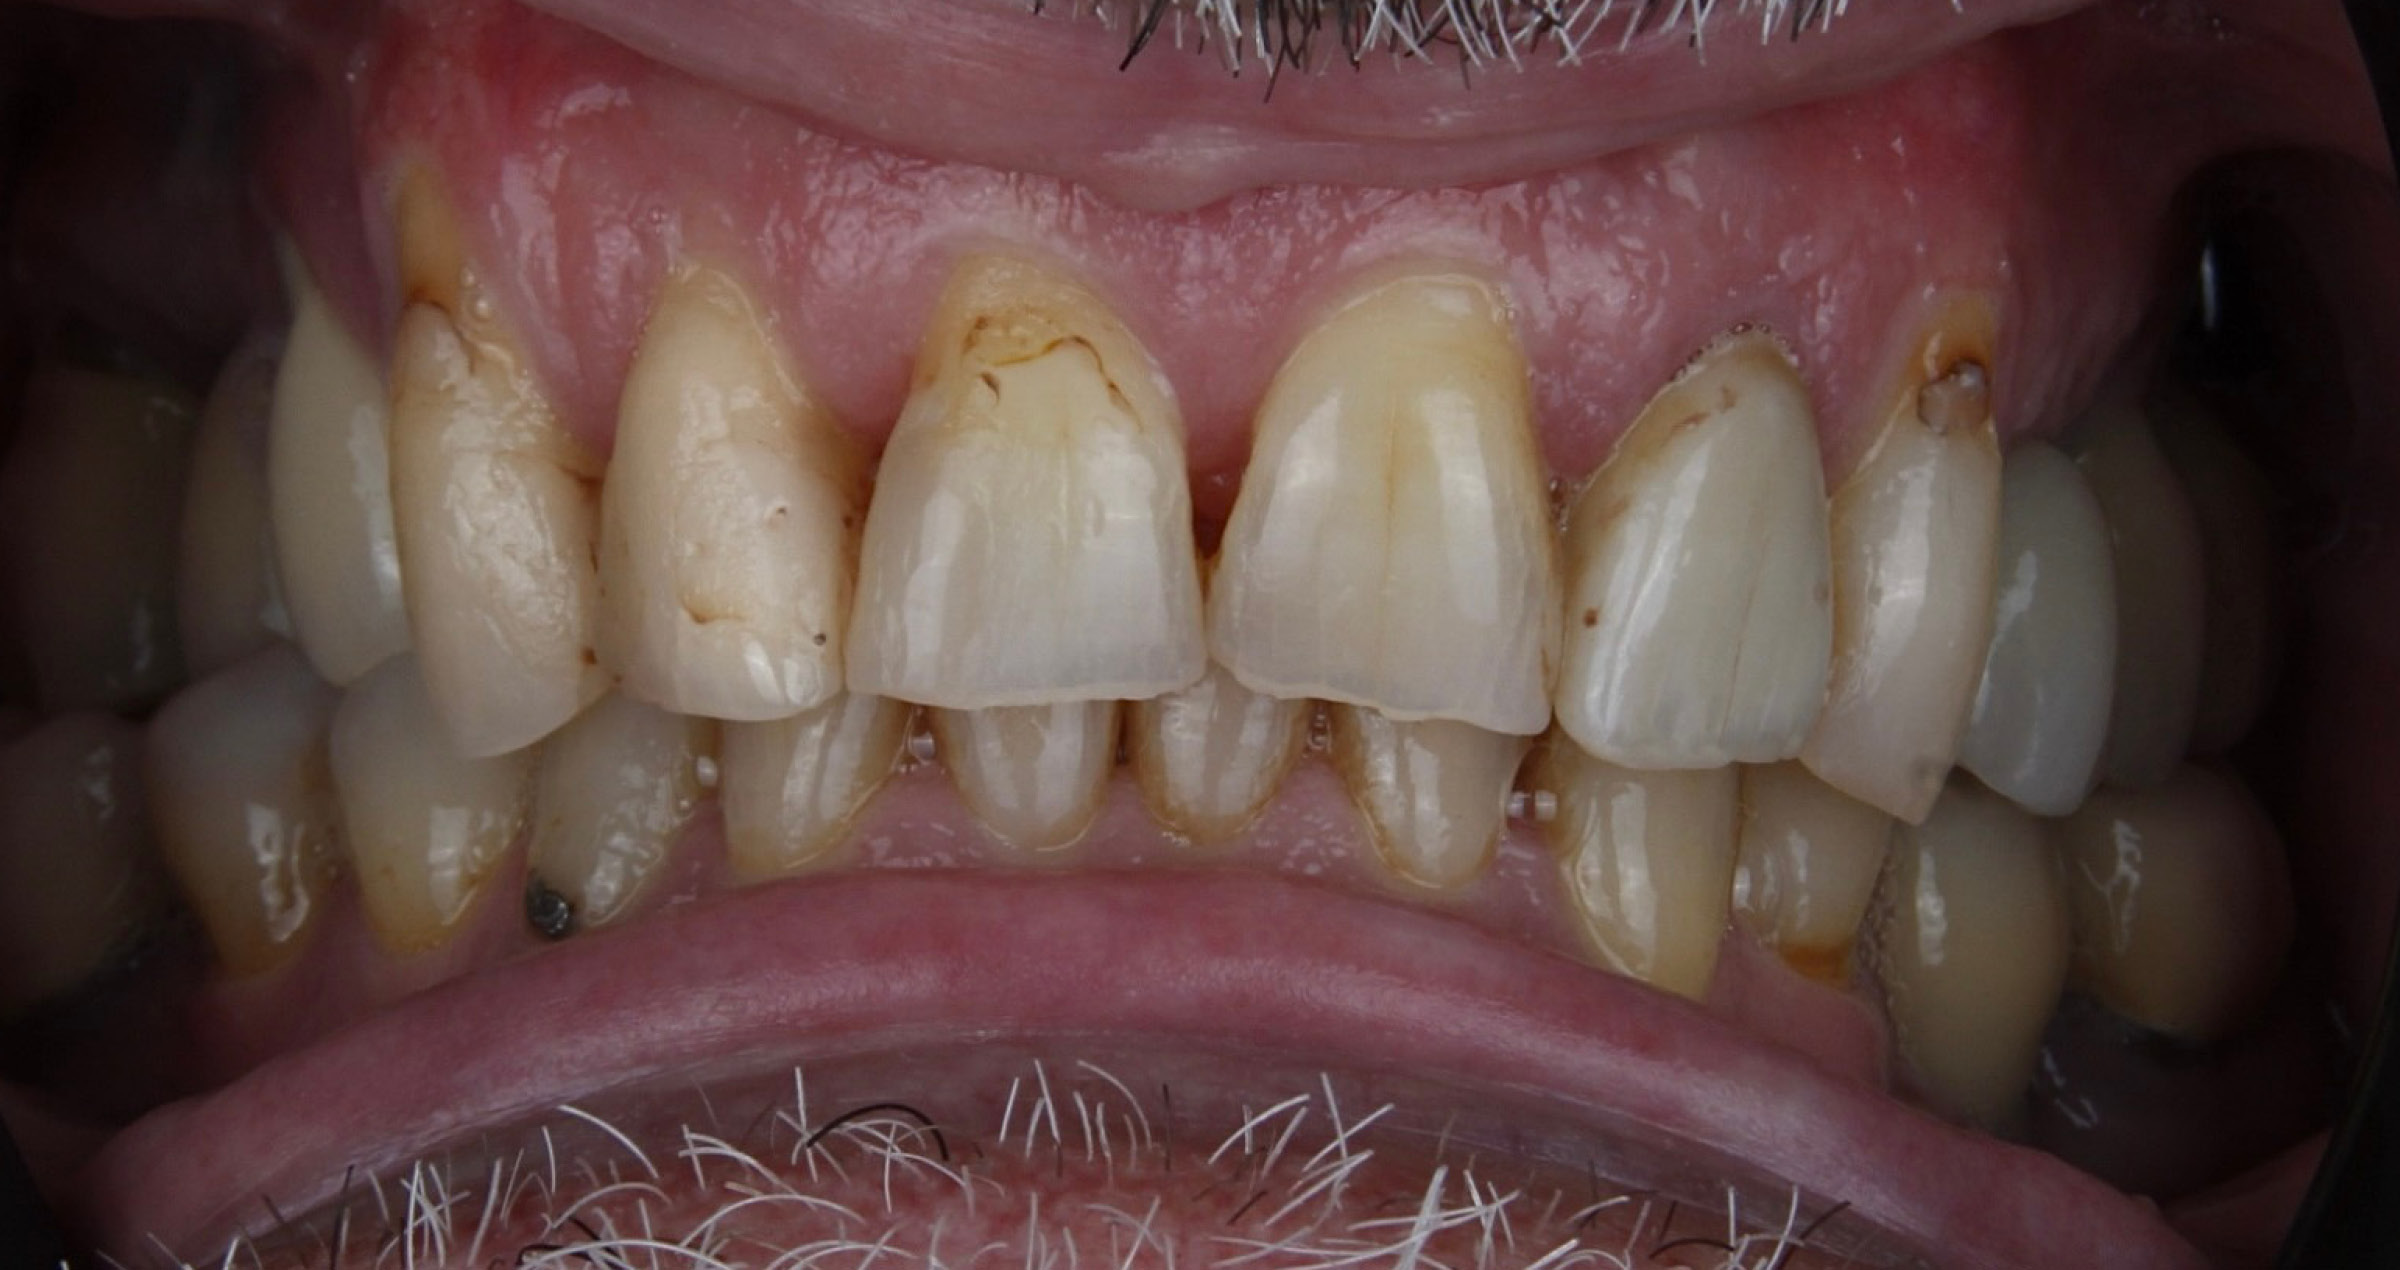
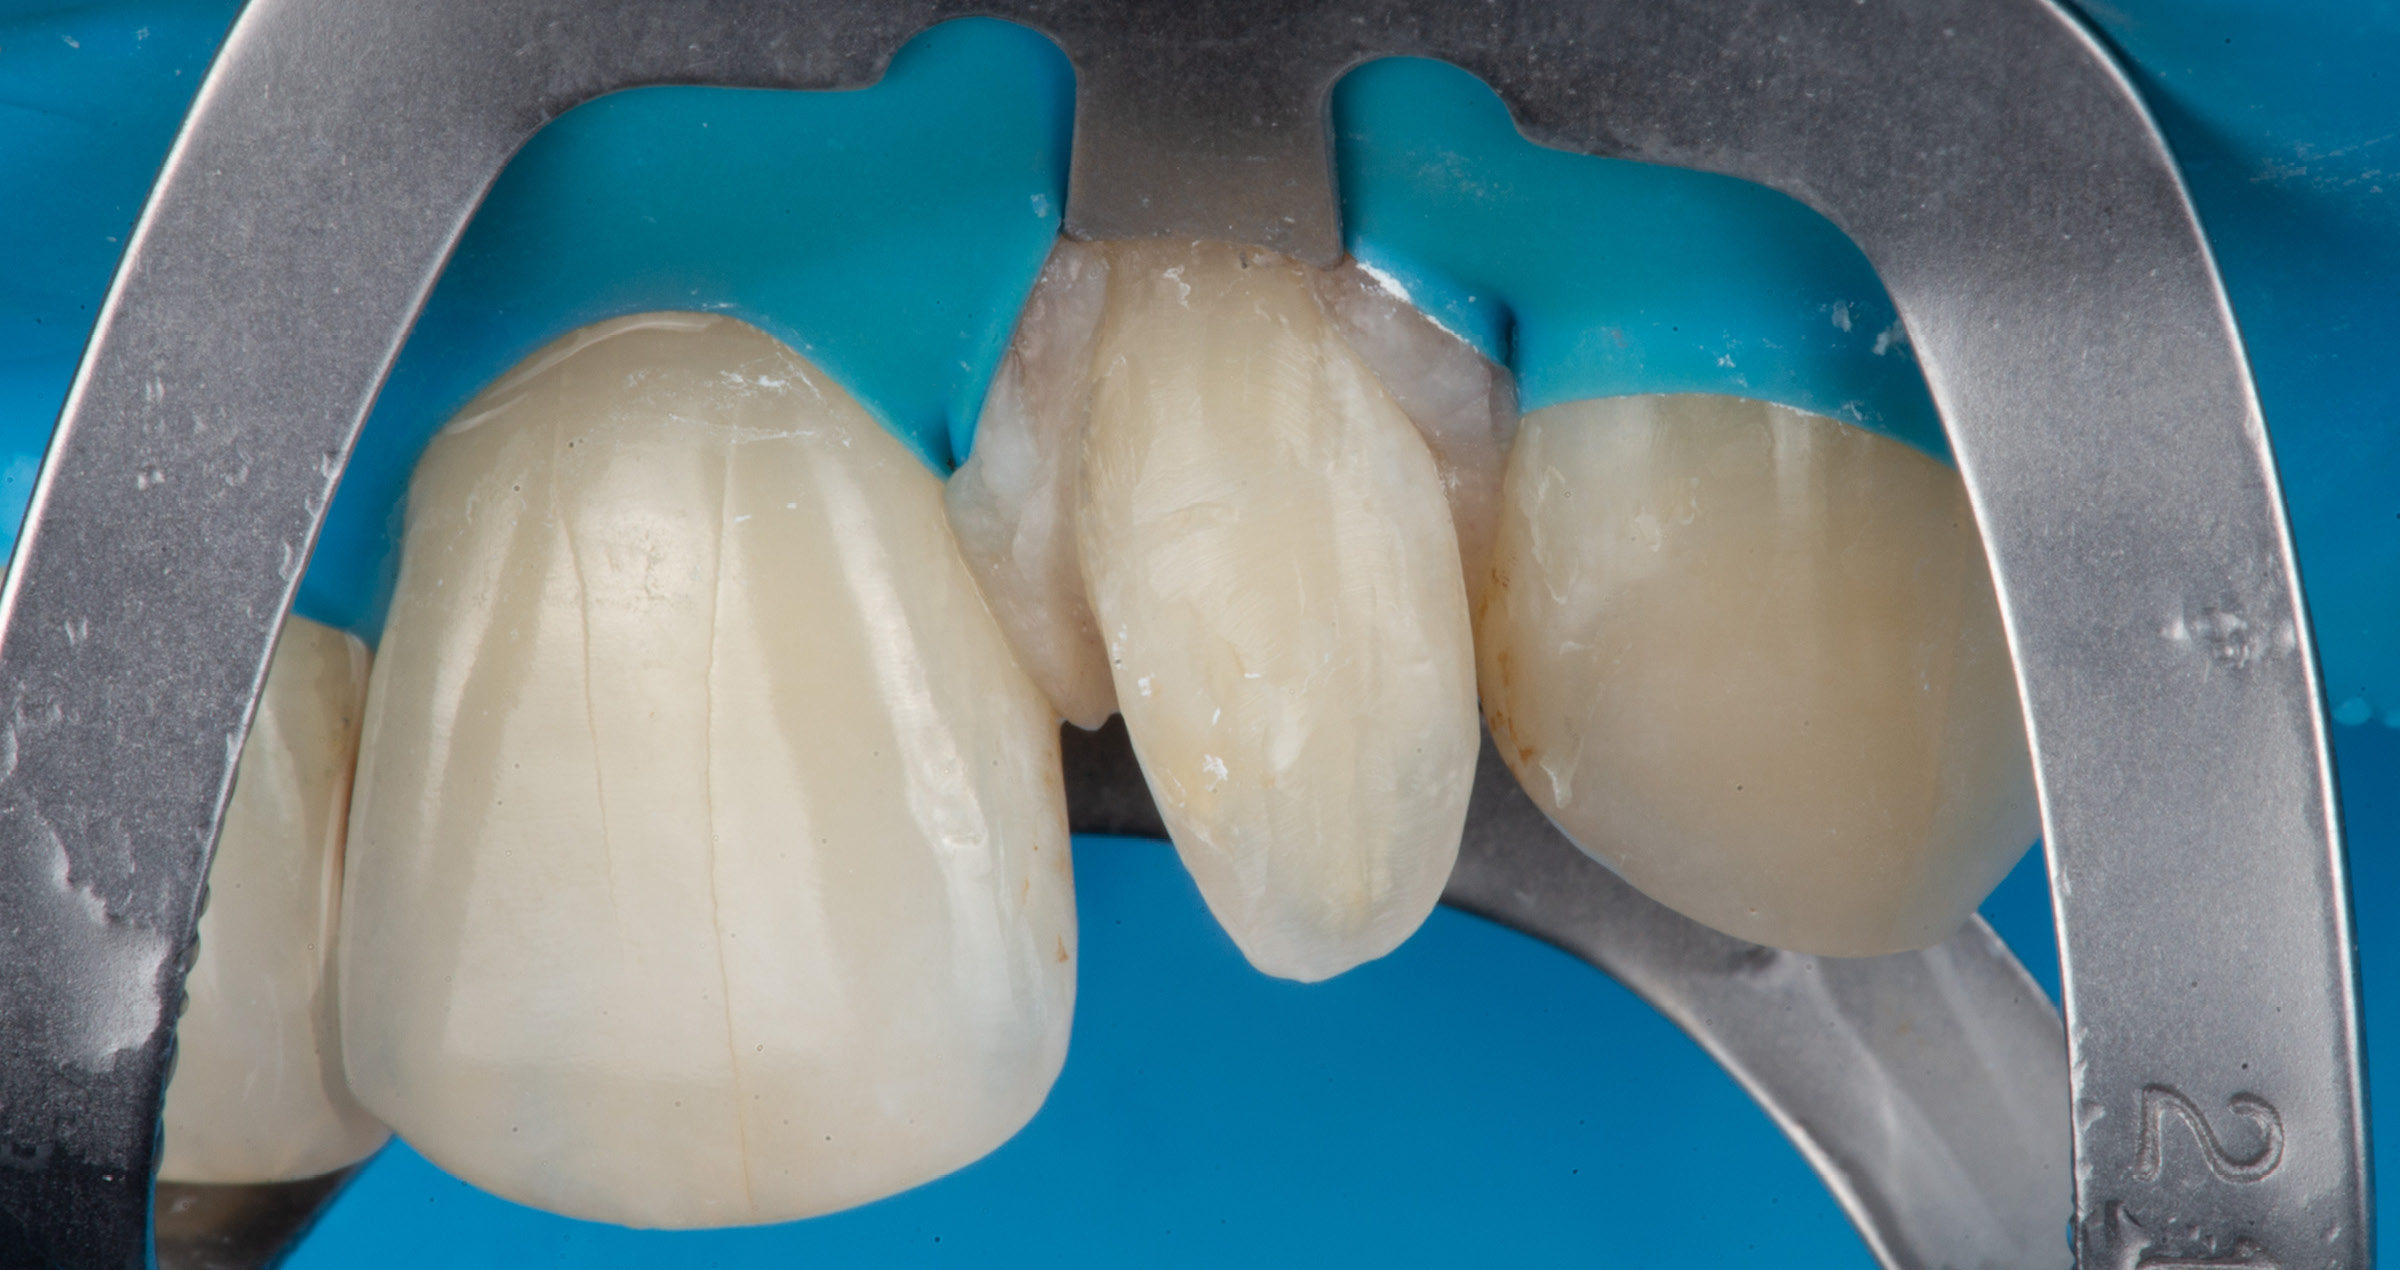
News Feature Article by Dr. Michał Jaczewski 17 sep. 2024 FLOWABLE INJECTION AND STAMP TECHNIQUE: RESTORING TEETH IN THE POSTERIOR REGION Restoring the occlusal surface of posterior teeth while preserving the natural morphology and re-establishing correct occlusal contacts has always been challenging for dental practitioners. Free-hand layering requires knowledge of tooth anatomy, composite handling skills and experience. When the occlusal surface of a tooth is damaged at the start of treatment (as is usually the case in teeth with large MOD cavities) or an increase of the vertical dimension of occlusion is planned (e.g. in severely worn teeth), the use of the flowable injection technique may be a suitable alternative. It truly speeds up and facilitates the process of building up the restoration to a natural shape, but requires thorough planning and preparation. In cases with an intact occlusal surface, the stamp technique might be the first choice. FLOWABLE INJECTION TECHNIQUE: GENERAL CONSIDERATIONS It is up to the user how exactly the restorations, to be built up by flowable injection, are planned and how the plan is implemented: One can either opt for a conventional wax-up or make use of digital tools in the planning phase. Dedicated design software offers the benefit of facilitating the creation of a natural shape and morphology of the desired restoration and allows for the establishing of an ideal occlusal relationship. Once the wax-up is ready, it needs to be transferred into the patient’s mouth. This is accomplished via a printed or classical model with wax-up, which forms the basis for the production of a matrix or silicon index. This index is then used intraorally for the injection of the flowable composite. To enable proper light curing through the index, the index material should be as transparent as possible. AREA-SPECIFIC CONSIDERATIONS In the posterior area, an index made of two different materials – a soft inner silicon structure and a hard outer shell – may be advisable. Due to its higher dimensional stability compared to a soft silicon index, it is possible to put pressure on it for proper adaptation to the isolated teeth and soft tissue without the risk of altering the shape of the tooth. Figure 1 shows such an index on and next to a printed model. It consists of a hard shell made of acrylic and a soft inner structure made of a transparent silicone material (e.g. EXACLEAR™, GC). For production, a high-capacity hydraulic pressure curing unit designed for use with self-curing resins (Aquapres™, Lang Dental) has proven its worth: It ensures a highly accurate reproduction of the (digital) wax-up. Fig. 1. Printed model and silicone index. Reconstruction of posterior teeth with the flowable injection technique requires prior removal of all carious lesions and reconstruction of the proximal surfaces to restore the contact points. Hence, the injected composite serves the exclusive purpose of restoring the occlusal surface. When several teeth are treated, a two-step procedure with an alternating technique is recommended to provide for proper separation of the teeth. Blocking the proximal surfaces below the contact point with PTFE tape will reduce the amount of excess material in these areas and make it easier to clean and prepare the proximal surfaces after flowable injection. Proximal and deeper occlusal lesions should be restored with the aid of a matrix, wedge and ring. CLINICAL PROTOCOL A possible clinical protocol is illustrated in Figures 2 to 5: After caries excavation and tooth preparation, sectional matrices, wedges and rings were placed to allow for simultaneous treatment of the mesial and occlusal cavities. Following etching and application of the universal adhesive CLEARFIL™ Universal Bond Quick (Kuraray Noritake Dental Inc.), the cavities were restored with CLEARFIL MAJESTY™ ES Flow Super Low in the shade A1 and CLEARFIL MAJESTY™ ES-2 Universal in the shade U. The distal cavity of the first molar was filled in the last step of the free-hand modeling procedure. In order to restore the occlusal surfaces in their original vertical dimension, every second tooth was isolated with rubber dam and the exposed molar etched (total-etch technique with K-ETCHANT Syringe, Kuraray Noritake Dental Inc.). the alternating index was positioned with some pressure and the flowable composite (CLEARFIL MAJESTY™ ES Flow Super Low) injected. Once light curing was completed, it was possible to remove the index, chip off the excess and finish and polish the restoration before repeating the procedure for the adjacent molar. Fig. 2. Restoration of two molars: Teeth preparation and caries excavation. Fig. 3. Restoration of two molars: Filling of the proximal and occlusal cavities. Fig. 4. Restoration of two molars: Re-establishing the occlusion with the aid of the flowable injection technique. Fig. 5. Alternating approach: Restoration of the second molar by injecting flowable composite. DISCUSSION The use of the flowable injection technique allows for rapid restoration of teeth and the establishment of precise occlusal contacts. This reduces the time spend on occlusal surface modelling and minimizes the risk for prolonged treatment due to a repeated need for occlusal adjustments. In addition to saving time, it is possible with this technique to restore a greater number of teeth in a single appointment. The aesthetics of this type of restoration may be somewhat limited: A skilled practitioner is able to achieve better aesthetic results on the occlusal surface. However, with a detailed wax-up and high-quality model great outcomes can be obtained. The surface quality of printed models can be increased by adjusting the printing parameters including the layer height (Fig. 6). The use of a hydraulic pressure curing unit for silicone index production further increases the quality of the occlusal surface. When planned and implemented correctly, the established occlusal surface and contacts reflect the natural anatomy without the need for adjustments (Fig. 7). Especially when restoring an entire quadrant, it is possible to increase the efficiency by opting for the flowable injection technique. Doing so reduces the number of appointments and the chair time decisively (Fig. 8). STAMP TECHNIQUE: CONSIDERATIONS If the occlusal surface of the tooth is intact, a wax-up may not be necessary. In this case, the better strategy is to duplicate what is still available before initiating treatment. A flowable composite or liquid rubber dam can be used for this purpose. It is important to coat the tooth surface with glycerin gel before applying the material. This will facilitate separation of the stamp from the tooth. It is always advisable to create a stamp that covers not only the details that need to be recorded and duplicated, but is extended over the cusps. This offers better stability in the restoration phase. CLINICAL PROTOCOL Figures 9 to 11 illustrate a possible clinical procedure. In this case, a molar with an occlusal carious lesion needed to be restored. The tooth surface was cleaned and a thin layer of glycerin gel applied, followed by a thick layer of liquid rubber dam, which covered the entire occlusal surface. Then, a micro applicator was immersed into the material and the stamp cured. After preparation, etching and application of the bonding system, the cavity was restored with flowable composite (CLEARFIL MAJESTY™ ES Flow Super Low in the shade A2). When the cavity is larger and depending on personal preferences, a paste-type composite (CLEARFIL MAJESTY™ ES-2 Universal) may also be used. Prior to light curing of the composite, the occlusal surface was covered with PTFE tape and the stamp pressed onto it. After firm pressing, the tape and excess material were removed and the restoration polymerized. This restoration faithfully reproduces the occlusal surface and did not require any occlusal adjustments. Fig. 6. Stamp production with liquid rubber dam. Fig. 7. The stamp. Fig. 8. Restoration procedure: From preparation to bonding. Fig. 9. Restoration procedure: Filling with flowable composite. Fig. 10. Restoration procedure: Duplication the original occlusal surface with the stamp. Fig. 11. Tooth before and after treatment using the stamp technique. CONCLUSION Techniques that add simplicity and efficiency to clinical procedures are always welcome in the busy practice environment. Depending on the information available at the start of treatment and the number of teeth to be restored, the flowable injection or the stamp technique may be an ideal choice. They are easily implemented and speed up the clinical procedure, but most importantly support predictable outcomes. This saves time in the finishing phase and minimized the risk of repeated adjustments, hence protecting everyone involved from additional appointments and frustration. Especially for practitioners with limited routine in free-hand modelling and for those with maximum patient comfort in mind, both techniques are worth being integrated in their clinical procedures. Dentist: MICHAL JACZEWSKI Michał Jaczewski graduated from Wroclaw Medical University in 2006 and today runs his private practice in the city of Legnica, Poland. He specializes in minimally invasive dentistry and digital dentistry and is the founder of the Biofunctional School of Occlusion. Here he lectures and runs workshops with focus on full comprehensive patient treatments.
News Feature Injektionteknik: Enkelt, Förutsägbart och Repeterbart 10 sep. 2024 Interju med Dr. Michał Jaczewski Injektionstekniken börjar bli en populär metod att använda för att estetiskt laga flera tänder med flytande komposit. Michał Jaczewski är en välrenommerad utbildare som lär ut hur man framgångsrikt använder denna teknik. Michał Jaczewski tog sin examen vid Wroclaw Medical University (Polen) 2026 och driver egen privatpraktik i Legnica sedan 2011. Han är grundaren av the Biofunctional School of Occlusion som ger utbildningar inom omfattande dentala behandlingar och han har en stor passion för estetisk och digital tandvård. På den internationella Kölnmässan 2023 visade han oss när, varför och hur han använder injektionstekniken i sin praktik. Kan du beskriva tekniken med några få ord? Injektionstekniken är ett enkelt, förutsägbart och repeterbart sätt att laga tänder med flytande komposit. Tekniken baseras på en wax-up som används för att framställa ett silikonindex. Indexet utgör sedan nyckeln till injektionen av flytande komposit, som ljushärdas genom det transparenta silikonet . Den största fördelen med med tekniken är att den fungerar utan - eller ibland med bara minimal - avverkning av tandsubstans. Det är en minimalinvasiv teknik som kan användas av både nybörjare och erfarna tandläkare. Genom att använda en komposit med väl balanserad opacitet vid skikt på 0.3 mm och ett speciellt putsprotokoll, är det möjligt att uppnå fantastiska morfologiska och optiska resultat. När började du använda injektionstekniken och vilka är de huvudsakliga indikationerna? Jag började använda tekniken 2018. Tekniken var ursprungligen avsedd för att laga anteriora tänder, men numera används den också framgångsrikt i det posteriora området. Enligt min uppfattning är tekniken särskilt användbar när formen behöver korrigeras på flera tänder för att förbättra patientens leende - oavsett om det gäller en gammal eller en ung patient. Det kan behövas efter ortodontisk behandling. Tändernas position korrigeras och behandlas sedan till perfekt form genom en ickeinvasiv teknik. Jag använder också injektionstekniken för att återställa leenden, för att bygga upp nedslitna tänder och för att förändra de vertikala förhållandena i ocklusionen vid helkäksbehandlingar. I det senare fallet kan ersättningarna användas som en kort- eller långtidstemporär ”provkörning”. Men tekniken kan också användas för den permanenta och slutliga behandlingen. Hur planerar du för behandling med injektionsteknik? Det viktigaste skedet, och det som i hög grad påverkar slutresultatet, är planeringsfasen. Den består i dokumentation, avtryckstagning och framställning av wax-up, mock-up och silikonindex. Man kan naturligtvis arbeta på det traditionella sättet med silikonavtryck och konventionell wax-up, men att använda digital teknik i denna fas kommer att förbättra ditt arbetsflöde avsevärt. Jag börjar vanligtvis med foto- och videodokumentation och digital avtryckstagning. Registrering av käkrelationer (CR) och ocklusion behövs också. Därefter skapas en digital wax-up med hjälp av mjukvara för digital smile design. I den fasen är det viktigt att ta hänsyn till patientens utseende, en uppgift som bäst tacklas med hjälp av the facial flow concept. Baserat på slutdesignen kan man visa upp och diskutera det virtuella behandlingsresultatet för patienten. När designen godkänts printas wax upmodellen i olika varianter: en med den fullständiga wax-upen och en "interlip"-modell - ett alternerande index där varannan tand är uppvaxad och varannan inte är det. Modellerna används för att framställa de nödvändiga indexen, som består av transparent silikon. Digital smile design: Patient med omfattande tandslitage. Virtuell wax-up i patientens mun. Modeller printade med den virtuella mock-upen som utgångspunkt. Silikonindex framställt på den alternerande (interlip) modellen. När och varför gör du fler än ett silkonindex? Det är särskilt användbart att arbeta med både det fullständiga och det alternerade indexet när man ska behandla alla tänder i överkäken. Att börja med det alternerande indexet ger mig en stabil början och lägger grunden för ett exakt slutresultat, särskilt vad gäller ocklusionen. I underkäken, där hanteringen av index och komposit är svårare på grund av salivförekomst och rörlig mjukvävnad, rekommenderar jag alltid att man delar upp arbetet i tre sektioner - en anterior och två posteriora områden - och att man hanterar dem separat. Hur preparerar du tänderna och hur injicerar du den flytande kompositen? I de flesta fall behövs bara en lätt uppruggning av emaljytan för att att man ska kunna bonda. Jag brukar rugga upp emaljen genom att blästra med aluminiumoxid (50 μm och lågt tryck). Sedan etsar jag emaljen med fosforsyra och applicerar ett univeralbondingmedel. Silikonindexet är utrustat med injektionshål vid incisalskären. Sådana hål kan enkelt åstadkommas genom att man pressar kompositsprutans spets genom silikonet - inifrån och ut. I det posteriora området kan det vara hjälpsamt att använda ett hårdare material för indexet och att göra två hål för varje tand vid separata kuspar - ett för injektion och ett för överskottet att evakuera genom. Om indexet är hårt behövs det diamantfräsar för att göra hålen. Jag sätter indexet på plats, injicerar den flytande kompositen från botten till toppen i indexet, ljushärdar materialet för en kort stund och avlägsnar sedan indexet. Sluthärdningen sker när indexet är borta och ett lager glycerin applicerats på konstruktionens yta. När överskottsmaterialet har avlägsnats och approximalytorna finisherats till perfektion upprepas proceduren för nästa tand innan ersättningen poleras. Har du några favoritprodukter för den här tekniken? För silikonindexet använder jag EXACLEAR (GC), eftersom det är marknadens mest transparenta silikon. Min favoritkomposit är CLEARFIL MAJESTY™ ES Flow (Kuraray Noritake Dental Inc.). I min praktik och under mina kurser har jag haft chansen att testa många olika produkter. Jag har kommit fram till att materialet från Kuraray Noritake erbjuder några fördelar. Det är en modern nano-komposit med många användningsområden och ett stort urval av nyanser. Med tre olika flytbarheter kan materialet användas i många olika kliniska situationer. Jag började använda materialet för fem år sedan och för injektionstekniken är Low mitt förstahandsval; den lämpar sig för både anterior och posterior användning. De avgörande fördelarna, som fick mig att börja använda materialet, är den naturliga estetiken och den överlägsna polerbarheten. Man kan uppnå fantastiska resultat utan att vara speciellt skicklig. För bondning föredrar jag att använda CLEARFIL™ Universal Bond Quick som gör mitt arbetsflöde enklare, snabbare och mera förutsägbart. Jag har utvecklat mitt eget putsprotokoll. Hur finisherar och putsar du dina arbeten? Jag börjar med att bearbeta approximalytorna med polerstrips och ibland med sågblad. För att justera formen använder jag tre olika diamant- och stålfräsar som visat sig vara utmärkta för ändamålet. Därefter använder jag Sof-Lex™ Finishing and Polishing Discs (3M), fin eller extrafin för att konturera och finishera. Sedan gummipolerare TWIST DIA™ for Composite (Kuraray Noritake Dental Inc.), som enkelt ger en fin och naturlig ytglans. Vidare en trissa av gethår tillsammans med diamantpolerpasta (Diamond excel, FGM) och till sist avslutar jag med ett bomullshjul tillsammans med aluminiumoxidpolerpasta (Pasta Grigia II, anaxDENT). På så sätt är det möjligt att åstadkomma en spegelblank finish. Ets av emaljen med fosforsyra. Det kompletta silkonindexet på plats. Applicering av CLEARFIL™ Universal Bond Quick. Direkt efter injektion av CLEARFIL MAJESTY™ ES Flow (Low), ljushärdning och avlägsnande av index. Justering av approximalytor med roterande instrument. Vilka är injektionsteknikens främsta fördelar? För både patienter och tandläkare är besparingen av tid och pengar den största fördelen. Många patienter har inte råd med keramiska fasader och de blir väldigt glada över ett högkvalitativt behandligsalternativ som oftast kan slutföras under ett behandlingstillfälle. Metoden är preparationsfri och ersättningarna kan enkelt lagas eller färgjusteras om så önskas - det är en praktiskt taget helt riskfri behandling. Tandläkaren kan vanligtvis börja behandla patienter efter att ha deltagit i en enstaka kurs. Även om övning ger färdighet så är de första resultaten i sig ganska imponerande och kräver inga större investeringar av en nybörjare - varken i tid eller i nya material. Så klart kan man lägga massor av tid på finishering och puts, men min erfarenhet säger mig att man brukar hitta en bra balans mellan ansträngning och resultat. Instrumentkit för injektionstekniken. Har du några tips för hur man kommer igång med injektionstekniken? Först och främst vill jag uppmuntra alla att lämna sin bekvämlighetszon och att på regelbunden basis prova något nytt. För mig var det en verklig omvälvning att börja arbeta med injektionstekniken och nu vill jag aldrig vara utan. Innan du börjar använda tekniken rekommenderar jag starkt att du går en kurs som ger dig all den teoretiska kunskap som behövs för att lyckas med ditt första fall och kanske också att du deltar i en praktisk workshop. Michał Jaczewski under sin presentation i Kuraray Noritake Dentals monter på mässan i Köln.
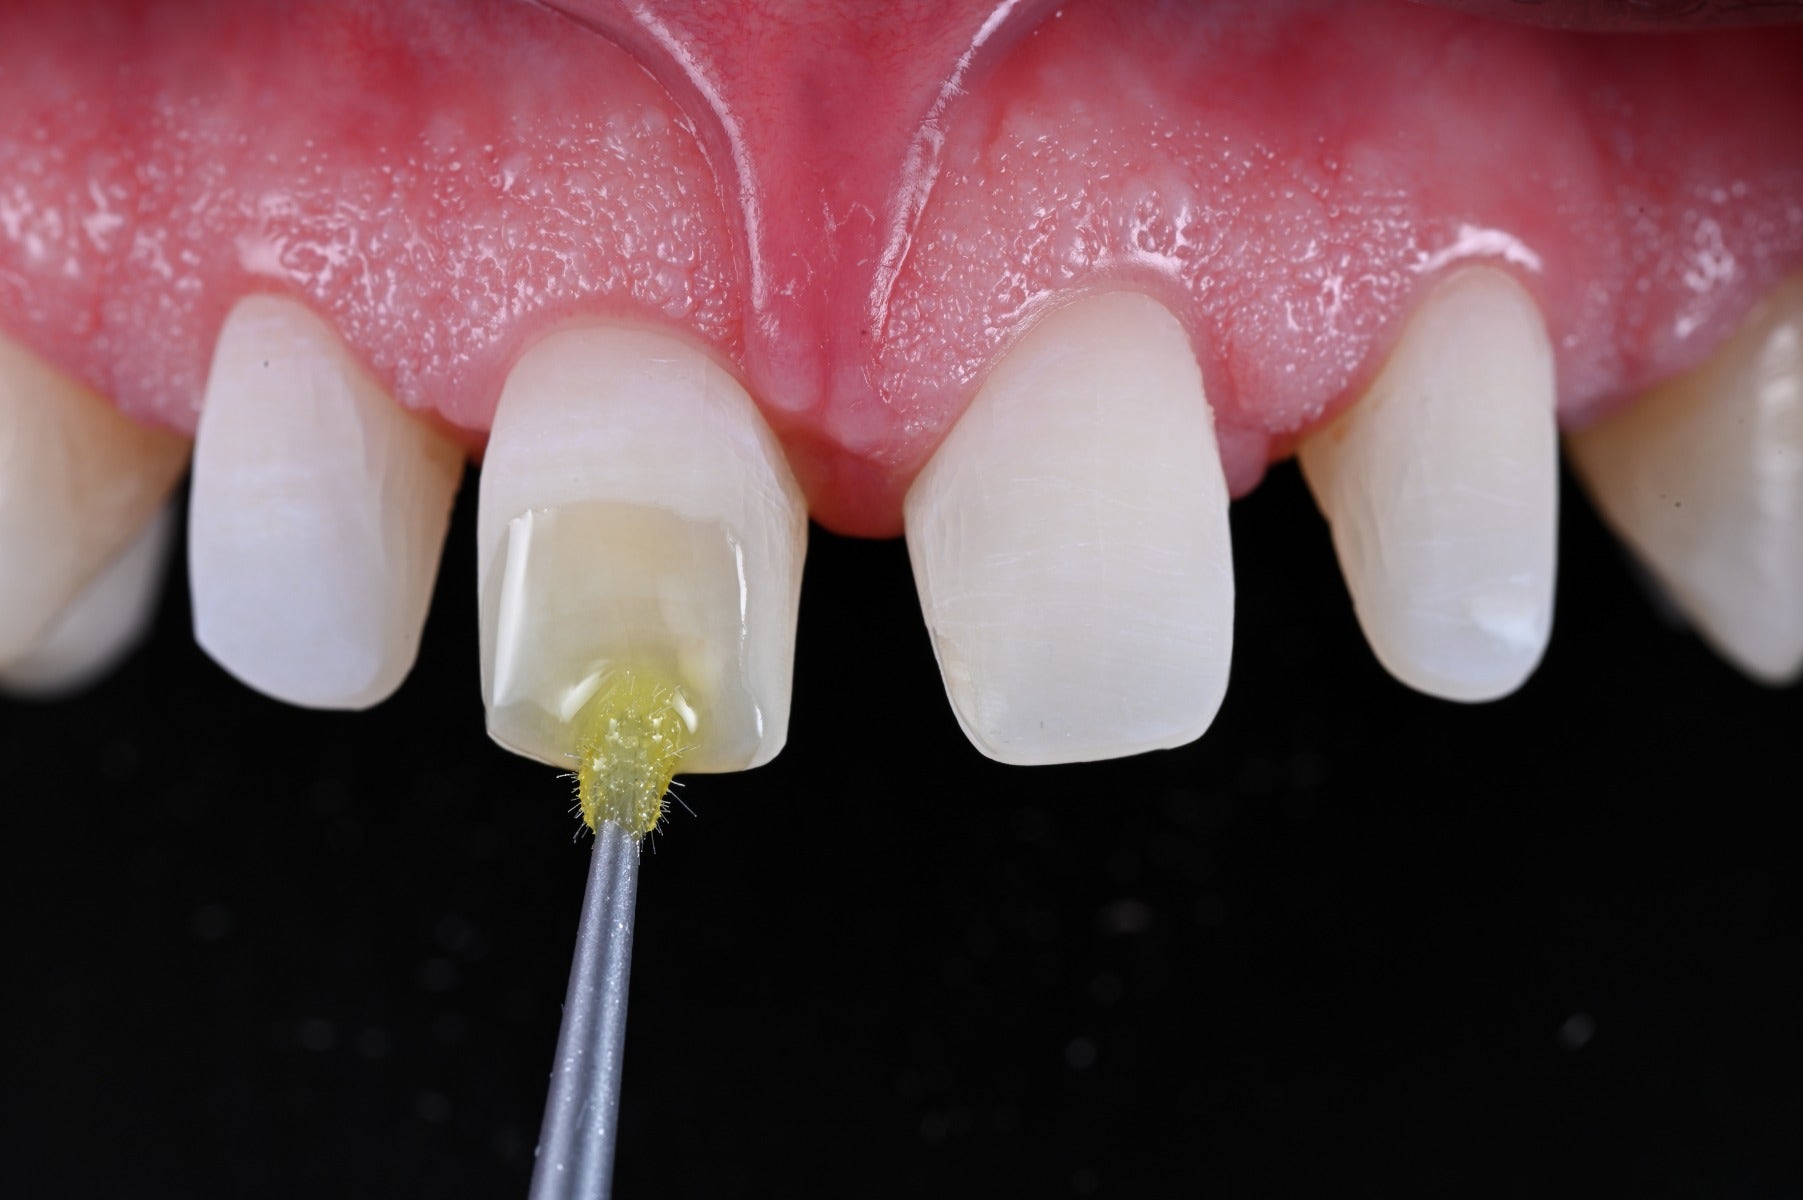
Clinical Cases, Chairside Att optimera funktionella och estetiska faktorer vid fasadcementering 26 aug. 2024 Av dr Clarence Tam, HBSC, DDS, AAACD, FIADFE Att använda porslinsfasader för att förbättra och återställa form, färg och placering av anteriora tänder är en vanlig teknik inom estetisk tandvård. Biomimetiska ersättningar handlar inte bara om kosmetik utan också om funktion. Det är viktigt att komma ihåg att det intakta emaljskiktet palatinalt och facialt är avgörande för den anteriora tandens naturliga böjhållfasthet. När dental vävnad skadats av rotbehandling, karies och/eller trauma, måste man till varje pris anstränga sig för att bevara tandens kvarvarande strukturer och sträva efter att återställa tanden till dess ursprung. BAKGRUND En 55 år gammal kvinna med lindrig systemsjukdom (ASA II) sökte sig till kliniken för att få sina tänder blekta. Det var underförstått att blekningen inte skulle ha någon effekt på tand 12 som var försedd med en poslinsfasad. Den behövde behandlas igen, i synnerhet om färgförändningen efter blekningen blev betydande. Tändernas ursprungsfärg var VITA* 1M1:1M2; i en 50:50-blandning i överkäken och 1M1 i underkäken. Genom att bära blekskena med karbamidperoxid 10% nattetid under 3-4 veckor blektes tänderna i både över- och underkäke till VITA* 0M3. Det uppstod då en väsentlig valörskillnad mellan den fasadförsedda tanden 12 och omgivande tänder. På grund av en facial kompositfyllning (Klass III ) på kontralateralen 22 noterades en ökad kroma i den tanden. Den sistnämnda tanden matchade inte heller sin kontralateral i storlek och därför beslutades att behandla båda lateralerna med bondade fasader av litiumdisilikat. 23 uppvisade ett milt kuspslitade, men patienten ville inte göra något åt det förrän fasadterapin på 21 och 22 var färdig. Syftet med smile design i detta skede var att etablera bilateral harmoni med utsikten att i närtid ersätta den faciala volymen och kusptippen på 23 med en indirekt ersättning. TILLVÄGAGÅNGSSÄTT Ett protokoll för digital smile design var inte nödvändigt för den ursprungliga behandlingsplanen, som var att behandla de laterala incisiverna var för sig. En viss variation i utseendet hos dessa tänder kan tillåtas, då det kan vara en markör för både personlighet och kön. Innan bedövningen lades gjorde man en färgbestämning genom att använda både polariserade och icke-polariserade fotografier tagna med retraktor. För digital färgbestämning togs fotografierna med gråkort 18% (Fig 1). Fig. 1. Referensfoto taget med gråkort 18%. Basfärgen bestämdes till VITA* 0M2 med puckfärg BL2. Patienten bedövades med 1,5 kapsel 2%-ig lignocainelösning med 1:100,000 eperephine innan kofferdam applicerades. Fasaden på 12 sektionerades och avlägsnades och en minimalinvasiv fasadpereparation gjordes på tand 22 (Fig. 2). Den gamla kompositfyllningen lagades mesioincisiobuccopalatinalt. Adhesion till den gamla fyllningen åstadkoms genom att använda både blästring med mikropartiklar och silanisering (CLEARFIL™ CERAMIC PRIMER PLUS), Preparationsgränsen förfinades och retraktionstråd indränkt i klorlösning packades gingivalt. Stumpfärgen bestämdes. Därefter togs definitivavtryck med polyvinylsiloxan - både light och heavy body - i metallsked. Patienten skickades sedan iväg till laboratoriet för färgmatchning i ersättningarnas råbrända stadie. Modellerna som framställdes på laboratoriet bekräftar fallets minimalinvasiva natur. Fig. 2. Fasadpreparationer 12 och 22. I nästa steg av behandlingen - och enligt plan - bedövades patienten och provisorierna avlägsnades. Preparationerna rengjordes och förbereddes för bonding genom att ytorna blästrades med aluminiumoxidpulver - 27 micron och ett tryck på 30-40 psi. Fasaderna provades in med hjälp av en klar try-in glycerinpasta (PANAVIA™ V5 Tryin Paste Clear, Kuraray Noritake Dental Inc.). Retraktionstråd packades och innerytan på fasaderna behandlades med 5%-ig fluorvätesyra under 20 sekunder innan silanet, innehållande 10-MDP,(CLEARFIL™ CERAMIC PRIMER PLUS, (Fig. 3).applicerades. Tandytan etsades med 33%-ig fosforsyra under 20 sekunder och sköljdes därefter. En primer innehållande 10-MDP (PANAVIA™ V5 Tooth Primer (Fig. 4) applicerades därefter på tanden. Fasadcement (PANAVIA™ Veneer LC Paste Clear) (Fig. 5) applicerades på fasadens inneryta och fasaden sattes på plats. Cementöverskottet var fast och fint och höll fasaden på plats under det att alla kantanslutningar kontrollerades och därefter punkthärdades under 1 sekund (Fig.6). Fig. 3. CLEARFIL™ CERAMIC PRIMER PLUS appliceras på fasadernas innerytor. Fig. 4. PANAVIA™ V5 Tooth Primer appliceras på de etsade tandytorna och torkas enligt tillverkarens anvisningar. Fig. 5. PANAVIA™ Veneer LC Paste Clear appliceras på fasadens förberedda inneryta. Fig. 6. PANAVIA™ Veneer LC Paste direkt efter placering. Notera cementets viskösa, fasta och fina konsistens som borgar för enkelt avlägsnande både i vått tillstånd och i gelfasen. Cementet föredras i gelform eftersom det underlättar avlägsnandet av överskott och kräver minimal rengöring (Fig. 7). För att förhindra syreinhibering förseglades kantanslutningarna med glyceringel innan sluthärdning (Fig. 8). Fig. 7. Avlägsnande av cementöverskott efter 1 sekunds punkthärdning. Fig. 8. Sluthärdning av fasaderna sker samtidigt både palatinalt och facialt. Kanterna blev avslutade och polerade till hög glans och ocklusionen av restaureringarna verifierades som anpassade. De postoperativa vyerna visar utmärkt estetisk marginalintegration. (Fig. 9). Fig. 9. Postoperativt: fasaderna på 12 och 22 smälter in perfekt och vackert bland omgivande tandvävnad. Utvärdering med polariserade fotografier visar att ersättningarna smälter in fint i det nya leendet, både estetiskt och funktionellt (Fig 10) och nu väntar en estetisk förlängning av kuspen på 23 för att matcha 13. SLUTRESULTAT Fig. 10. Slutresultat vid utvärdering med polariserat fotografi Dentist: CLARENCE TAM References 1. Magne P, Douglas WH. Rationalization of esthetic restorative dentistry based on biomimetics. J Esthet Dent. 1999;11(1):5-15. doi: 10.1111/j.1708-8240.1999.tb00371.x. PMID: 10337285.2. Magne P, Douglas WH. Porcelain veneers: dentin bonding optimization and biomimetic recovery of the crown. Int J Prosthodont. 1999 Mar-Apr;12(2):111-21. PMID: 10371912.3. Pongprueksa P, Kuphasuk W, Senawongse P. The elastic moduli across various types of resin/dentin interfaces. Dent Mater. 2008 Aug;24(8):1102-6. doi: 10.1016/j.dental.2007.12.008. Epub 2008 Mar 4. PMID: 18304626.4. Source: Kuraray Noritake Dental Inc. Samples (beam shape; 25 x 2 x 2 mm): The solvents of each material were removed by blowing mild air prior to the test.