By Marco Stoppaccioli
In today´s society, due to higher life expectancy, greater and more responsible attention to one´s body, we have developed a culture more sensitive to personal well-being. Consequently, more patients with total removable prostheses request stabilization of their prostheses through implant treatment which offers the most effective and valid response to this need.
The demand for implant treatments has increased significantly during the last decade, specifically from patients with long-term full prostheses resulting in considerable bone resorption1, but are hesitant to undergo complex bone regeneration interventions (Photo 1).
These rehabilitations require great commitment and professional skills. In addition to restoring a complex series of aesthetic-functional parameters that have been lost. Innovative products were developed, not only the restoration of the dental, but also, the orthopedic aspects of the procedure.
Photo 1: Upper and lower Jaw situation models.
Initially, the dental-skeletal rehabilitations involved the exclusive use of metal posts combined with acrylic materials.
In recent decades, we have witnessed an evolution in the surgical techniques and materials used, among these, zirconia2 has a significant and highly innovative role. The main reason for its success is due to the possibility of being able to use it anatomically through a simple and effective protocol thanks to CAD CAM technology.
Zirconia, created to be covered with ceramic coatings, has undergone a profound evolution: from an exclusively structural material with high strength but low aesthetic appeal, it has become anatomical, constituting an alternative to layered restorations. Thanks to research and innovation, optimizing chemical and physical parameters3 in the dental industry, we now have a wide range of products, including multi-layer zirconia.
In more analytical terms, it offers a very valid response to the translucency, which is inversely proportional to the flexural strength. On the market this material class oscillates between 550Mpa and 1200Mpa of flexural strength. This characteristic identifies its indication range, specifically depending on the yttrium oxide content, which acts as a stabilizer of zirconia.
For dental-skeletal rehabilitations, the protocol involves the use of multi-layer monolithic zirconia with marked characteristics of flexural strength but lower translucency which determines a limit in the aesthetic sense. On the other hand, the use of multi-layered zirconia with high translucency cannot be considered suitable, due to its lack of flexural strength, despite fully meeting the requirement for naturalness.
To date it can be said that there is no zirconia that offers high mechanical properties combined with high translucency, two fundamental aspects for successful restorations.
Considering these factors, the idea was born to generate an innovative and experimental protocol capable of supporting, on the one hand, the ability of CAD/CAM systems to copy exactly a project or even better, a functionalized provisional implant, and on the other, to associate the use of two zirconia with different characteristics: one extremely tough, white colored zirconia with 1125 MPa (KATANA™ HT Kuraray Noritake) and the other super translucent multi-layered zirconia with 750 MPa (KATANA™ STML Kuraray Noritake).
OPERATIONAL PROTOCOL
In dental-skeletal rehabilitations, success depends on a precise diagnosis by the clinician, aimed at the functional and aesthetic restoration of the case. It is a fundamental task of the dental technician to translate this information through the creation of a wax-up, both analog and digital.
Photo 2: Digital wax-up.
Photo 3: Analog wax-up.
Thanks to digitization, with a 3D printer, it is possible to realize the wax-up quickly and economically in a prototype, capable of allowing the clinician to perform an initial test in the oral cavity.
Photo 4: From design to 3D prototype.
Once the adequacy of the prototype under study has been certified, the next phase involves the construction of the provisional implant which, placed in the oral cavity for a specified time, provides the fundamental information from an occlusal point of view, both in static and dynamic conditions.
The first strength of this protocol is to capture all information about the provisional implant and transfer them to the final work through digital systems. In other words, the provisional implant itself becomes the design of the final product.
Photo 5: Temporary result of analog project.
Photo 6: Acquisition of temporary arches refitted on the models.
FINAL PROCEDURE: OPERATING PHASES
Once the scans of the temporary implant have been acquired in the digital platform, the structural frame obtained by reduction of the temporary implant file is generated. The framework will be made by using KATANA™ HT white colored zirconia (Kuraray Noritake Dental Inc.) with a flexural strength of 1125 MPa. This choice is attributable to an adequate toughness of the material and an effective aesthetic chromatic response on the pink ceramic coating.
Photo 7: Structural framework.
Photo 8: White zirconia framework, 1125 MPa (KATANA HT).
Once the structural file is generated, it is called up within the modeling software to create the anatomical components that will be divided into quadrants.
Photo 9: File divided into three seqments.
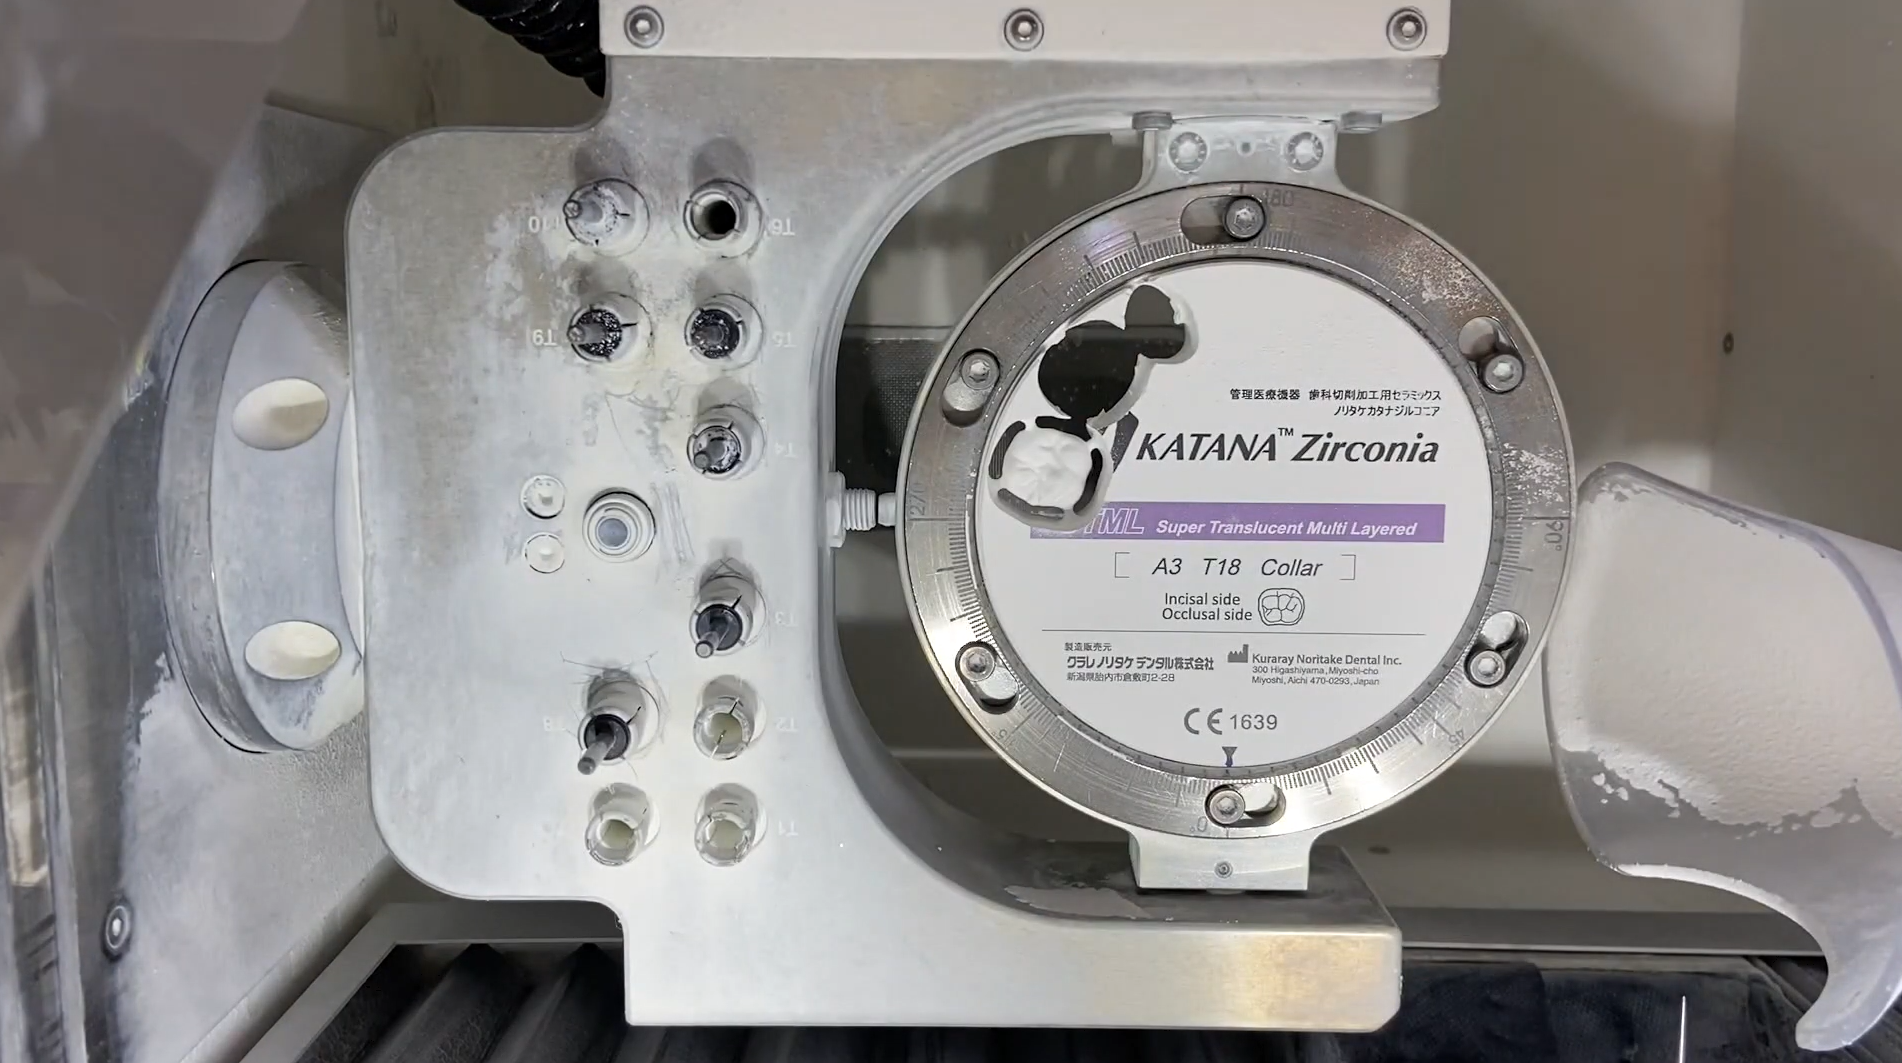
The selected material is multi-layered KATANA™ Zirconia STML by Kuraray Noritake Dental Inc. with a flexural strength of 750 MPa and high translucency. KATANA™ Zirconia STML shows an optimized balance between mechanical and optical characteristics.
The author's choice to divide the anatomical components into three segments has a dual purpose: the first is to have a better quality of the milling and the second is to reduce the material waste of the zirconia disc as much as possible.
Photo 10: The three segments after sintering.
Once the frameworks are obtained, before they are merged with each other, the anatomical parts are finished and polished; only the areas excluded from the functional part will be sandblasted. Special attention must be paid to the surface texturing of the anterior sectors5, with cutters, discs and rubbers dedicated for this purpose. The surfaces that remain shiny offer a lower abrasion coefficient than the natural tooth6; in fact, the abrasiveness depends on the surface smoothing. Polished zirconia has lower abrasion coefficients than lithium disilicate and layered ceramics7.
The adhesion between the anatomical and structural zirconia components is achieved by fusion with Noritake Cerabien ZR Low Fusion ceramic.
Photo 11: Anatomical components joined to the structural framework.
Once the adhesion between the zirconia components has been obtained, the first analog phase involves the creation of the gum parts, with dedicated pink gingival masses at a high temperature of 940 C° (CZR™ Tissue Kuraray Noritake Dental Inc.). The author selects three gingival masses with which the keratinized and vascularised parts are reproduced8, peculiar to the natural gingival tissue.
Photo 12: Used CZR™ Tissue porcelain.
Photo 13: Application of CZR™ Tissue porcelain.
Once the pink gingival parts are finalized, the coloring of the anatomical components will follow with the use of dedicated low temperature stains (CZR™ FC Paste Stain, Kuraray Noritake Dental Inc.) which, together with the high translucency of the anatomical zirconia, guarantees a high aesthetic result.
With gray, blue and black shades, it is possible to give a high degree of translucency to the incisal edges. With warm shades, like orange and yellow, the transitions of the anatomical crowns are emphasized, while with a few spots of strong color it is possible to give character and uniqueness to the teeth.
Photo 14: Used shades of CZR™ FC Paste Stain.
The low baking temperature of CZR™ FC Paste Stain guarantees the non-alteration of the gingival component. The final step involves glazing the sandblasted parts.
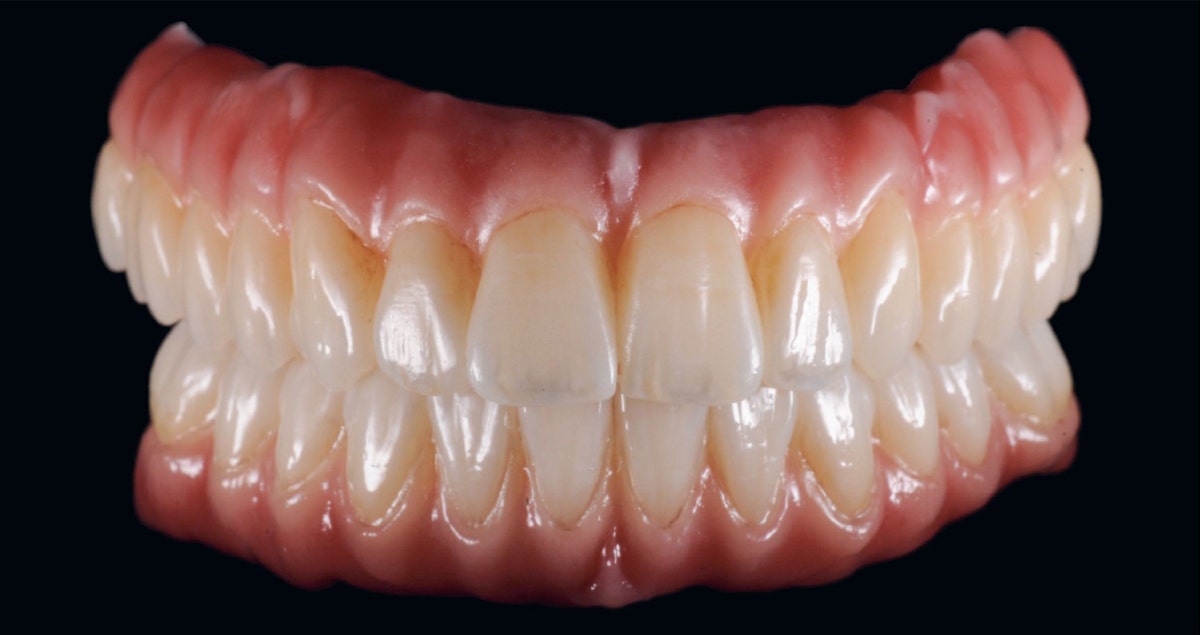
Photo 15: Final situation.
Photo 16: Occlusal view.
CONCLUSION
The strength of dento-skeletal rehabilitations made of monolithic zirconia, which is a stable, reliable and highly biocompatible material is, through the possibility of using CAD/CAM technology to make an exact copy of a case or, even better, a functionalized temporary implant.
Photo 17: Matching with wax-up.
The 1125 MPa zirconia is ideal for this type of prosthesis, however, does not offer an aesthetic quality. Therefore, the combination of two zirconia materials, one extremely strong and the other highly aesthetic, fully satisfies this requirement.
Photo 18, 19: Intra-oral situation.
BIBLIOGRAPHY:
1) Matteo Chiapasco, Eugenio Romeo La riabilitazione implantoprotesica nei casi compless, UTET S.p.A. 2003 Unione Tipografico-Editrice Torinese.
2) Piconi C. ,Rimondini L. ,Cerroni L. , La zirconia in odontoiatria, Masson, 2008.
3) Stawarczyk B., Ozcan M., Hallmann L., Ender A., Mehl A., Hammerle CH., Effect of zirconia sintering temperature on flexural strengh, grain size and contrast ratio. Clin oral investig, 2013.
5) Shigeo Kataoka, Yoshimi Nishimura , Morfologia naturale dei denti, Edizione internazionale Milano 2003
La riabilitazione implantoprotesica nei casi compless.
6) Oh W., Delong R., Anusavice K., Factors affecting enamel and ceramic wear: A literature review. J Prosthet Dent 2002.
7) Preis V., Bher M., Kolbeck C., Hahnel S., Handel G., Rosentritt M., Wear performance of substructure ceramics and veneering porcelains, Dent Mater, 2011.
8) Rutten L. & P., L’estetica su impianti, editrice MEA, 1999.
Thanks: Dr. Fortunato Alfonsi, Odt. Raoul Pietropaolo.


