Laminate veneer restoration using KATANA™ Zirconia STML prostheses

Case by Dr. Yohei Sato, DMD, PhD, Department of Removable Prosthodontics, Tsurumi University School of Dental Medicine, JAPAN and Dr. Keisuke Ihara, CDT, i-Dental Lab, JAPAN


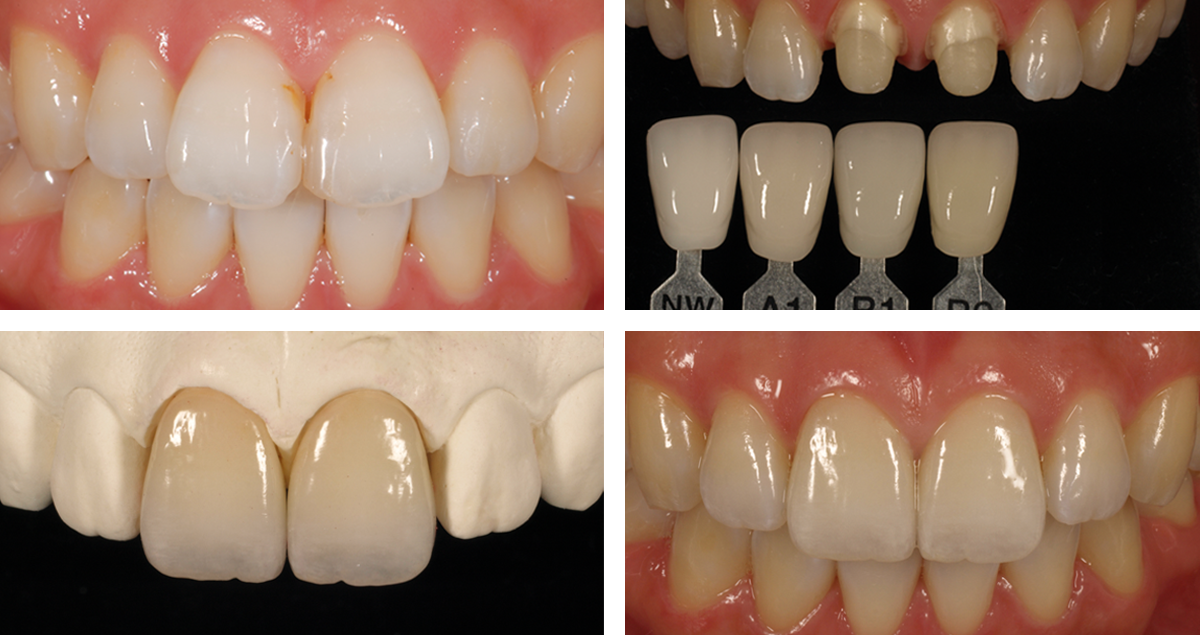
Fig. 1. The patient was referred to our hospital by an orthodontist. The chief complaints were improper esthetics of the teeth due to black triangles at the edges of the gaps between the teeth and occlusal wear of the teeth.


Fig. 2. On the basis of the pre-treatment diagnosis using a mockup, the abutments were prepared without anesthesia, keeping in mind that the enamel should be preserved to the extent possible.

Fig. 3. Since a fixation retainer was installed on the palate side, it was difficult to take impressions using silicone. Therefore, an intraoral scanner for impression taking was used.


Fig. 4. A layer of porcelain on each of KATANA™ Zirconia STML substrates was applied to complete the laminate veneer resto-rations. The inner surface of each restoration was sandblasted, being careful to prevent chipping.


Fig. 5. After trial fitting, bonding inhibiting substances as blood and saliva were removed using KATANA™ Cleaner.


Fig. 6. Milling. CLEARFIL™ CERAMIC PRIMER PLUS, which contains the phosphoric ester monomer MDP, was applied and dried using compressed air.


Fig. 7. The surface of each tooth was cleaned and treated with K-ETCHANT Syringe for 10 seconds before washing it away with water and compressed air-dried the area.


Fig. 8. PANAVIA™ V5 Tooth Primer was applied and left it for 20 seconds, then compressed air-dried it.


Fig. 9. PANAVIA™ Veneer LC Paste was applied and the laminate veneer was seated. For this case, we treated six teeth during one session.


Fig. 10. The unpolymerized excess paste was removed with a brush. PANAVIA™ Veneer LC Paste is a light-cured type, which was designed to provide sufficient working time.


Fig. 11. This photo shows the results after the final light curing. Since the excess cement was easily removed, there were almost no cement residues.


FINAL SITUATION


Fig. 12. The photo shows the inside of the oral cavity one month after the fitting of the laminate veneer restorations. It can also be noted that the teeth’s marginal gingiva has been improved, thanks to the good fit of the laminate veneer restorations.


What did you miss this summer?

The vacation period is over and we all are slowly returning back to our everyday routines and work. With all the travel and holidays in the last months you might have missed this great article in the LabLine Summer edition: Graftless solutions and implant-supported monolithic zirconia fixed prostheses.


It is an extensive, beautiful and detailed case report created and documented by team of well known and respected KOLs: Fortunato Alfonsi, Antonio Barone, Marco Stoppaccioli, Romeggio Stefano and Vincenzo Marchio.


Check it out by clicking here.


Treatment of a young patient with zirconia veneers

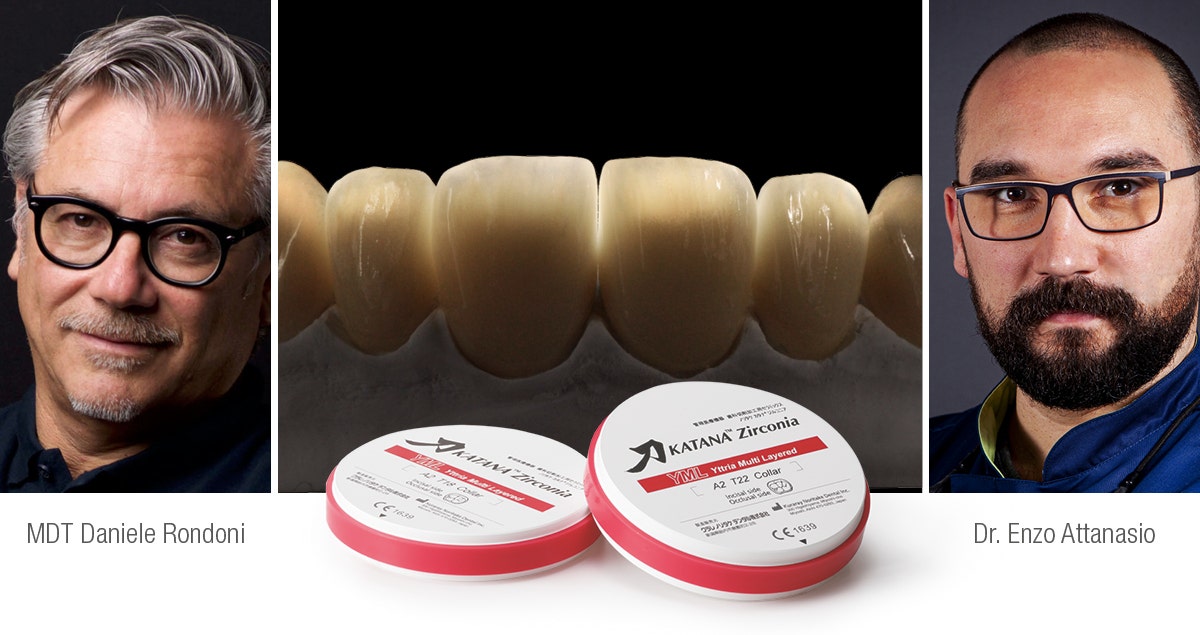
Case by MDT Daniele Rondoni and Dr. Enzo Attanasio.


Veneers made of zirconia? In some cases, like the one presented below, monolithic zirconia veneers may be an option. Reasons for selecting a latest-generation zirconia such as “KATANA™ Zirconia” YML include its very high translucency and a wall thickness of only 0.3 to 0.4 mm supporting minimally invasive tooth preparation. Due to a highly automated production procedure, the manual effort involved may be reduced, while highly aesthetic outcomes are possible.


Fig. 1. Initial situation: Young female patient with misshaped and misaligned maxillary incisors. Digital smile design is used to reveal the ideal proportions and positions of the anterior teeth.


Fig. 2. Ideal tooth proportions and positions displayed over a picture of the teeth after orthodontic treatment and the creation of a mock-up. The positions are ideal and the tooth shapes obtained with the mock-up only need some minor adjustments.


Fig. 3. Facial view of the patient with the planned veneers blended in.


Fig. 4. Guided tooth structure removal with the aid of a silicone index. The minimum wall thickness of the selected material – “KATANA™ Zirconia” YML – is 0.4 mm.


Fig. 5. Matched digital impressions of the maxilla and mandible taken after tooth preparation.


Fig. 6. Monolithic restoration made of “KATANA™ Zirconia” YML placed on the resin model after the 7-hour final sintering.


Fig. 7. Lateral view of the master cast with the six veneers individualized with the liquid ceramic system CERABIEN™ FC Paste Stain.


Fig. 8. Tooth-like translucency of the veneers on the model.


Fig. 9. Intra-oral try-in with two different shades of the PANAVIA™ V5 Try-in Paste: A2 is used in the right and Clear in the left quadrant. It was decided by the dentist to use A2 shade.


Fig. 10. Lateral view of the cemented veneers. The result is a natural surface texture, which contributes to a natural appearance of the restorations.


Fig. 11. Frontal view of the veneers in place.


Fig. 12. Treatment outcome immediately after rubber dam removal.


FINAL SITUATION


Fig. 13. Treatment outcome with healthy soft tissues two weeks after treatment.


Fig. 14. Gums are healthy and the restorations show a great optical integration with the adjacent posterior teeth.


Dentists:

MDT DANIELE RONDONI DR. ENZO ATTANASIO


Telescopic Bridge

Case by Keisuke Ihara, RDT, Yohei Sato, DMD, PhD and Tsurumi University School of Dental Medicine.


MINIMAL CUT-BACK DESIGN


Accommodate esthetics and function, achieves natural color and surface texture due to thin porcelain layer.


Step 1.  Teeth preparation.


Step 2.  Inner crowns were placed on the abutments.


Step 3.  Zirconia Frame (KATANA Zirconia HTML A1) cut-back designed for incisal frame.


Step 4.  Application of Cerabien™ ZR (CZR) for making base color and firing.


Step 5.  Application of Internal Stain and firing.


Step 6.  The final restoration and inner crown parts.


Step 7.  Post-operative view.


Beyond natural

Multiple porcelain layering with Internal Stain technique


In 2015, Kuraray Noritake Dental Inc. launched the new KATANA Zirconia UTML and STML. With this outstanding multi-layered zirconia you can reach high level of esthetic in less steps than usual working steps of layering porcelain technique. Just mill and sinter. Due to great properties of this new material, you will get a high esthetic and natural like result. On the other hand, there are many works existing in clinical situation that only professional handmade can achieve the highest esthetic level. Multiple porcelain layering and Internal Stain technique have bigger possibility sometime to show beyond natural.


Fig. 1. Pre-operative photo.


Fig. 2. After preparation.


Fig. 3. Checking the fit of Zirconia Frameworks on model.


Fig. 4. After 1st baking of OB as washbake.


Fig. 5. After wash-baking, using with Internal Stain A+ on the margin area to make a natural cervical color from Zirconia.


Fig. 6. Applying Opacious Body (OBA1) considering with mamelon structure. And apply Body A2B to make high chrome area on cervical area.


Fig. 7. After baking Opacious Body (OBA1).


Fig. 8. After applying Body porcelain (A2B), using wit Cut-Back method to make a space for applying Enamel & Luster porcelains.


Fig. 9. Applying Enamel porcelain (E2) and Luster Porcelain (T Blue) for explaining translucent gradation on the edge of mamelon.


Fig. 10. Applying E2 for making White-band and LT1 for making incisal edge. Considering of porcelain shrinkage after baking, apply 13% bigger than final shape.


Fig. 11. After baking.


Fig. 12. Internal Stain application Applying A+ for cervical color and White for make white spots on incisal area.


Fig. 13. Applying E2 on Cervical area and LT1 for covering surface. And using with E2 on the edge of incisal to make Hallow Effect.


Fig. 14. After baking and morphological correction. Then self-glazing.


Fig. 15. End result.


Fig. 16. Post-operative photo.


Courtesy: Kanare Technical Center in Japan


Implant-supported fixed partial denture

Case by Sung Bin Im, MDC, CDT and Sergio R Arias, DDS, MS


MINIMAL CUT-BACK DESIGN


KATANA multi-layered zirconia allows me to achieve great esthetic and functional outcomes on high risk patients.


Step 1. Titanium Abutments (#7, 9) were placed on the solid model.


Step 2. Zirconia Frame (KATANA Zirconia HT10) cut-back designed to minic anatomical dentin structure and incisal frame.


Step 3. Application and firing of Cerabien™ ZR (CZR) to achieve target shade and incisal effect.


Step 4. Completion of Internal Stain firing.


Step 5.
Completion of Luster and Clear Cervical layering.


Step 6. Surface detail check.


Step 7. Post-operative view.


Adhesive cementation of a KATANA™ Zirconia HT 3-unit bridge with PANAVIA™ V5

Case by Dr. Shoji Kato of Takanawa Dental Office, Japan


1. After preparing the abutments

An anterior bridge made of crown and bridge resin has become dislodged. The abutments are vital teeth.


2. Prosthesis

A PFZ bridge with a frame fabricated using KATANA™ Zirconia HT12.


3. Application of Try-in Paste

Evaluate the shade of the cement before cementation.


4. Try-in

After checking the cement’s shade, rinse the prosthesis and tooth surface with water to remove Try-in Paste.


5. Pretreatment of the prosthesis (A)

Sandblast the prosthesis (at 0.3 to 0.4 MPa), clean with an ultrasonic cleaner for 2 minutes, then dry.


6. Pretreatment of the prosthesis (B)

Apply CLEARFIL™ CERAMIC PRIMER PLUS and blow dry with air.


7. Pretreatment of the abutments (C)

Apply Tooth Primer, allow it to react for 20 seconds, then blow dry with air.


8. Application of Paste

Use Universal.


9. Placement of the prosthesis

After placement, remove excess cement using a piece of gauze, a small brush, etc.


10. Light-curing

Light-cure the entire surface of the prosthesis, including the margins.


11. Final polymerization

Make sure the prosthesis is left in place, unmoved, for 3 minutes.


Clinical case with KATANA™ Zirconia HTML

Case by Daniele Rondoni, MDT


Evolution in the field of aesthetic dentistry never stops: KATANA™ Zirconia proves its aesthetic potential while also being great function-wise. The full zirconia palatal area is combined with an aesthetic buccal part where CZR Luster mass is only used.


Fig. 1. KATANA™ Zirconia HTML with vestibular cut-back opalescence bio-design.


Fig. 2. Palatal ”zirconia-free“ solution.


Fig. 3. Aesthetic vestibular layering with Luster porcelain.


Fig. 4. Manually polished palatal surface with Pearl Surface Z diamond paste.


Fig. 5. Self glazing in furnace for vestibular porcelain.


Fig. 6. Initial case.


Fig. 7. Hybrid solution.


Fig. 8. Palatal Zirconia free.


FINAL SITUATION


Fig. 9. 4 Years follow-up.


Dentist:

DANIELE RONDONI, MDT


Born in Savona in 1961 where he lives and has worked in his own laboratory since 1982 with his collaborators. Graduated from the dental technician school IPSIA “P. Gaslini” in Genoa in 1979. He continued his education by attending relevant workshops for the “Italian dental school“ and broadened his professional experience in Switzerland, Germany and Japan. Since 2011 Kuraray Noritake Dental International Instructor.


Restoring multiple teeth with a single multi-layer zirconia

Case by Marco Valenti, DDS and Angelo Canale, CDT


When dental zirconia evolved into a highly aesthetic material suitable for the production of restorations with a monolithic design or minimal labial cutback, the amount of hand work (ceramic layering) was reduced. At the same time, however, every dental laboratory needed to have more blanks available, and the need for an indication-specific material selection complicated the planning process.


Some dental technicians love to play with different blanks and with a combination of automated and manual work steps to exactly meet the patient and indication-specific needs. Others, however, would like to take a faster and more standardized path to beauty. For the latter group, Kuraray Noritake Inc. has just introduced a true allrounder. KATANA™ Zirconia YML is based on newly developed raw materials with different yttria content integrated into the company’s multi-layer colour structure. As a consequence, KATANA™ Zirconia YML offers colour, translucency and strength gradation throughout the blank, resulting in an unlimited indication range.


That sounds promising, but does it really work in the laboratory and clinical environment? Are there any hidden challenges with regard to designing and manufacturing? And how beautiful are the outcomes? In order to assess the material’s properties in real life and to see how it performs in our hands, we decided to select a complex case and run a clinical test.


INITIAL SITUATION AND TREATMENT PLAN


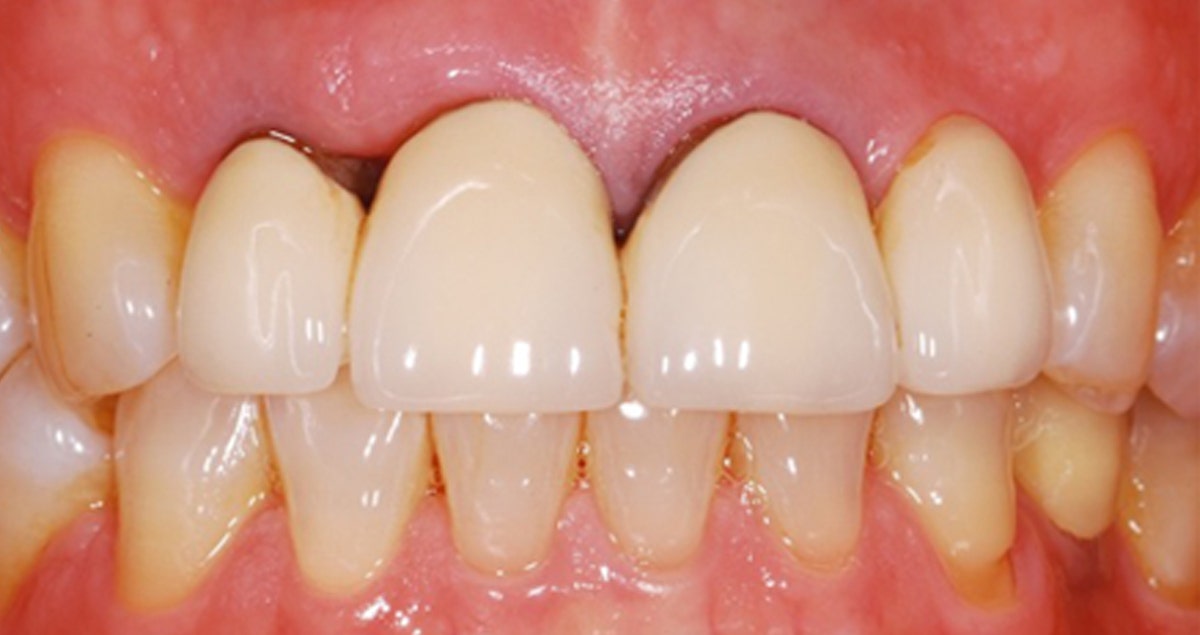
This female patient was concerned about the aesthetics of her maxillary anterior teeth (Figs. 1 and 2). Several porcelain-fused-to-metal crowns in the anterior (both central incisors) and posterior region (three premolars) had unsightly dark margins and an unnaturally opaque core. The adjacent natural teeth appeared more translucent and their look was compromised by several composite restorations with discoloured margins. A missing right first molar had caused second molar to drift mesially (Fig. 3). In addition, the left canine was missing, but the space had been closed (Fig. 4). Figure 5 provides an occlusal view of the pre-operative situation.


Fig. 1. Facial view of the pre-operative clinical situation.


Fig. 2. Frontal intraoral view of the patient’s teeth.


Fig. 3. Lateral view of the upper and lower right quadrant.


Fig. 4. Lateral view of the upper and lower left quadrant.


Fig. 5. Occlusal view of the maxillary teeth.


All restorations in the maxilla needed to be replaced, and the patient set great value on a long-lasting aesthetic improvement of the situation. Hence, an all-ceramic material needed to be selected. An orthodontic correction of the malocclusion prior to restorative treatment was not an option, so that the restorations needed to be adjusted to the existing clinical situation. In order to provide for a smooth optical integration, we decided to use a single material for all restorations from the incisors up to the second premolars. This was a great chance to put the new KATANA™ Zirconia YML to a test! It was planned to use the material monolithically with zero cutback and to just paint on an ultra-thin layer of liquid ceramics (CERABIEN™ ZR FC Paste Stain).


CLINICAL PROCEDURE


The old restorations were removed and tooth preparation was carried out (Fig. 6). A minimally-invasive structure removal is supported by the fact that KATANA™ Zirconia YML has a minimum wall thickness of just 0.4 mm in the anterior and 0.5 mm in the posterior region. Then, a digital impression was taken with 3Shape TRIOS 3 (Fig. 7). The acquired data was matched with photographs of the patient’s face to design a virtual wax-up (Fig. 8) and mill a temporary restoration in the dental laboratory. The placement of this temporary allowed for an aesthetic and functional assessment as well as a clinical test drive of the planned definitive restorations (Fig. 9). In this set-up, the left first premolar took over the function and shape of the missing canine. The fact that the gingival margin was slightly higher in the region of the right compared to the left central incisor did not bother the patient, so that an alignment (gingivectomy) was not necessary.


Fig. 6. Situation after tooth preparation with a heavily discoloured central incisor.


Fig. 7. Digital impression taken after tooth preparation.


Fig. 8. Smile design for the production of the temporary.


Fig. 9. Temporary restoration in place.


PRODUCTION OF THE FINAL RESTORATIONS


After successful completion of the test drive, a digital impression was taken with the temporary in place (Fig. 10). Based on this impression and the information acquired during the test drive, four full-contour crowns, two partial crowns and one bridge were designed (Fig. 11 to 13). The bridge in the region of the right first premolar to first molar had a small cantilever pontic to fill the reduced space of the missing first molar.


The restorations were milled from KATANA™ Zirconia YML. Despite the varying levels of flexural strength within the blank, virtual positioning of the restorations in the disc is extraordinarily easy. For the restorations produced in this case, it is only necessary to respect the minimum wall thickness and connector cross section recommended by the manufacturer. When long-span restorations (with more than three units) are planned, half of the connector cross sectional area needs to be positioned in the lower half of the blank. This is the case if a restoration is placed in the middle of the disc, independent of its size.


Fig. 10. Digital impression taken with the temporary restoration in place.


Fig. 11. Computer-aided design of the final restorations.


Fig. 12. Aesthetic assessment of the virtual design.


Fig. 13. Functional assessment of the virtual design.


FINISHING


Figures 14 and 15 show the sintered restorations on the resin models after the addition of individual textural features with hand instruments. A seamless multi-layer structure without transition lines and with a warm body area is obtained. For an even more natural appearance, some individual effects and glaze were added using the CERABIEN™ ZR FC Paste Stain kit from Kuraray Noritake Dental Inc. (Fig. 16 to 19).


Fig. 14. Frontal view of the restorations on the resin models.


Fig. 15. Occlusal view of the restorations.


Fig. 16. Frontal view of the final restorations.


Fig. 17. Lateral view showing the bridge and the anterior crowns in the first quadrant.


Fig. 18. Lateral view showing the crowns in the second quadrant.


Fig. 19. Occlusal view of the lifelike restorations.


TREATMENT OUTCOME


The restorations were placed with the adhesive cementation system PANAVIA™ V5 (Kuraray Noritake Dental Inc.). Figure 20 shows the treatment outcome immediately after cementation. The material masks the discolouration of the underlying tooth structure very well and offers a nice translucency in the incisal area.


FINAL SITUATION


Fig. 20. Treatment outcome.


A TRUE ALLROUNDER


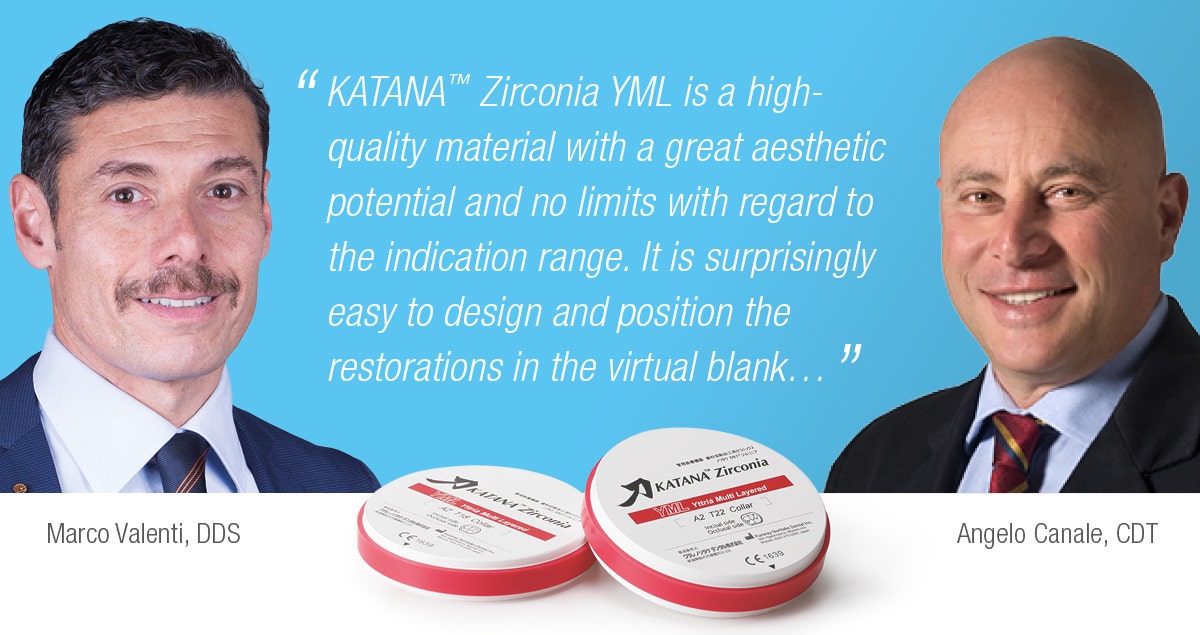
Our test project confirmed that KATANA™ Zirconia YML is a high-quality material with a great aesthetic potential and no limits with regard to the indication range. It is surprisingly easy to design and position the restorations in the virtual blank and after milling, the surfaces are smooth, the margins are sharp and stable, and the fit is accurate. Micro-layering with paste stain is often sufficient for lively outcomes. This makes the new KATANA™ Zirconia YML the material of choice for anyone placing great value on a high level of automation, the standardization of laboratory workflows and efficient and easy procedures.


Dentists:

MARCO VALENTI, DDS ANGELO CANALE, CDT


Cosmetic camouflage for a patient with periodontal disease

Case by Dt Giuliano Moustakis


When producing restorations for the upper anterior region, the first thing that comes to a dental technician’s mind is the selection of a material that matches the colour and translucency of the patient’s natural teeth. The aim behind this action is to provide a perfect optical integration of the restorations to be produced. In order to achieve this optical integration, however, dental technicians need to focus on the surface morphology as well. The following clinical case is used to demonstrate how restorations with the right colour, translucency and texture are able to create a stunning, natural smile, even in complex cases.


The female patient had a periodontally compromised dentition with a missing maxillary lateral incisor and mandibular prognathism. Spacing was present in both jaws, but the patient decided not to undergo orthodontic treatment due to the challenging periodontal situation and the associated risk of losing additional teeth. Instead, a cosmetic camouflage was planned. As the existing direct restorations on the upper central incisors were in need of replacement, the restoration of choice was an all-ceramic, five-unit bridge. Knowing that this situation would best be solved with a material that offers high flexural strength in the body area (strictly mandatory for five-unit bridges) and high translucency in the enamel part (required to imitate nature in the anterior region), the new KATANA™ Zirconia YML was selected. Thanks to its multi-layer structure with colour, translucency and flexural strength gradation (achieved through yttria content gradation), this material offers exactly the desired properties. We decided to use it with a slight vestibular cutback and microlayering with CERABIEN™ ZR (CZR) porcelain.


Fig. 1 Pre-operative clinical situation with a Class III Malocclusion, a missing lateral incisor, spacing and periodontally compromised teeth in both jaws.


Fig. 2 Lateral view of the pre-operative situation.


Fig. 3 Shade determination in the dental office.


Fig. 4 Maxillary central and lateral incisors and right canine after tooth preparation.


Fig. 5 Printed models of both jaws based on an intraoral scan. This view reveals the discrepancy between the upper and lower jaws that needs to be camouflaged.


Fig. 6 Vestibular and incisal reduction and surface texturing on the pre-sintered restorations made of KATANA™ Zirconia YML. Integration of mamelon structures with a round-end straight carbide bur.


Fig. 7 Integration of horizontal growth grooves with a coneshaped instrument (Panther Stone 040).


Fig. 8 Translucency of the reduced bridge after sintering.


Fig. 9 KATANA™ Zirconia YML structure on the model after sintering.


Fig. 10 Silicone index revealing the space generated in the cutback procedure.


Fig. 11 Evaluation of the camouflage effect.


Fig. 12 Try-in of the zirconia structure.


Fig. 13 Sandblasted bridge ready for microlayering.


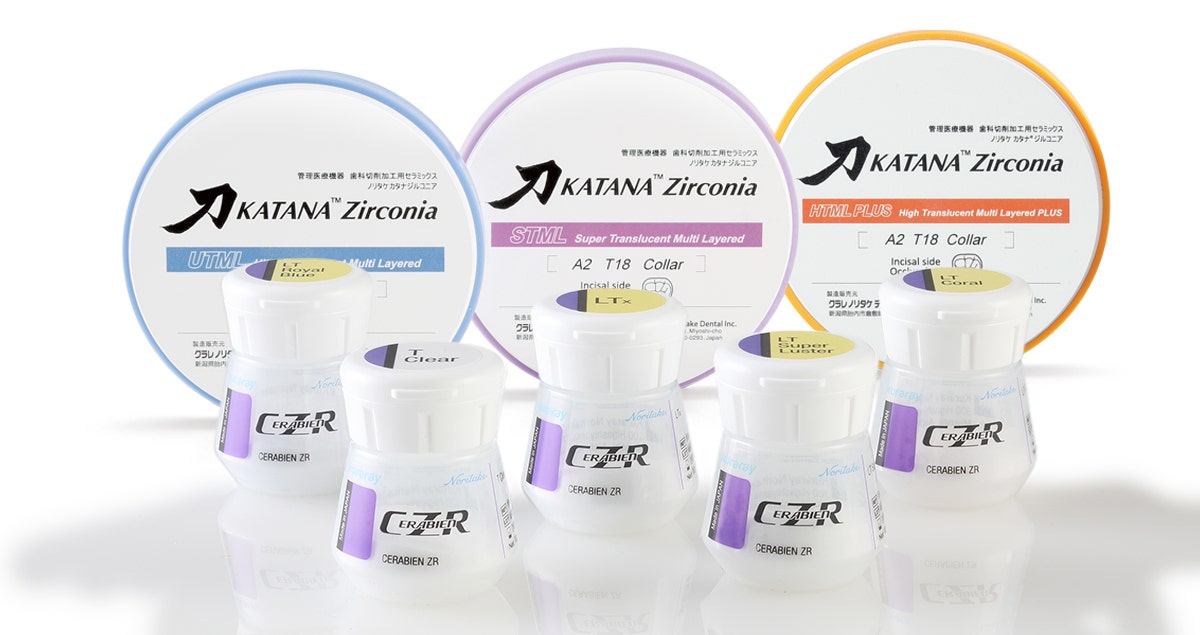
Fig. 14 Bridge after the application of internal stains and a single layer of CERABIEN™ ZR Body (A3B) and CERABIEN™ ZR Luster Porcelain (LT1, LT Royal Blue, LTx and LT Coral mixed with Incisal Aureola).


Fig. 15 Chromatic map of the microlayering procedure.


Fig. 16 Palatal view of the restoration.


Fig. 17 Bridge after the first bake and the addition of LT1.


Fig. 18 Finished restoration. In order to optimize the look of tooth and gingiva parts, a final layer of CERABIEN™ ZR FC Paste Stain and Glaze was added.


Fig. 19 Palatal view of the restoration after finishing.


Fig. 20 Try-in of the bridge for aesthetic and functional evaluation.


FINAL SITUATION


Fig. 21 Treatment outcome.


CONCLUSION


This clinical case shows that KATANA™ Zirconia is an innovative material with high aesthetic potential. Despite flexural strength gradation, there are no severe design restrictions that limit the indication range. Instead, it is easy to design and produce even long-span bridges. Furthermore, due to the material’s high aesthetic potential, a monolithic design with zero cutback and paste staining with liquid ceramics is often an option. If users want to add a porcelain layer, a simplified and time-efficient microlayering approach is highly recommended. In any case, a natural surface morphology should be integrated, as it is essential for an aesthetic outcome.


Dentist:

DT GIULIANO MOUSTAKIS