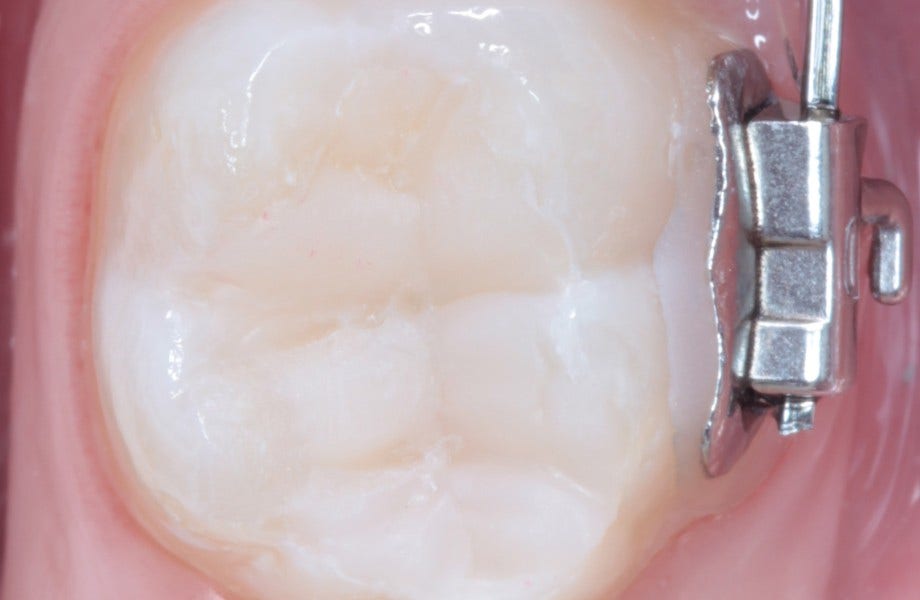
Clinical Case
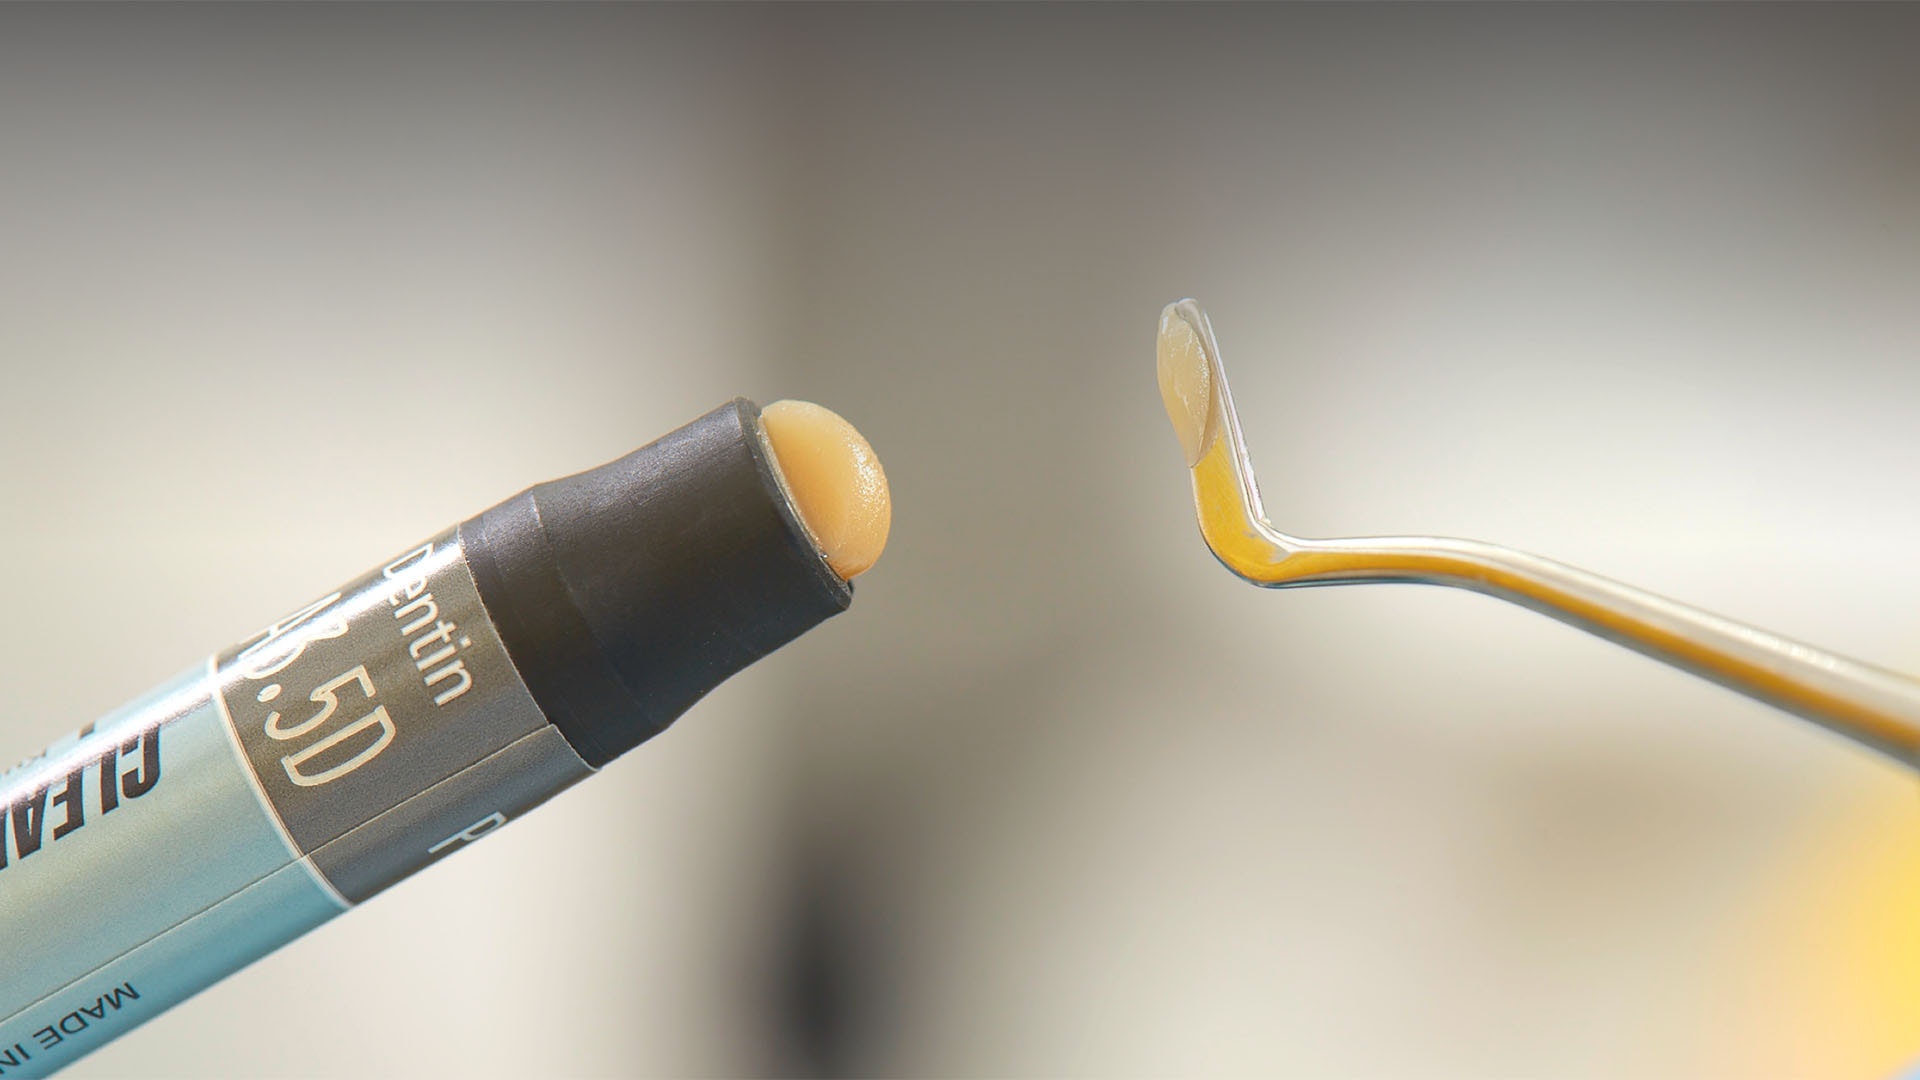
CLEARFIL MAJESTY ES COMPOSITES
CLINICAL CASES
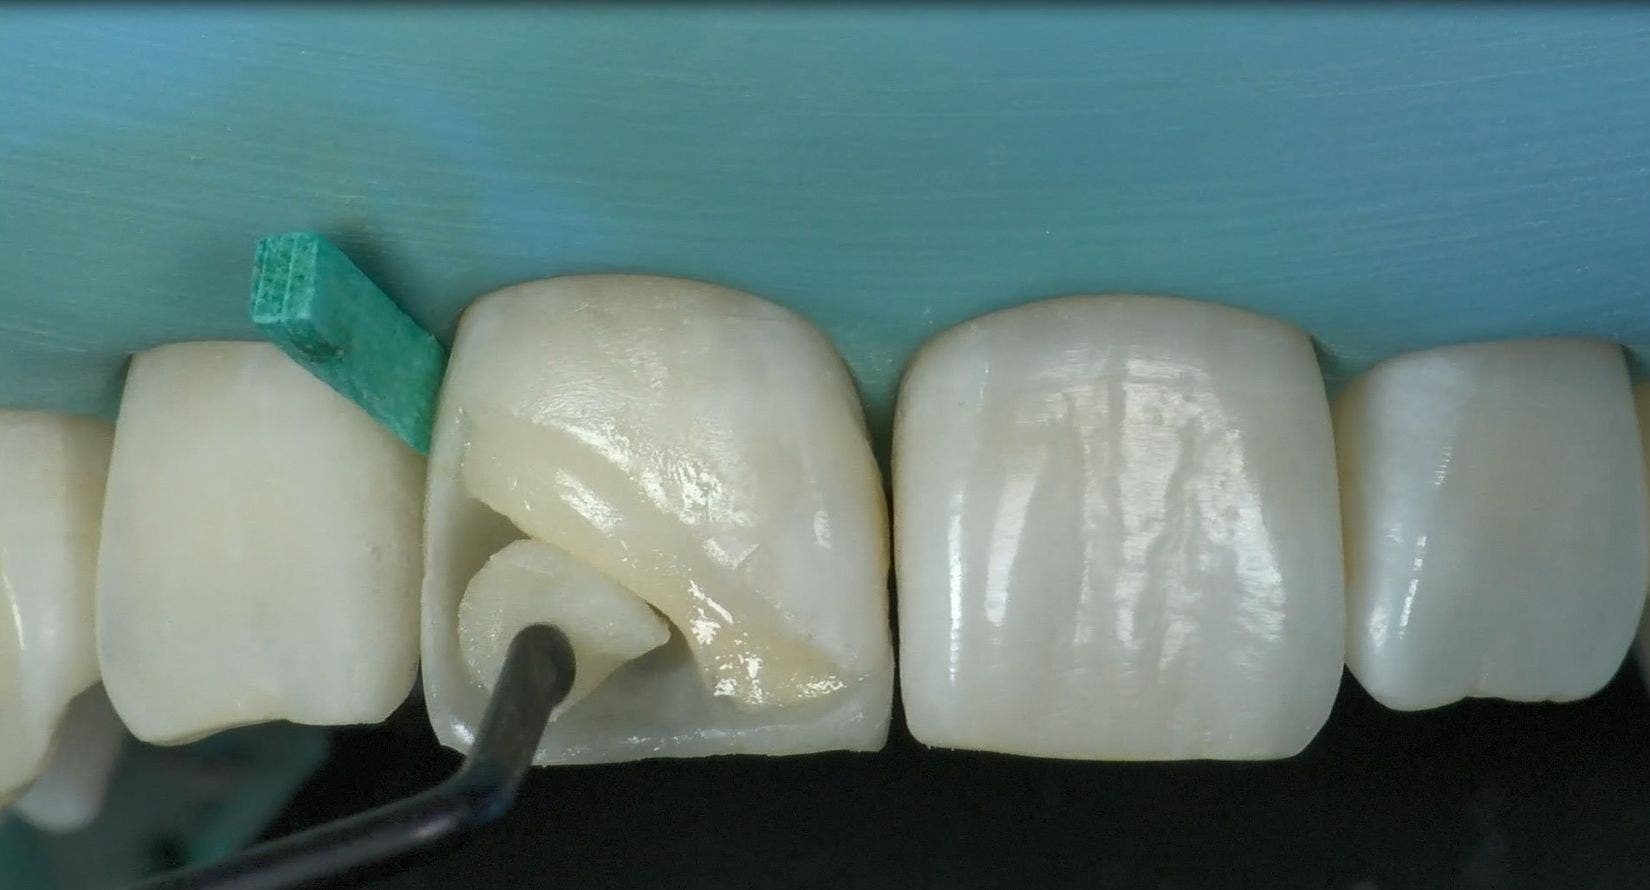
MASTERING ANTERIOR WITH COMPOSITE
Dr. Paolone & Dr. Scolavino

CLEARFIL™ MAJESTY ES-2 Pro Technique
Stefano Daniele
-

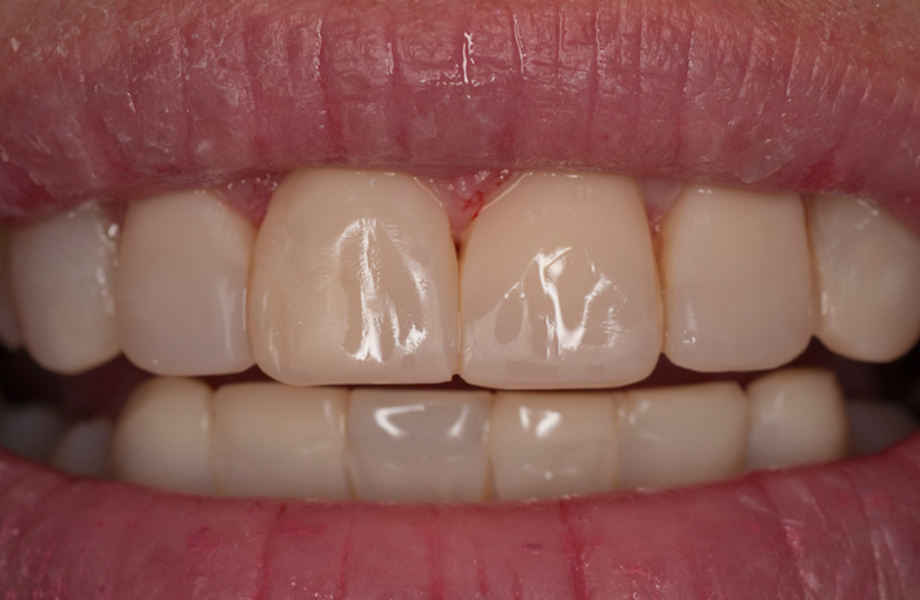
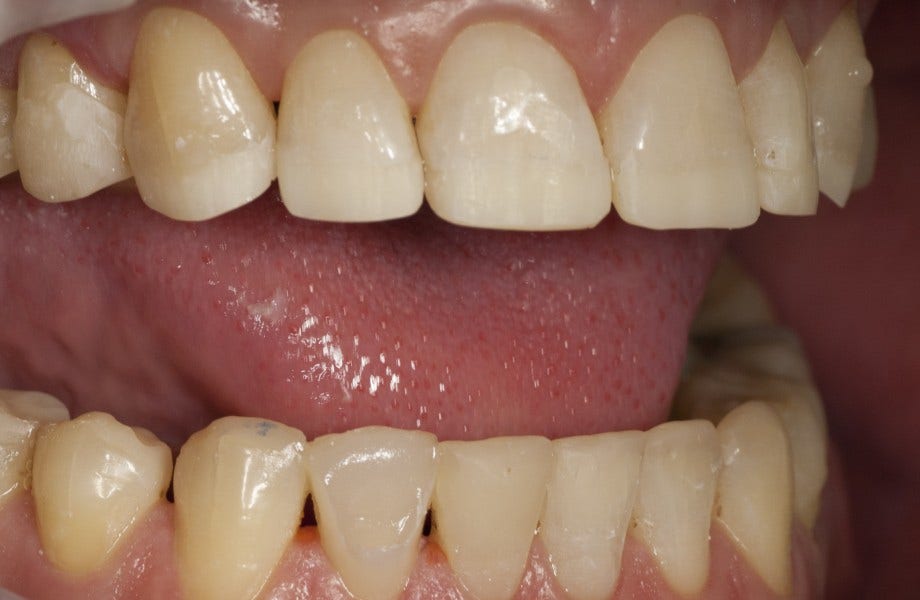
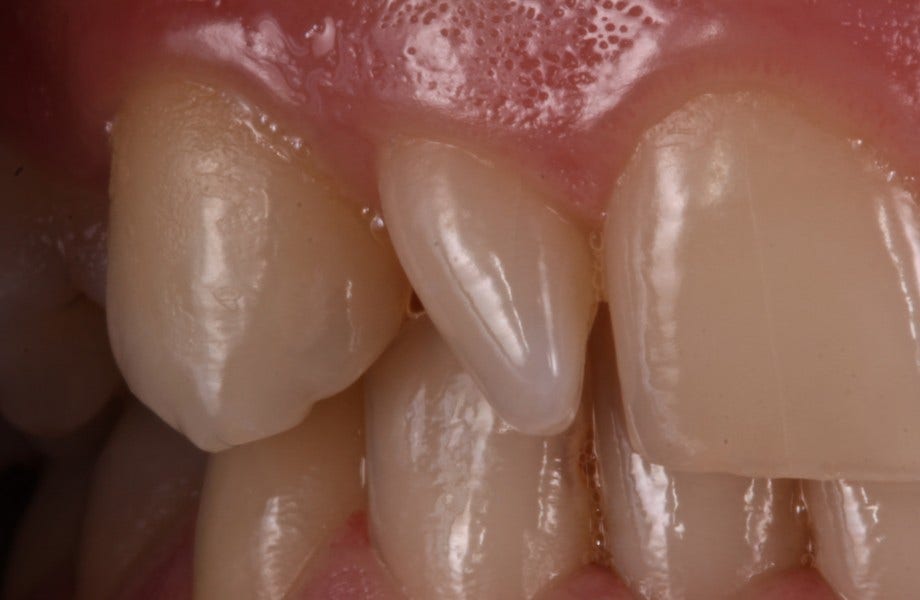
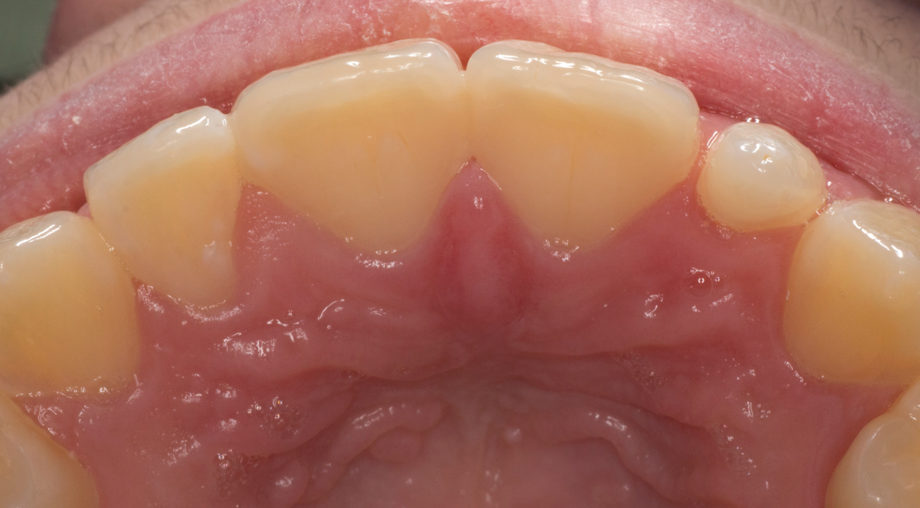
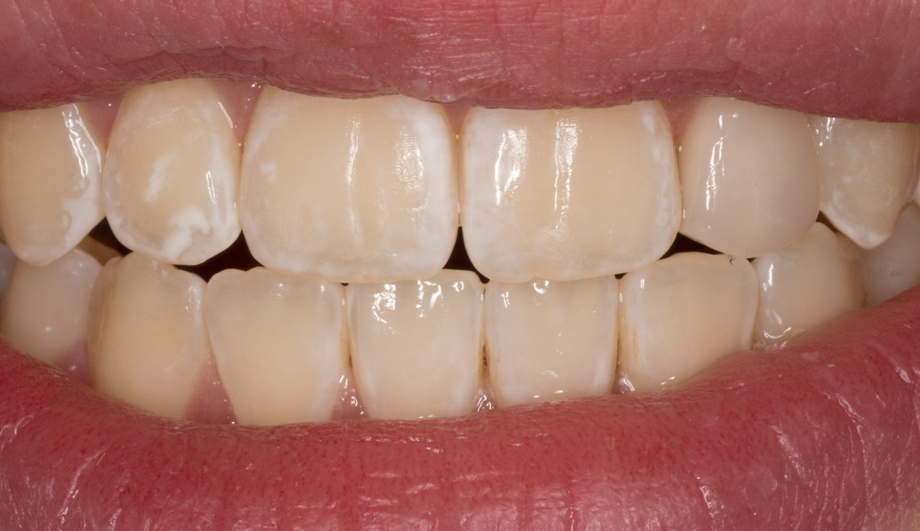
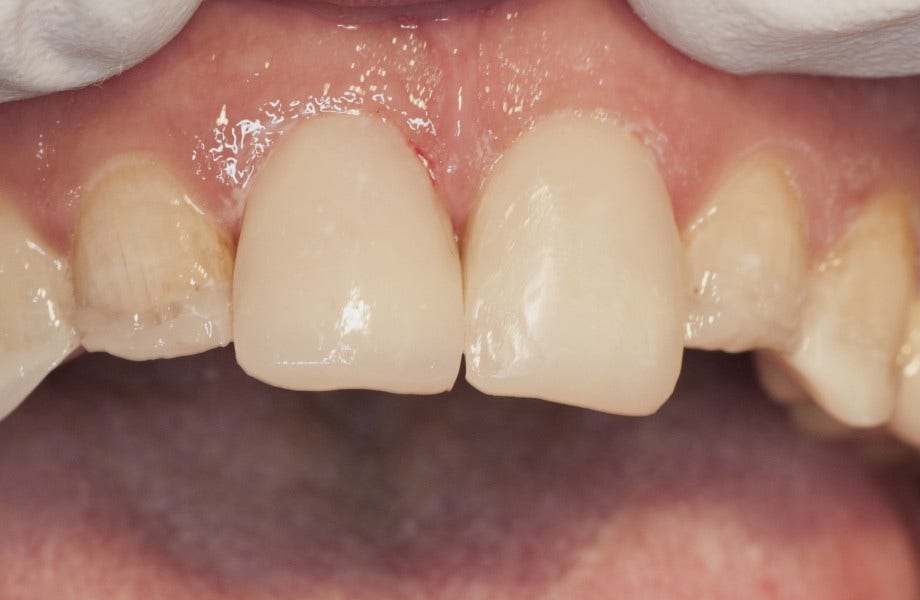
Figure 1. Before CLEARFIL™ MAJESTY ES-2 Pro Technique.
-
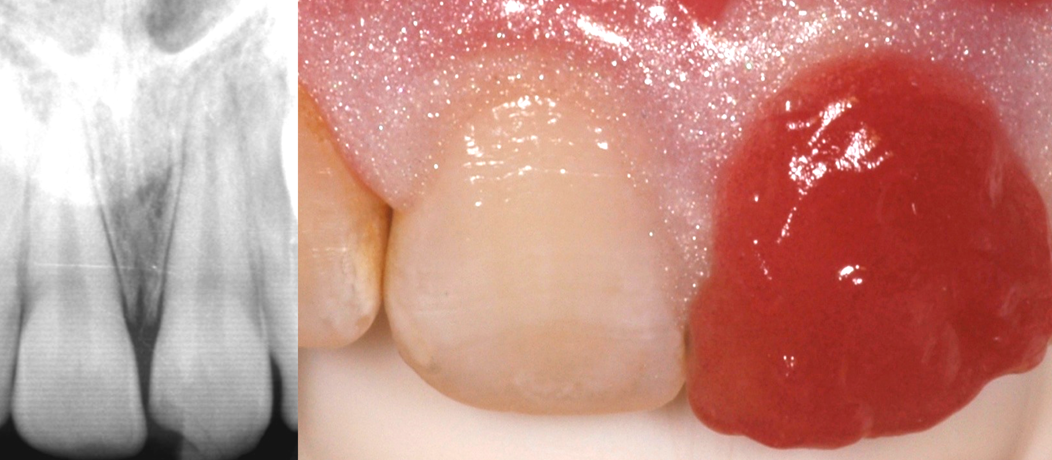
Step 1: bleaching 21 with 35% hydrogen peroxide
-

Step 2: Shade match with A1D, A3D and Translucent Gray
-
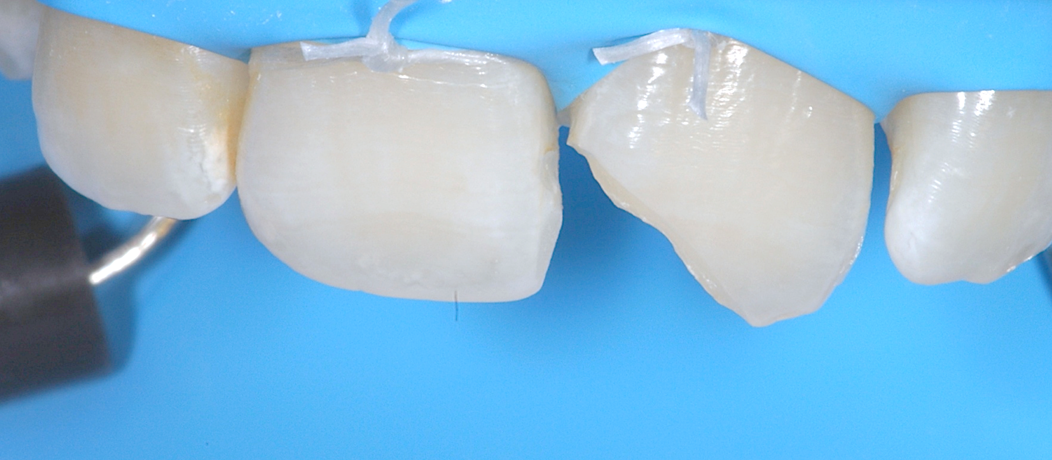
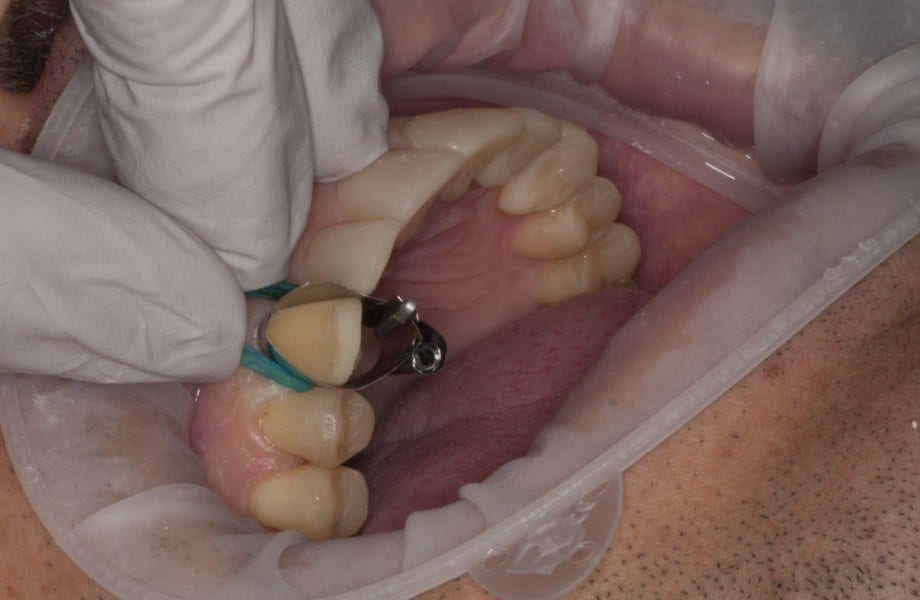
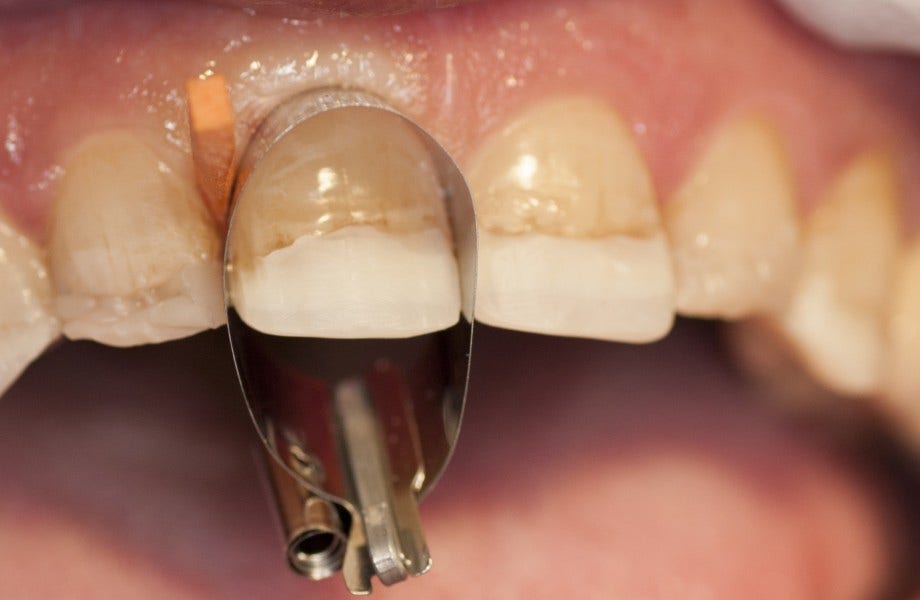
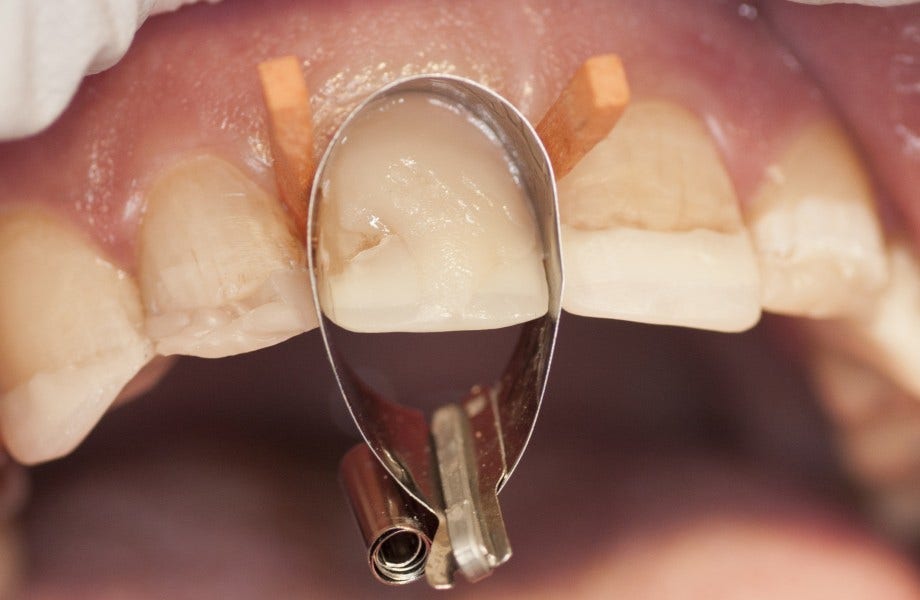
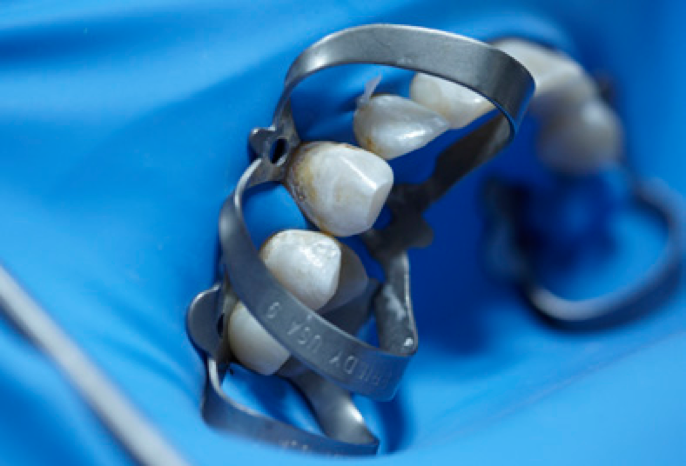
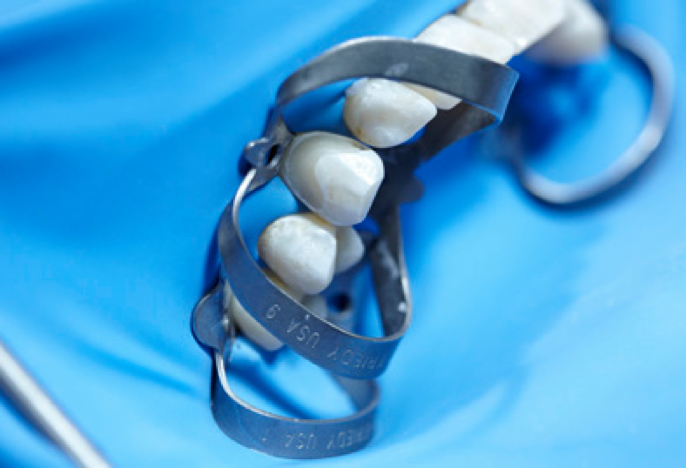
Step 3: Preparation 21 after rubberdam isolation
-
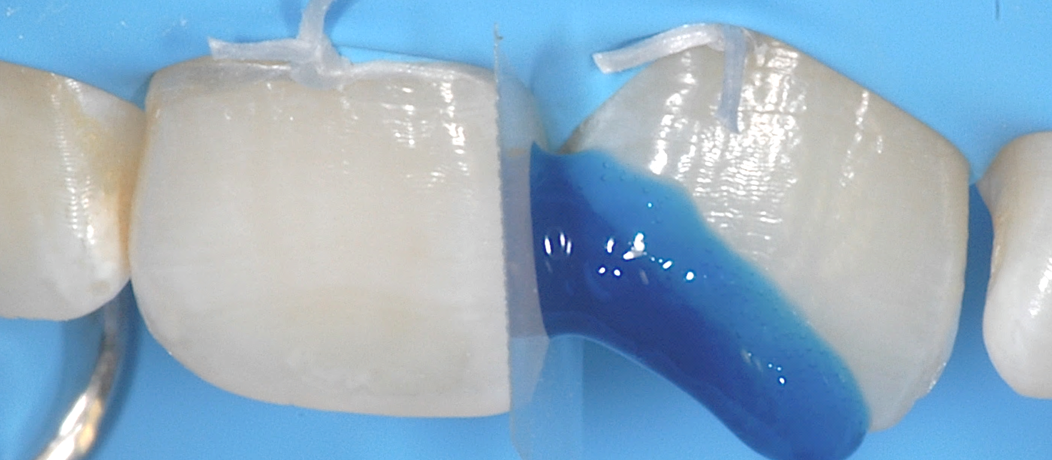
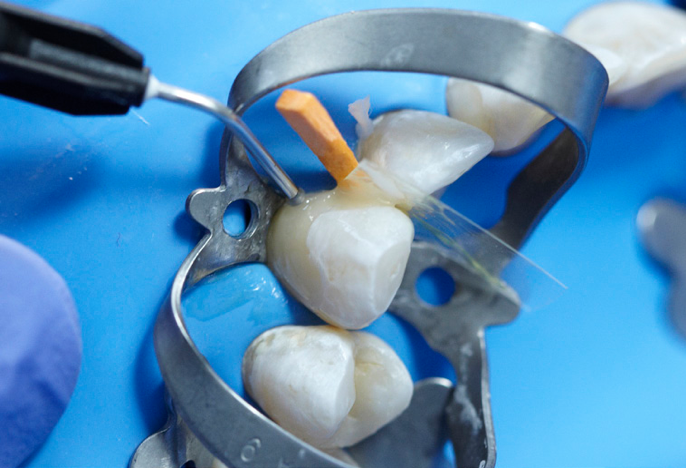
Step 4: Total-etch procedure
-
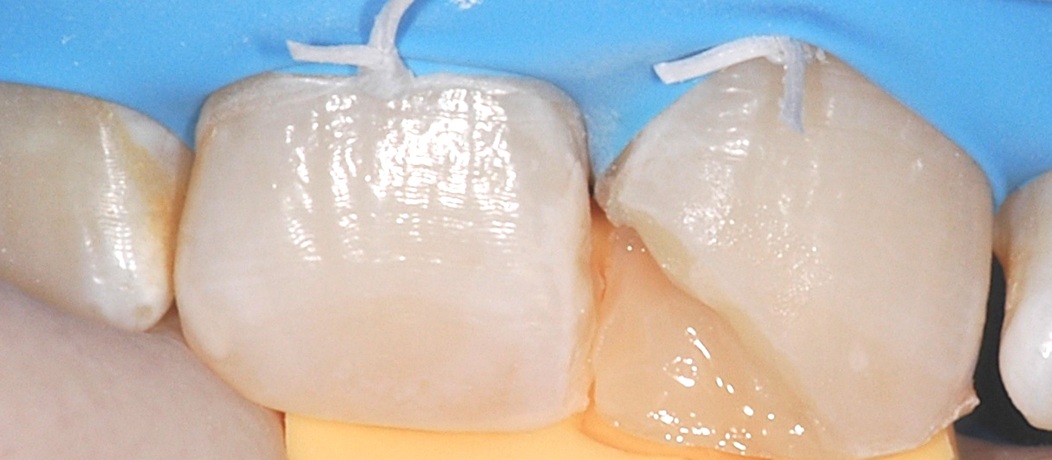
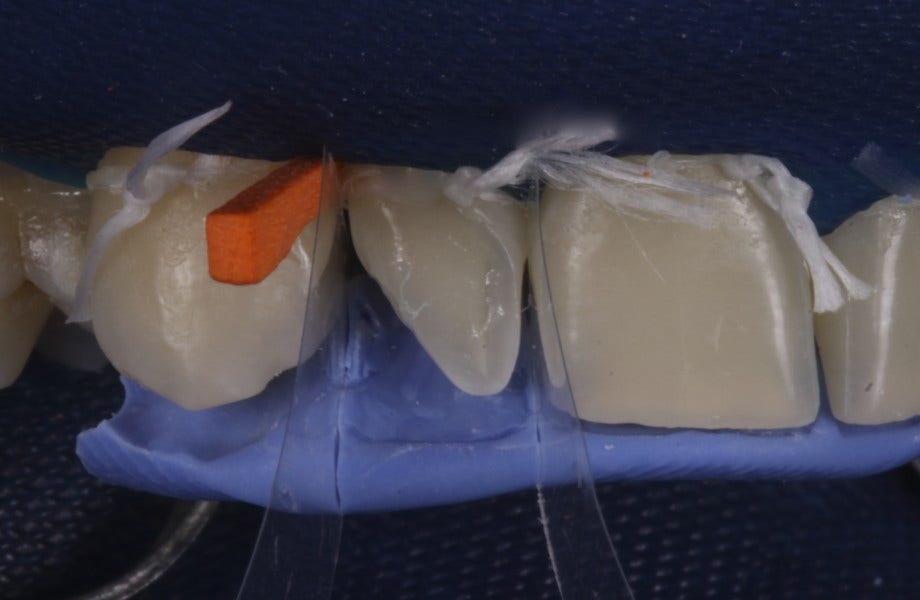
Step 5: Palatal wall modelling with help of a silicone guide
-
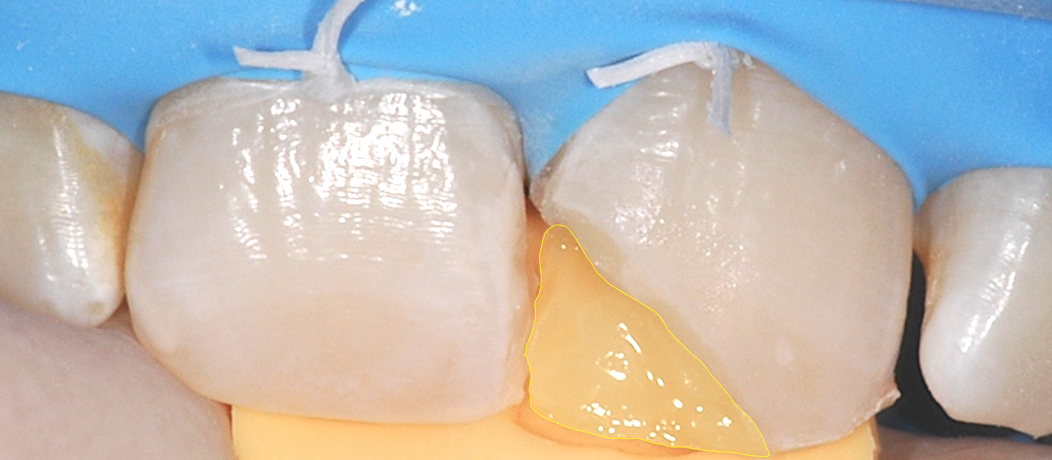
Step 5: Application Translucent Gray palatal shell
-
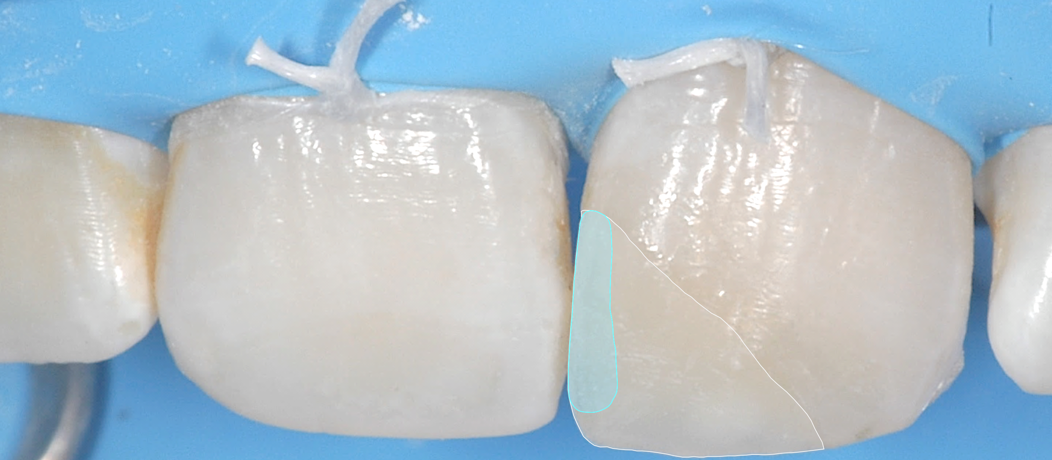
Step 6: Application A1D approximal
-
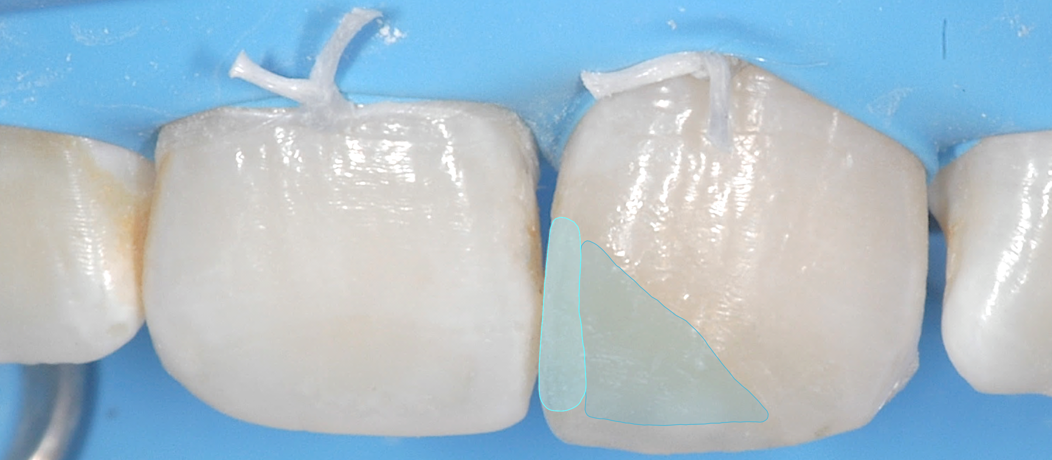
Step 7: Application A3D
-
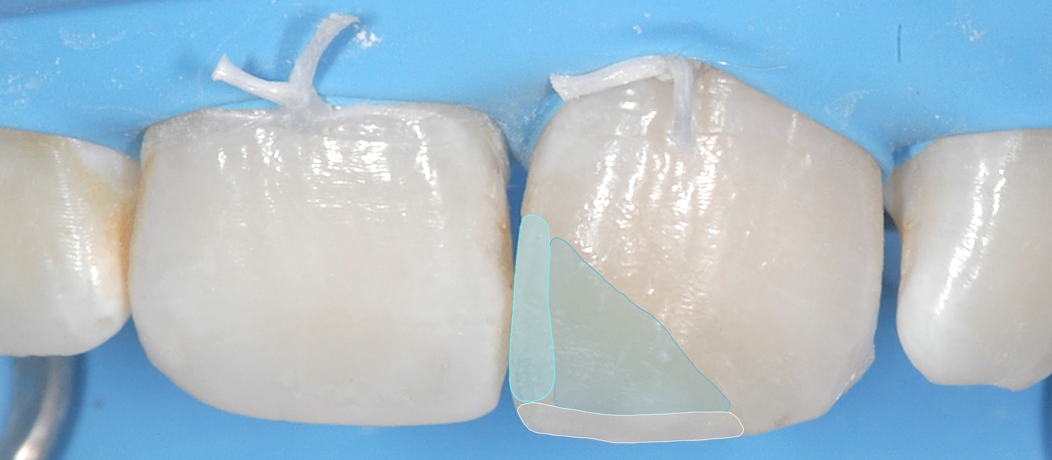
Step 8: Application Translucent Gray insical
-
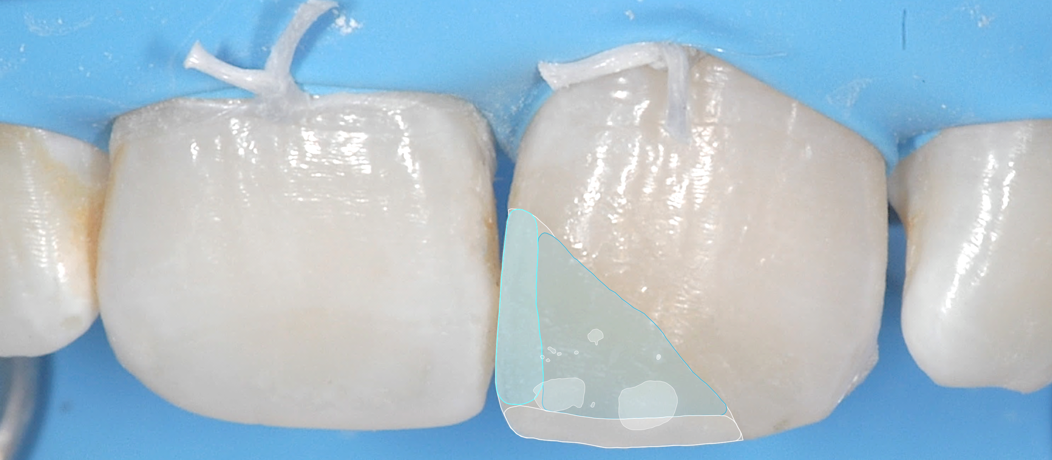
Step 9: White stains are applied to mimic the other teeth
-
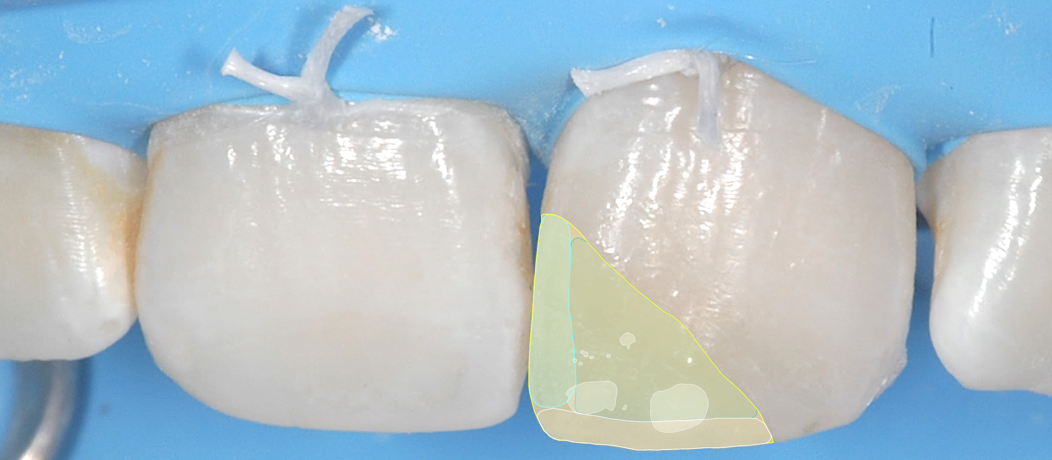
Step 10: Application thin layer Translucent Gray labial
-
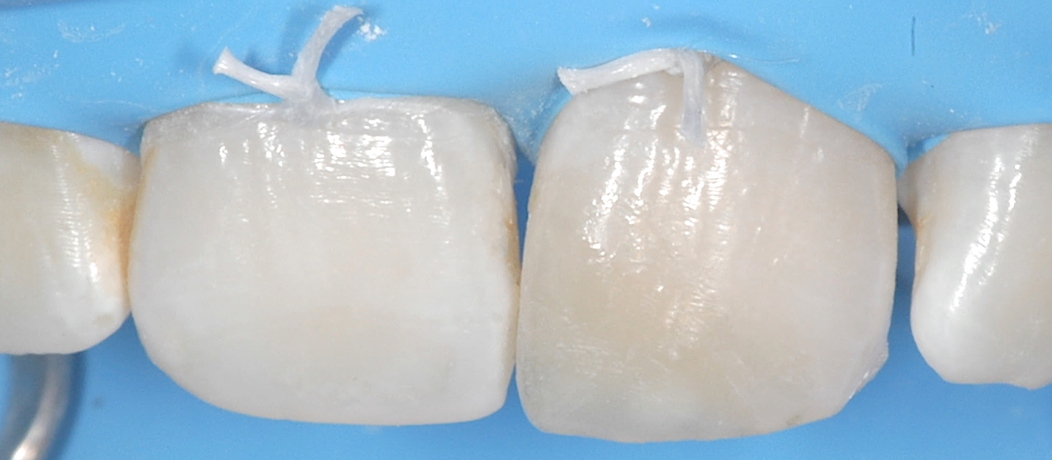
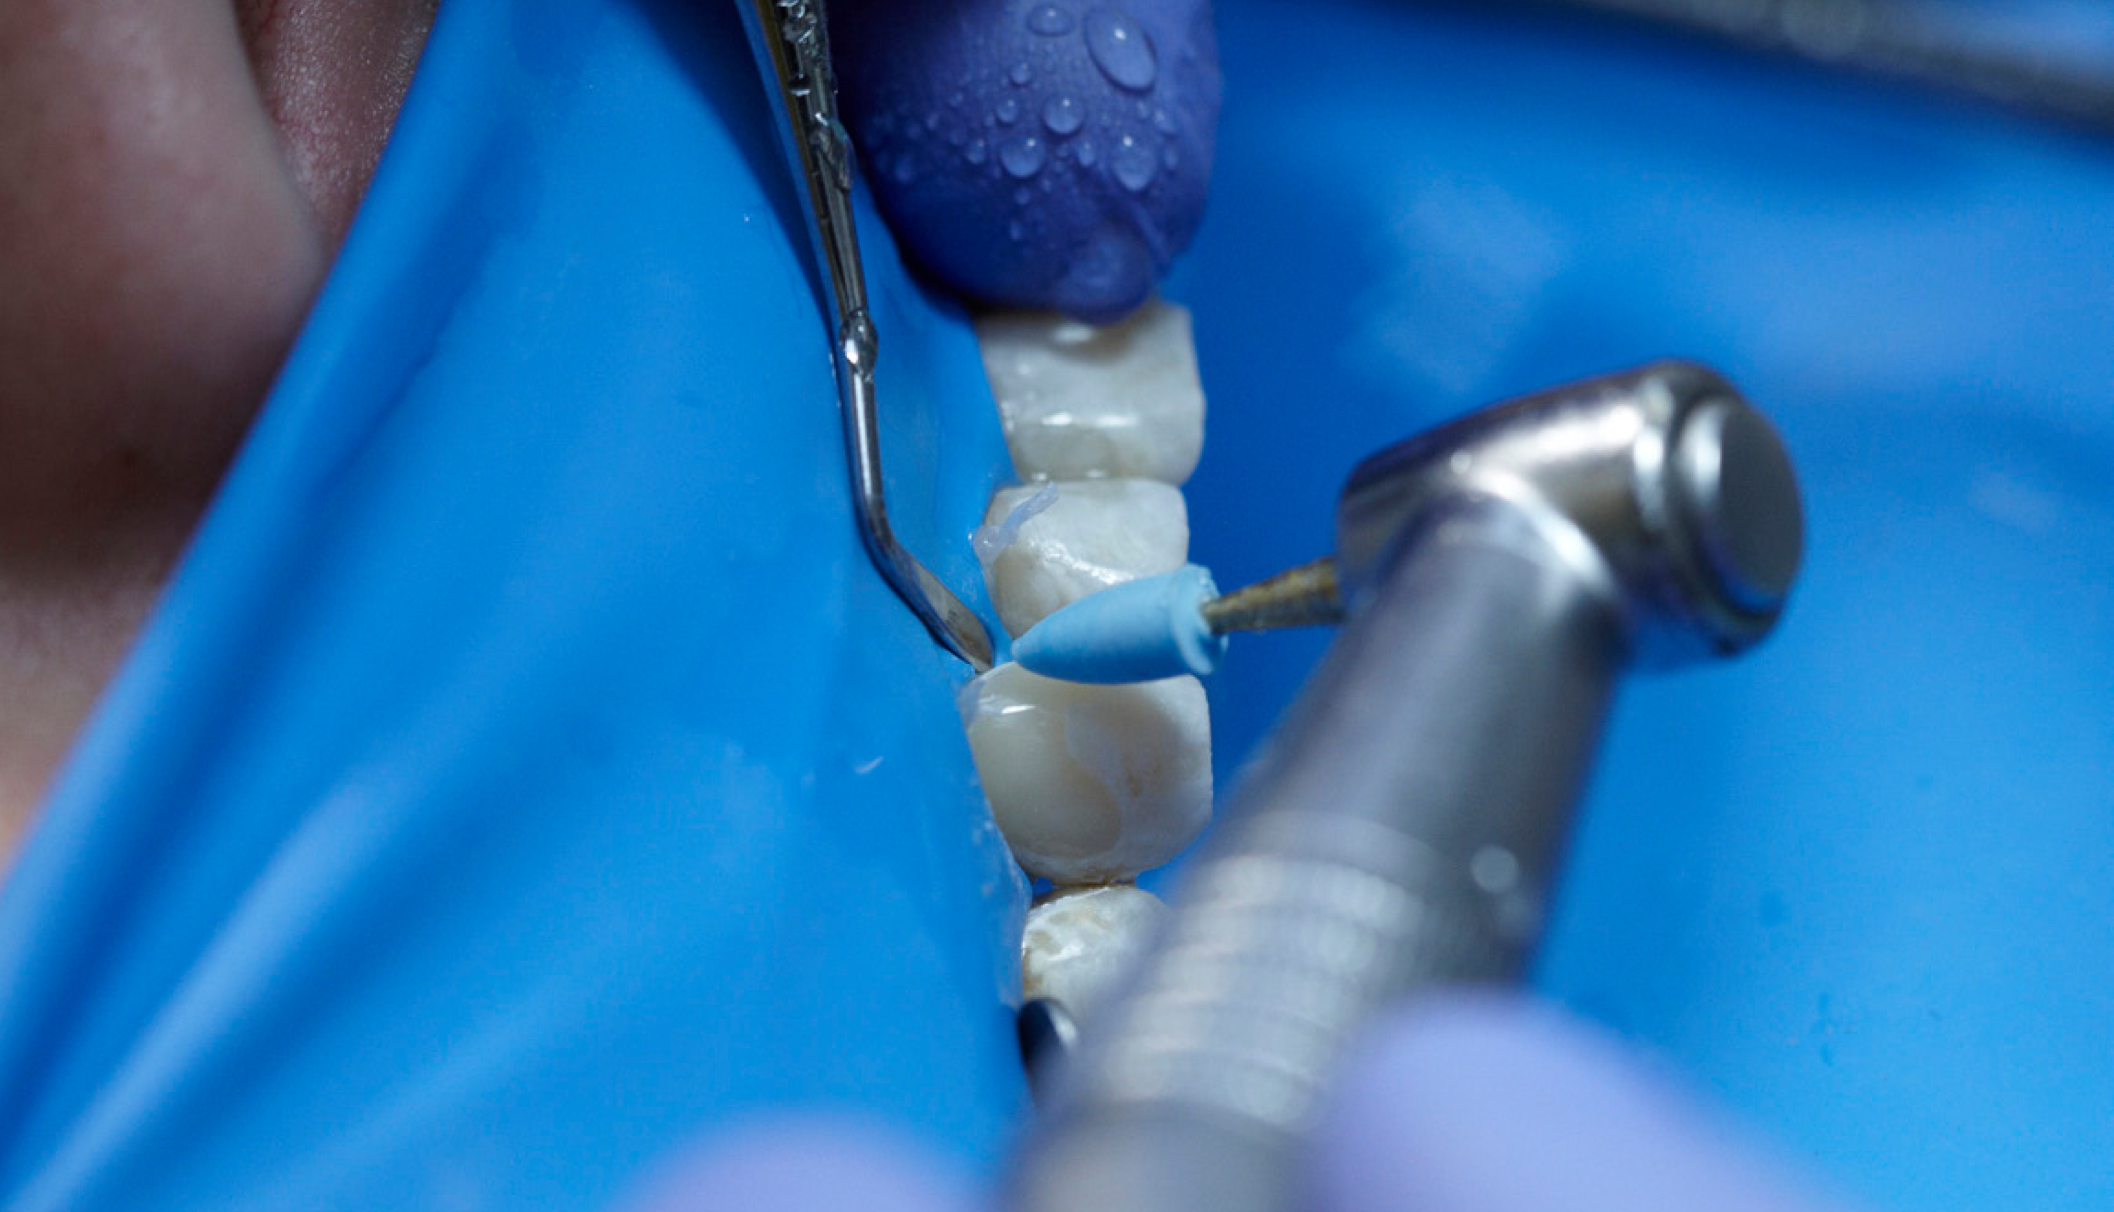
Step 11: Surface shaping and polishing
-
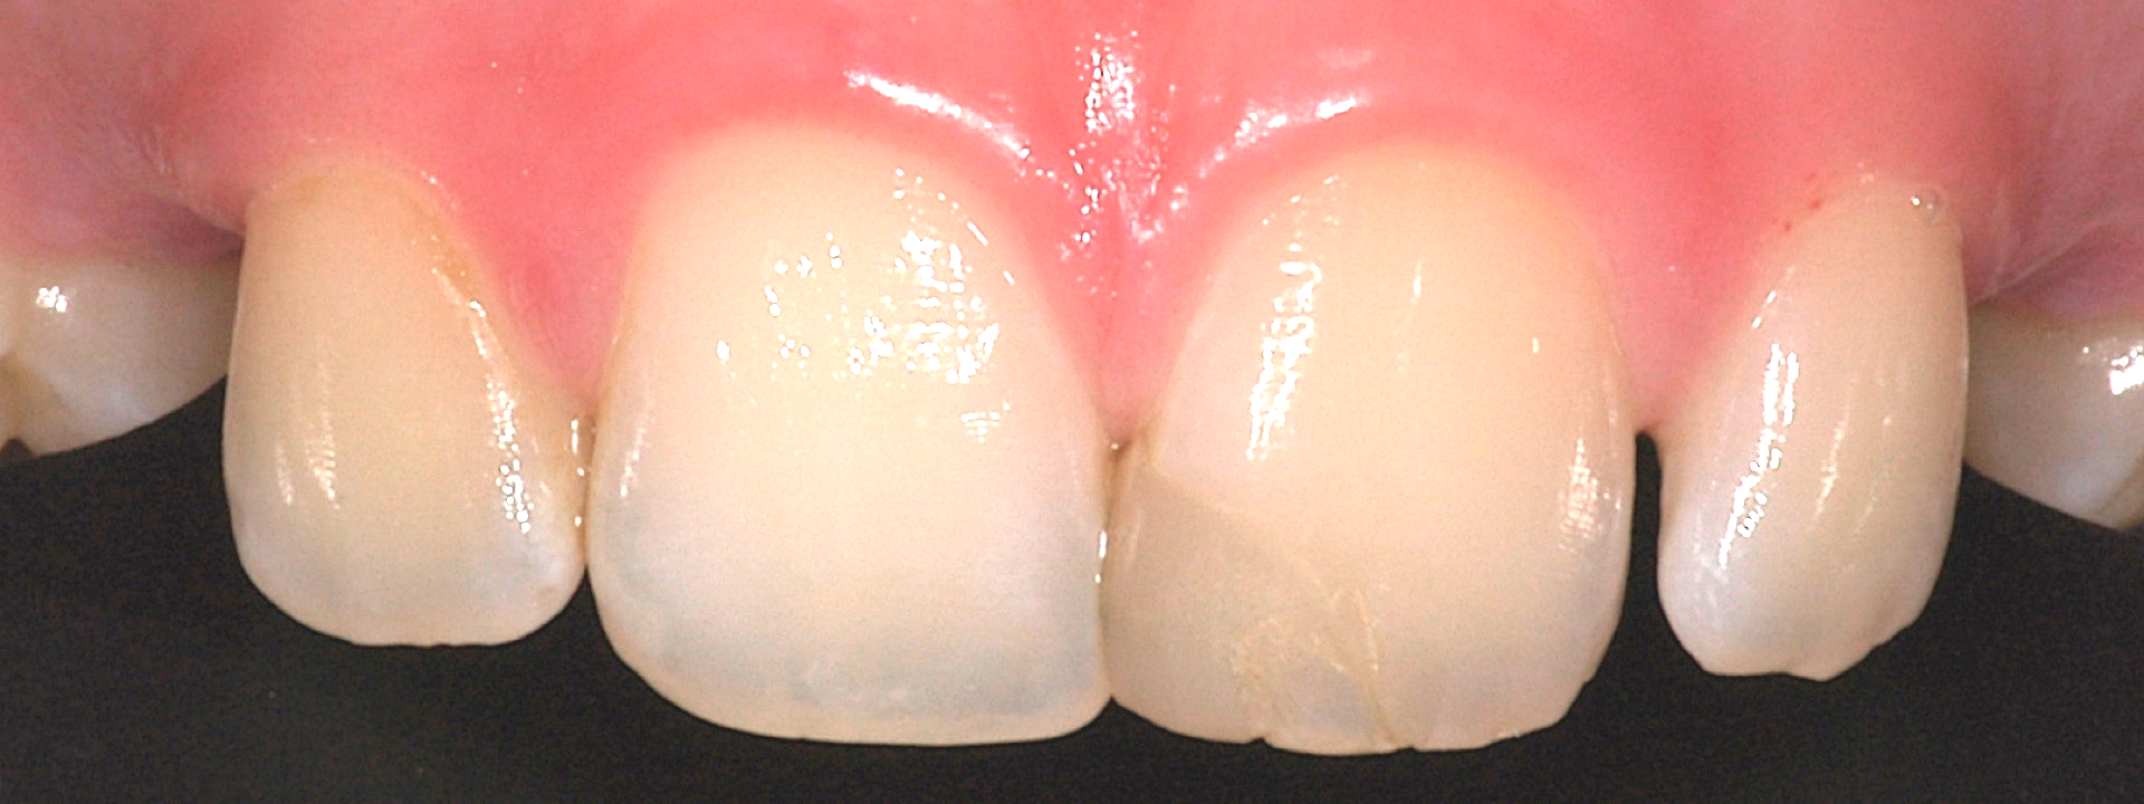
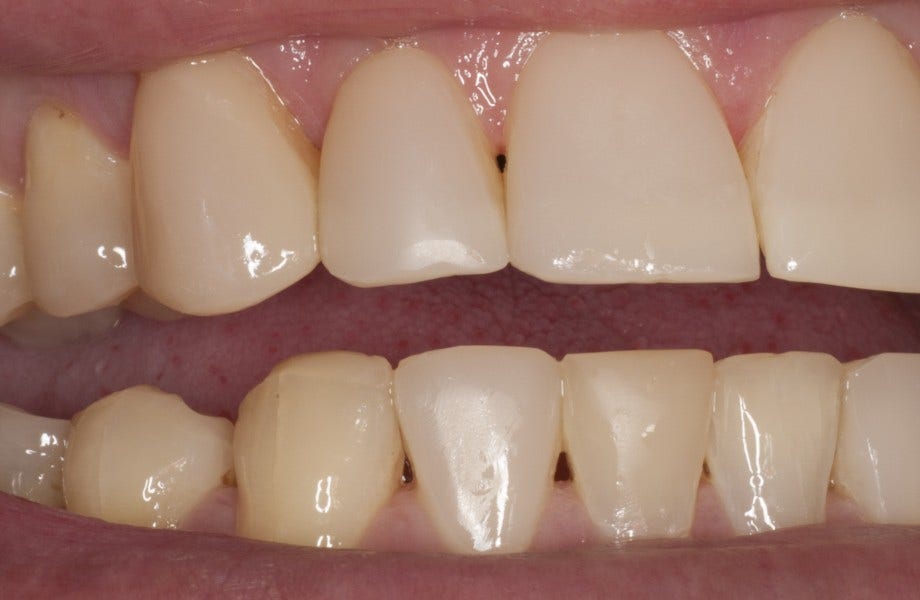
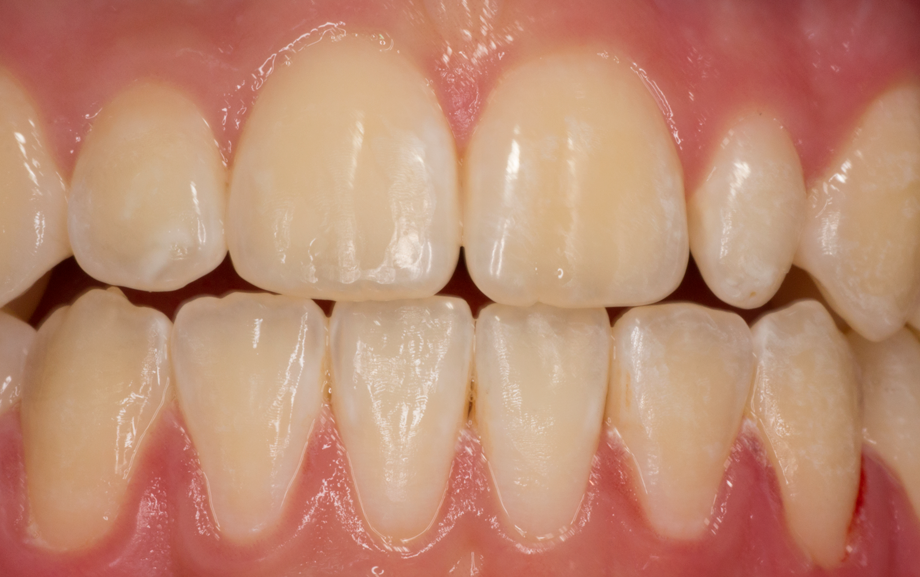
Restoration 21 directly after rubberdam removal
-
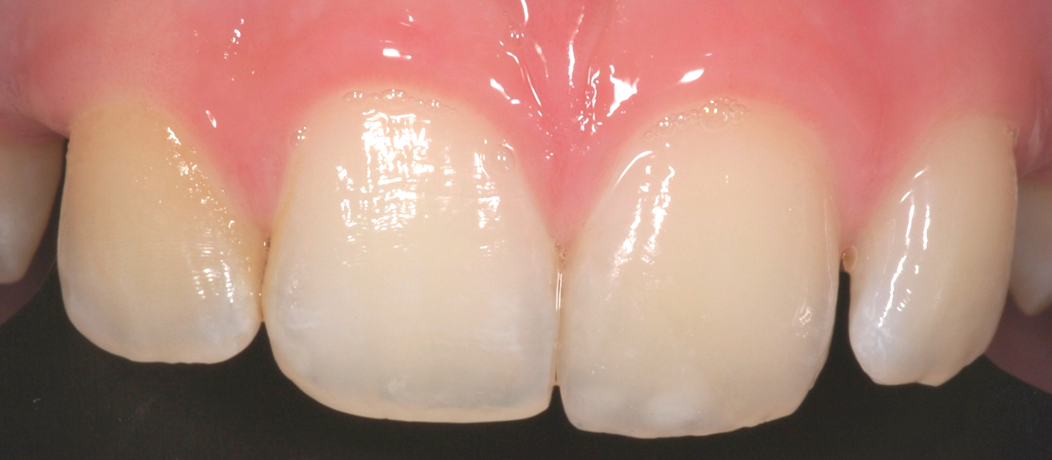
Result after 1 week of tooth rehydration

CLEARFIL MAJESTY ES-2 PREMIUM Inspiring Cases
Posterior application of CLEARFIL Majesty ES-2 PREMIUM
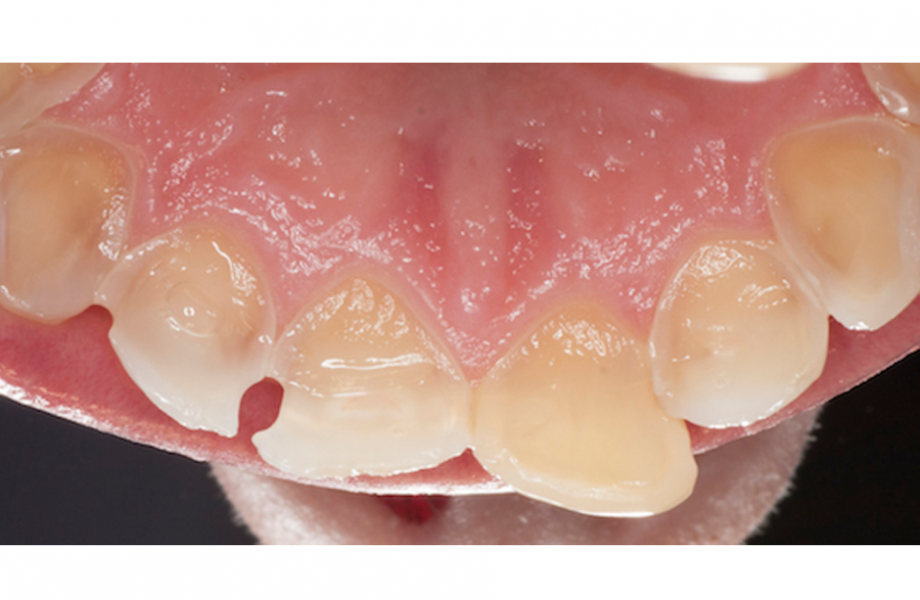
Severe wear treated with CLEARFIL Majesty ES-2 PREMIUM
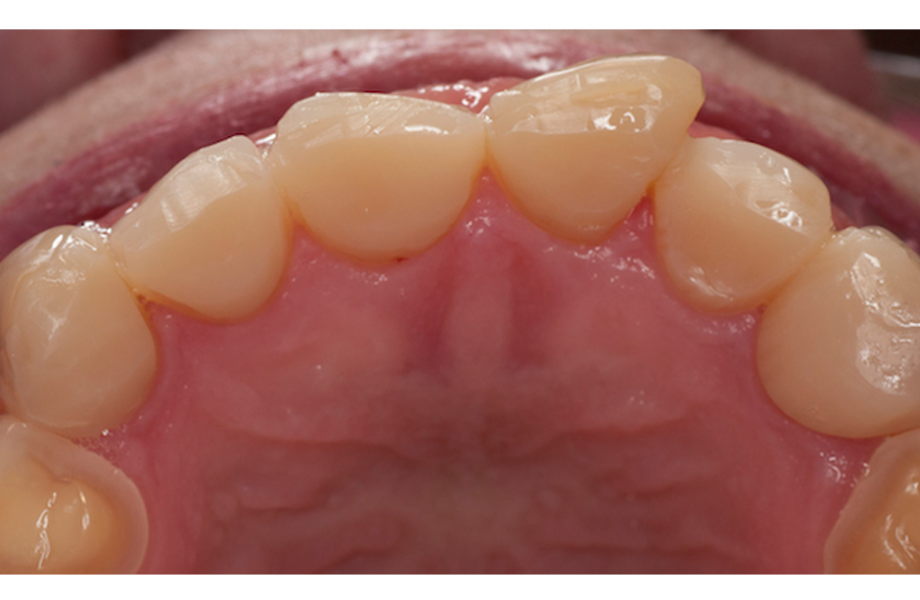
Direct composite facings with CLEARFIL Majesty ES-2 PREMIUM
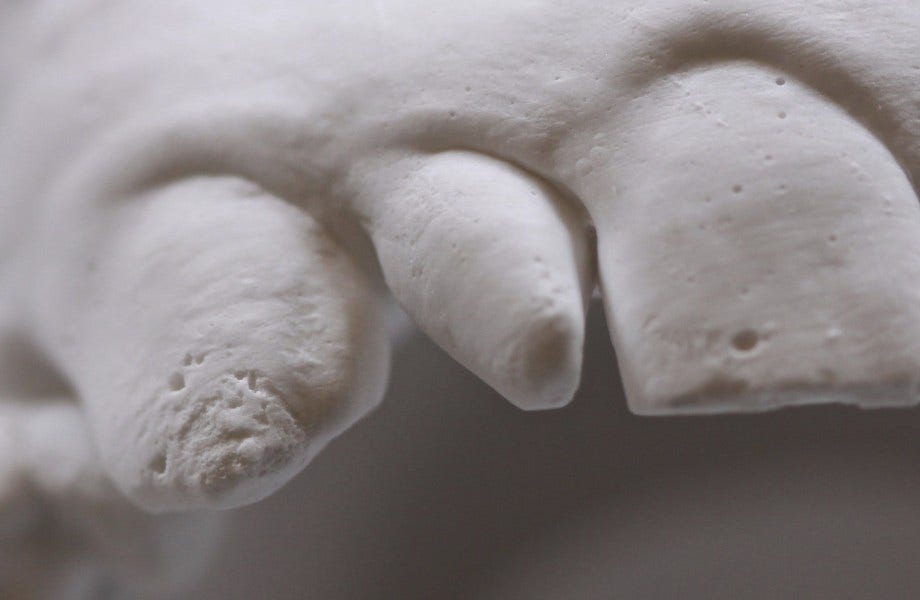
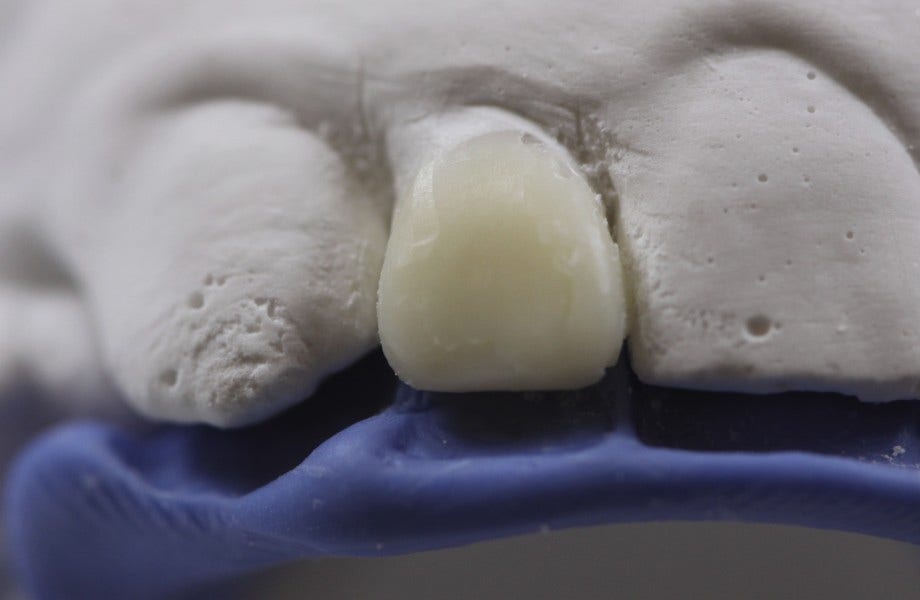
Peg tooth restoration
Treatment of peg tooth
A (too) light ESTENIA™ backing neighboring on (too) dark tooth tissue.

Dr. Nicola Scotti on CLEARFIL MAJESTY™ ES Flow
-
ENJOY WORKING WITH A FLOWABLE COMPOSITE
Easy application. Great modeling. Fast finishing.
Dr. Nicola Scotti from the Turin University (Italy) shows us how to make a Class V restoration fast and easy by replacing dentin and enamel. The special syringe makes his flow application easy. Especially when he pulls away the syringe, the composite stays in place. Thanks to the improved consistency he is always in control of the uncured composite.
During modeling, he already gets a feel for his color selection. The color of the flowable composite before and after stay virtually the same. He nicely models the composite into shape to minimize the adjustments after final curing.
He decides not to adjust the restoration anymore. With his one-step polisher, he simply finishes his restoration in seconds.
“It shows beautiful results with a simple and short procedure. It easily convinced me.“


Clarence P. Tam
Clarence is originally from Toronto, Canada, where she completed her Doctor of Dental Surgery and General Practice Residency at the University of Western Ontario and the University of Toronto, respectively. Clarence’s practice is limited to cosmetic and restorative dentistry and she is well- published to both the local and international dental press, writing articles, reviewing and developing prototype products and techniques in clinical dentistry. She frequently and continually lectures internationally. Clarence is the Chairperson and Director of the New Zealand Academy of Cosmetic Dentistry.
“The composite system used displayed remarkably smooth handling and aesthetic properties that were perfectly predictable featuring ultimate aesthetics...”
She is currently one of two individuals in Australasia to hold Board-Certified Accredited Member Status with the American Academy of Cosmetic Dentistry. Clarence is an Opinion Leader for multinational dental companies Kuraray Noritake, J Morita Corp, Henry Schein NZ, Ivoclar Vivadent, Dentsply Sirona, 3M, Kerr, GC Australasia, SDI and Coltene and is the only Voco Fellow in Australia and New Zealand. She holds Fellowship status with the International Academy for DentoFacial Esthetics and is a passionate and approachable individual, committed to having an interactive approach with patients in all of her cases to maximize predictability.
-
Predictable ultimate esthetics
Guided minimally-invasive correction of asymmetrical maxillary central incisors using a value-vased, Vita-endorsed direct composite layering system.
By Dr Clarence P. Tam, HBSc, DDS, AAACD, FIADFE
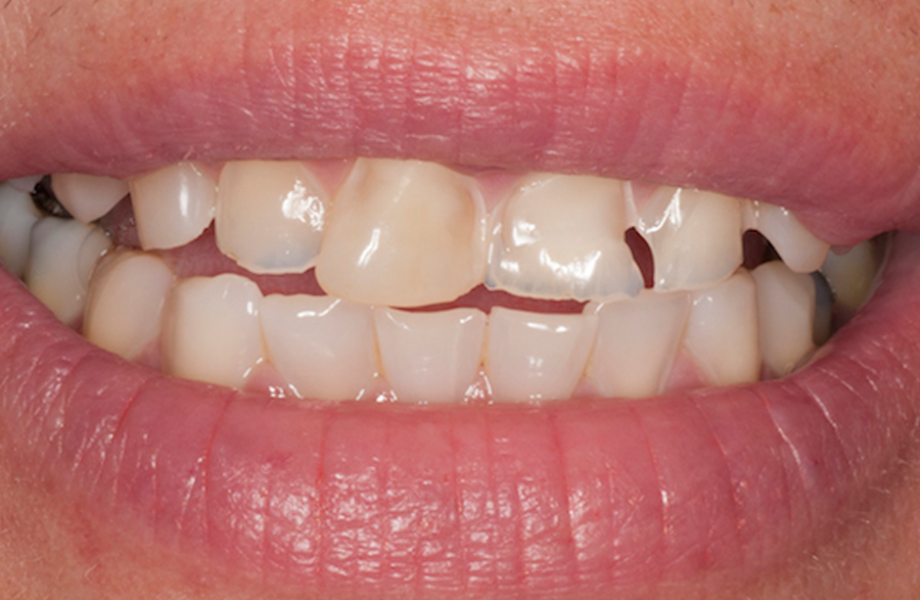
A 23-year-old female patient was referred to my service presenting with asymmetrical central incisors and a midline diastema. Specifically, tooth 21 had suffered sharp dental trauma secondary to her walking into a glass door at 9 years of age. Following a period of orthodontics lasting 4.5 to 5 years, the restoration had been replaced multiple times and to her dissatisfaction, a diastema had also appeared beside a noticeably translucent, misshapen and oversized 21MIBL Class IV repair (Figure 1). The socially-active patient desired an invisible restorative replacement with simultaneous closure of the diastema and corrective symmetry of the 11 relative to 21 (Figure 2).
Part of the workup involved baseline photographs and measurements to be used to design the ideal proportions of the final restorations digitally. Smile Designer Pro (Toronto, Canada) is a multi-platform digital smile designsoftware with a simulation function. It was used to determine ideal proportions, ratios and specific measurements that would allow for predictable sizing and placement of the restorations relative to the patient’s midline and adjacent teeth. As the software allows calibration between the real and digital world, any proposed increase or decrease in dental form dimension can be easily quantified for transfer to a diagnostic wax-up and ultimately to a putty stent given the luxury of time and/or finances.
Vital nightguard bleaching is the gold standard in efficacy, safety and retention. Leonard reported no adverse effects reported relative to patient symptoms or dental structure with effects maintained in 82% of participants at the 47-month post-bleaching mark.1 Following a two-week course of custom nightguard bleaching using 10% carbamide peroxide (Opalescence, Ultradent) and the requisite stand down period of 10-14 days to allow for oxygen dissipation from the teeth, the patient decided to proceed without a diagnostic wax up and trial smile due to social calendar time restraints. The composite system selected was Kuraray Noritake Majesty ES-2. This is currently the only value-based composite system on the market that is Vita-endorsed using only 5 enamel and dentin shades to cover the 15 Vita Classic shade tabs to the most stringent degree, lending another degree of predictability.

Figure 1. Initial situation.
-

Figure 2. Pre-operative situation showing lack of symmetry between 11 and 21, a misshapen, visible fracture repair on 21 and the midline diastema that the patient desired closed.
-

Figure 3. Intraoperative situation showing extent of preparation on 21.
-

Figure 4. Freehand: Lingual shelf-guided by pre-crimped Mylar strip replicating the DSD-guided width change. A1 Enamel.
-

Figure 5. Following layering to full contour with A1 Enamel, the width of 11 was measured with Cali-era to ensure perfect symmetry with the proposed 21.
-

Figure 6. Freehand: Lingual shelf of 21 guided by pre-crimped Mylar strip. Mesial frame completed. A1 Enamel.
-

Figure 7. First dentin mass layer: A1 Dentin.
-

Figure 8. Second dentin mass layer: A1 Dentin featuring incisal dentin lobule irregularity and characterisation.
-

Figure 9. Application of Translucent Clear in a thin worm over the incisal irregularities.
-

Figure 10. Both Translucent Clear and a thicker layer of Translucent Amber were brushed into position incisally.
-
Preperation Day
Kuraray Majesty ES-2 Premium shade guides were used to ascertain the enamel, dentin and effect shades prior to tooth dehydration. A1 Enamel, A1 Dentin, Trans Clear and Trans Amber were selected. It was noted that a value enhancer (i.e. Majesty Esthetic HO) may need to be used to enhance the value of the bleached teeth.
The patient was anaesthetised and the old Class IV restoration removed (Figure 3). The teeth were isolated using a curved serrated metal strip (Komet) to protect the adjacent dentition. Following micro air abrasion using 27 micron aluminium oxide, the enamel was selectively etched and a self- etching bond (Clearfil Universal Bond) applied.
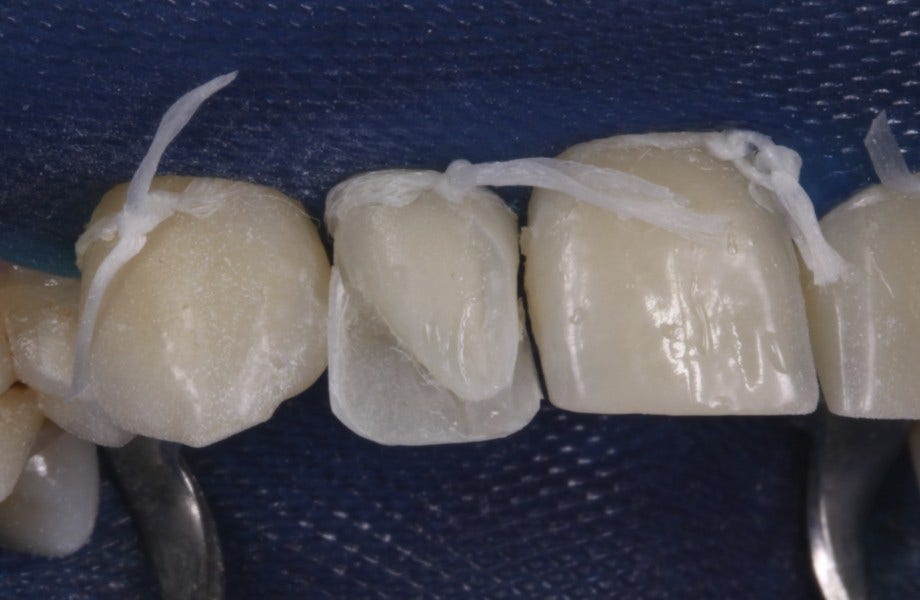
As there was no opportunity to complete a diagnostic wax-up, the lingual shelf was completed freehand, with the help of a Mylar strip. As the Digital Smile Design specified a 0.9mm extension of tooth 11M into the diastema, this dictated the dimension of our lingual shelf. As this area only features enamel, A1 Enamel (A1E) was placed to full contour in this area (Figure 4). The midline was refined and shaped using Sof-Lex discs (3M ESPE) and the final dimension of 11 measured with calipers to ensure perfect mesiodistal symmetry with 21 (Figure 5)
The Mylar strip was placed on the lingual axial aspect of 21 and the lingual shelf built to a thickness of 0.3mm, extending facially to the mesiofacial line angle (Figure 6).
-
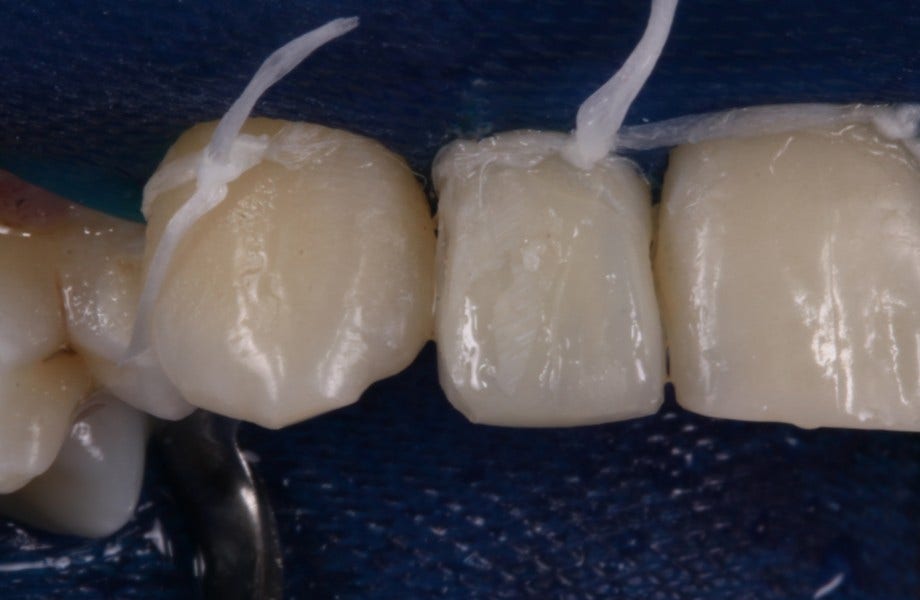
The join line was addressed next. Two layers of A1 Dentin (A1D) were placed with the second layer extending incisally and featuring dentin lobule irregularity and small connections to the incisal edge (Figures 7-8)
Following placement of a thin layer of Translucent Clear within these dentin ngerlings incisally, a thicker worm of Translucent Amber was placed at the incisal edge and brushed into place (Figures 9-10). At this stage, the join line was invisible but we still had space for additional dentin volume, needed to brighten the value of the restoration (Figure 11).
The value was toned up using a thin layer of Majesty Esthetic HO (Hollywood Opaque) before the enamel volume was replaced using A1 Enamel. Primary, secondary and tertiary anatomy were established using a combination of Sof-Lex discs (3M), red-stripe needle-point diamond burs (Mani), Astropol polishers (Ivoclar Vivadent), 45 micron diamond grit and 5 micron diamond grit progressive rubber polishers (Clinician’s Choice) (Figure 12). Finishing and polishing was completed using an Astrobrush (Ivoclar Vivadent) and 1 micron aluminium oxide paste (Enamelize, Cosmedent) in conjunction with Flexibuff discs (Cosmedent) (Figure 13).
-

Figure 11. Join line assessment: invisible. Value: slightly darker than desired. Solution: add a thin layer of Hollywood Opaque (HO).
-

Figure 12. Enamel volume layered and with primary anatomy completed, pencil markings denote planned secondary anatomy positions.
-

Figure 13. Immediate post-operative result.
-
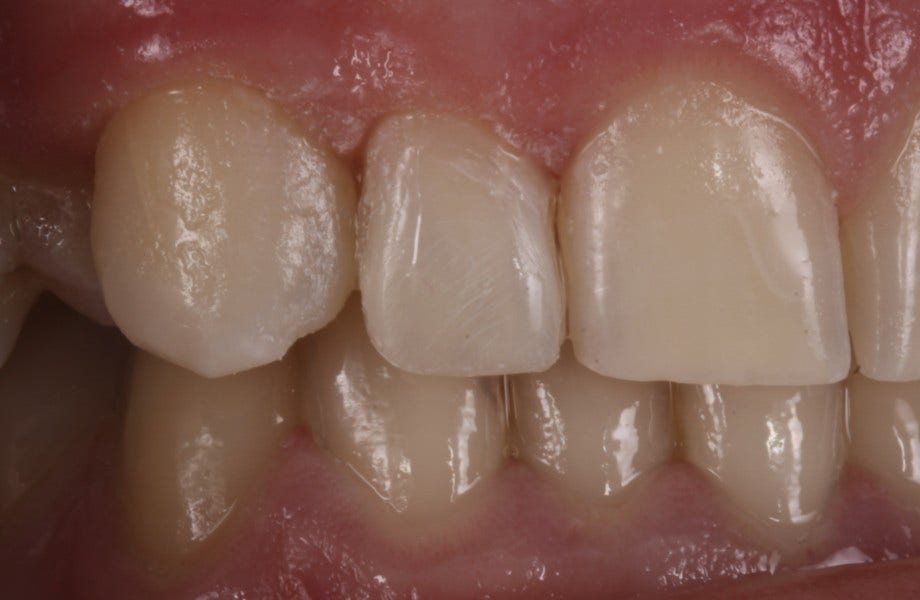
The final result demonstrates successful placement of a seamless Class IV restoration to a dimension symmetrical to that of the contralateral tooth whilst simultaneously respecting the need to close the diastema; all guided by Digital Smile Design and facial landmarks. Clearfil Universal Bond features a time-tested, 10-MDP monomer with multi-modal functionality for a predictable bond to hydroxyapatite.
The selective etch technique was used as Erhardt et al demonstrated a detrimental effect on shear bond strength of a total etch technique using a self-etching bonding system on a dentin substrate.2 The composite system used (Majesty ES-2) displayed remarkably smooth handling and esthetic properties that were perfectly predictable featuring ultimate esthetics (Figure 14).
Sources:1. Leonard, R.H. Jr., Bentley, C, Eagle, J.C., Garland, G.E., Knight, M.C. et Philips, C. Nightguard Vital Bleaching: a long-term on efficacy, shade retention, side effects, and patient perceptions. J Esthet Restor Dent. (2001). 13(6): 357-369. 2. Erhardt, M.C., Cavalcante, L.M et Pimenta, L.A. Influence of phosphoric acid pre-treatment on self-etching bond strengths. J Esthet Restor Dent. (2004) 16:(1): 33-40; discussion 41.
-

Figure 14. Final esthetic integration demonstrating optical properties and outstanding biomimicry by the Majesty ES-2 system.
-
CLEARFIL MAJESTY™ ES COMPOSITES
Our composites can be easily processed without complicated procedures, and for a broad range of indications.
You achieve consistently excellent results time and time again.


