Blog

Recording 14.10.2020 17:00 CEST - Dr Alessandro Devigus on Dental photography as valuable documentation aid

Dental photography as a valuable documentation aid

The main purpose of photography in dentistry is documentation. The aim is to collect as much information as possible under reproducible conditions. For this purpose, the camera used, its accessories and the format and lighting of the intra- and extra oral recordings relevant to dentistry must be standardized. Under standardized photographic conditions, the recordings made can be compared with one another, even if the later recordings are made only after a long period of time and by different photographers. Only in this form can dental photography be used as a valuable documentation aid. The standards described by Wolfgang Bengel in 1985 are still valid, but they have to be updated and adapted to technical innovations.


In this webinar, the current development in the field of dental photography and related areas will be briefly explained.


Dr. Alessandro Devigus has had his own practice with a focus on CEREC since 1990, editor-in-chief of the International Journal of Esthetic Dentistry.


Topic: Dental photography as a valuable documentation aid
Date: Wednesday. October 14, 2020 - 17:00 - 18:30 CEST
Time: approx. 90 min (including discussion and questions)


RECORDING 14.10.2020 17:00 CEST - Dr Alessandro Devigus on Dental photography as valuable documentation aid

Dental photography as a valuable documentation aid

The main purpose of photography in dentistry is documentation. The aim is to collect as much information as possible under reproducible conditions. For this purpose, the camera used, its accessories and the format and lighting of the intra- and extra oral recordings relevant to dentistry must be standardized. Under standardized photographic conditions, the recordings made can be compared with one another, even if the later recordings are made only after a long period of time and by different photographers. Only in this form can dental photography be used as a valuable documentation aid. The standards described by Wolfgang Bengel in 1985 are still valid, but they have to be updated and adapted to technical innovations.


In this webinar, the current development in the field of dental photography and related areas will be briefly explained.


Dr. Alessandro Devigus has had his own practice with a focus on CEREC since 1990, editor-in-chief of the International Journal of Esthetic Dentistry.


Topic: Dental photography as a valuable documentation aid
Date: Wednesday. October 14, 2020 - 17:00 - 18:30 CEST
Time: approx. 90 min (including discussion and questions)


Recording 16.09.2020 17.00 CEST - Dr Dirawi on Zirconia; What's new with this old material?

ZIRCONIA: NEW INSIGHTS INTO TRIED AND PROVEN MATERIAL

You learn from your mistakes, but it’s better if you can learn from those of others. Dr. Dirawi will share his experience, tips and tricks when it comes to creating perfect Zirconia restorations.
Having great material like KATANA Zirconia is an excellent starting point. Yet to achieve highly aesthetic outcome you need to be aware of the unexpected pitfalls and challenges that can be prevented.
Join our webinar and learn what Dr. Dirawi has to say after years of using Zirconia. Bonus – we will have a conversation about cementation of zirconia as well, to achieve durable robust results.


DR WISSAM DIRAWI DDS, MALMÖ, SWEDEN

  • Teacher at Malmö Dental University in Sweden
  • Researcher in the fields of ceramics and implant complications
  • Long clinical experience from public dental care and private dental care
  • Expert in ceramics, implants and digital dentistry
  • 2018 - Specialist in Oral Prosthodontics
  • 2000 - DDS


RECORDING 16.09.2020 17.00 CEST - Dr Dirawi on Zirconia; What's new with this old material?

ZIRCONIA: NEW INSIGHTS INTO TRIED AND PROVEN MATERIAL

You learn from your mistakes, but it’s better if you can learn from those of others. Dr. Dirawi will share his experience, tips and tricks when it comes to creating perfect Zirconia restorations.
Having great material like KATANA Zirconia is an excellent starting point. Yet to achieve highly aesthetic outcome you need to be aware of the unexpected pitfalls and challenges that can be prevented.
Join our webinar and learn what Dr. Dirawi has to say after years of using Zirconia. Bonus – we will have a conversation about cementation of zirconia as well, to achieve durable robust results.


DR WISSAM DIRAWI DDS, MALMÖ, SWEDEN

  • Teacher at Malmö Dental University in Sweden
  • Researcher in the fields of ceramics and implant complications
  • Long clinical experience from public dental care and private dental care
  • Expert in ceramics, implants and digital dentistry
  • 2018 - Specialist in Oral Prosthodontics
  • 2000 - DDS


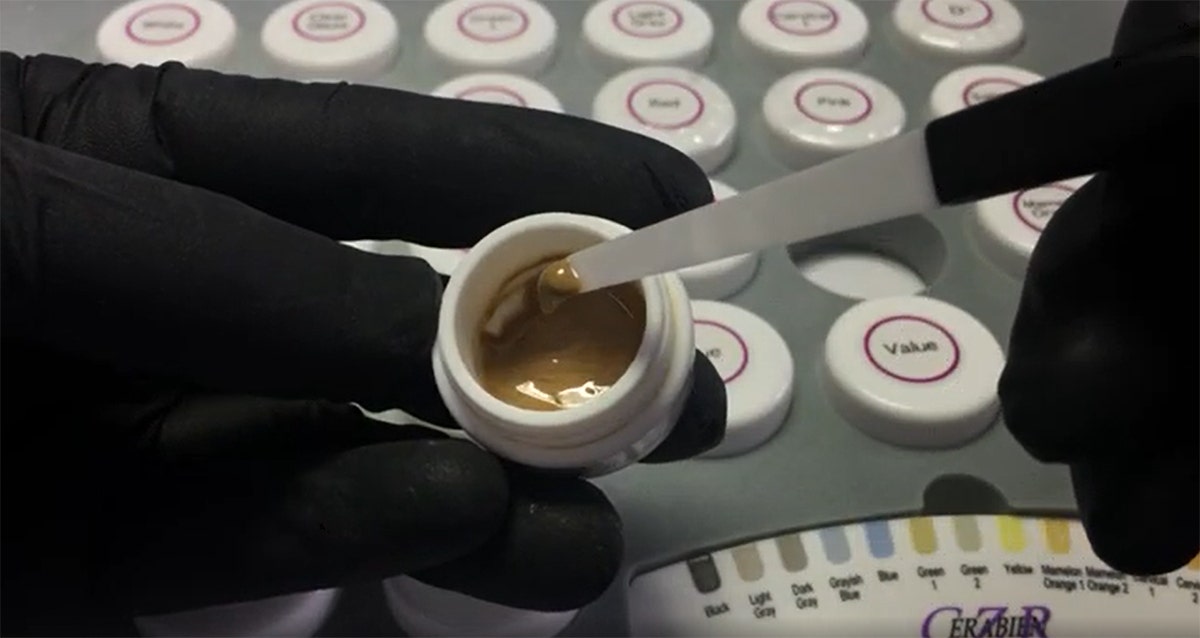
The liquid layer on top of FC Paste stain

Did you know that CERABIEN™ ZR FC Paste Stain has a layer of transparent liquid on top of the liquid ceramic?

This layer protects the material from dust and dirt.

Hence, it is best left in place.


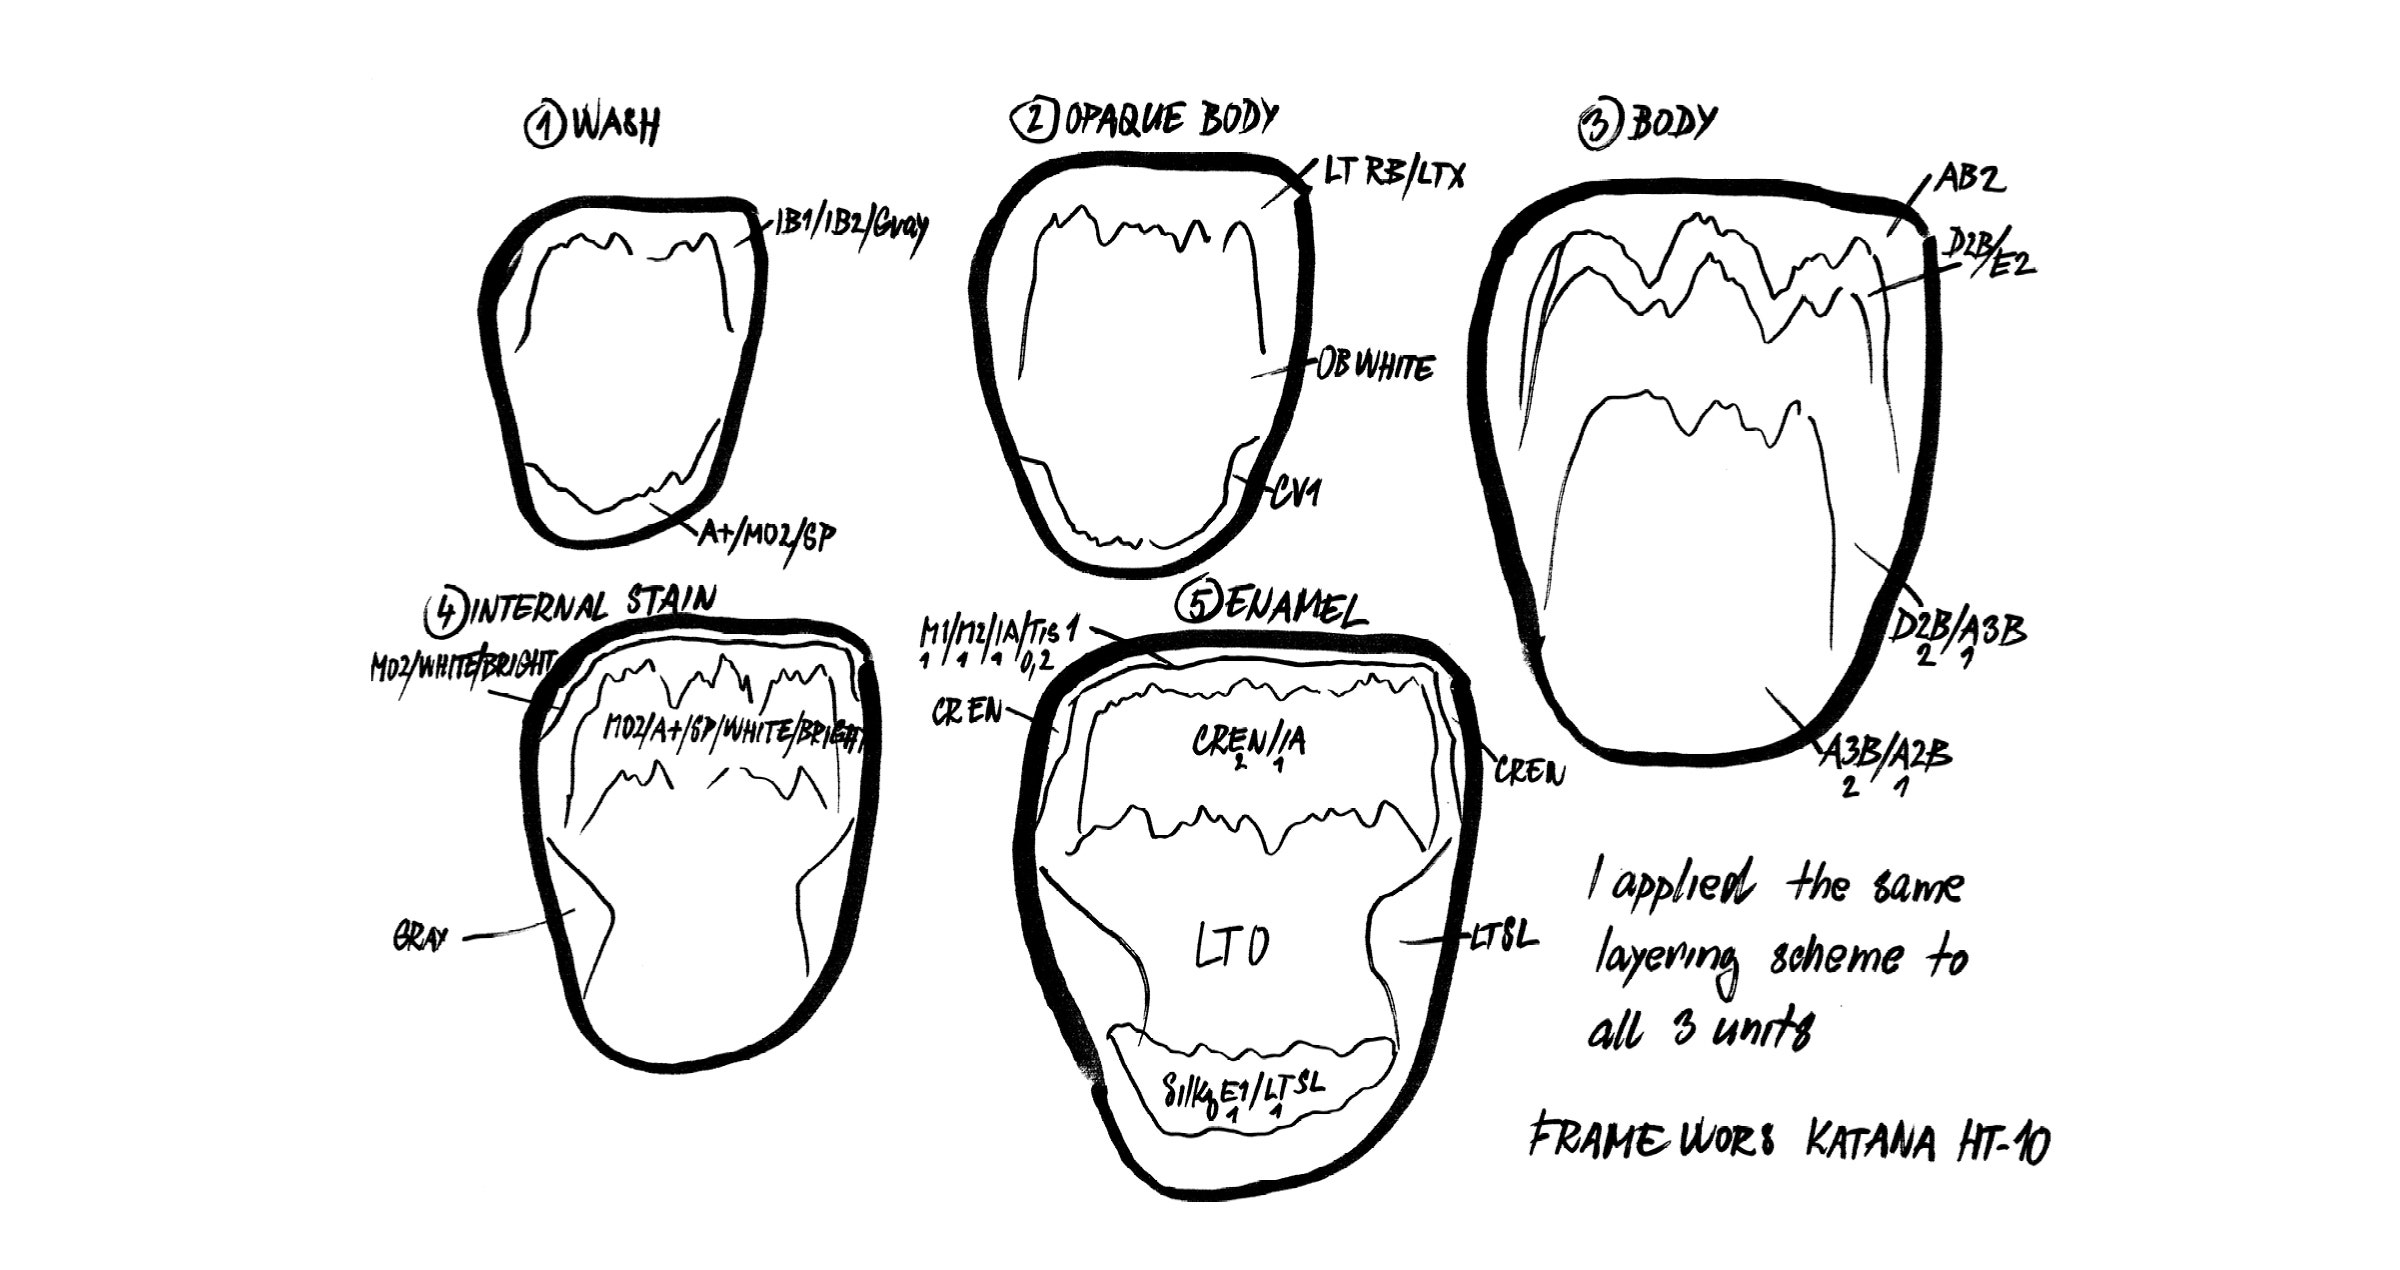
Clinical case - Frame structure without backing lingual support

By Daniele Rondoni, RDT


Considering different criteria to select the ideal zirconia and frame design to meet the level of esthetics requested.


Step 1
Final Preparations.


Step 2
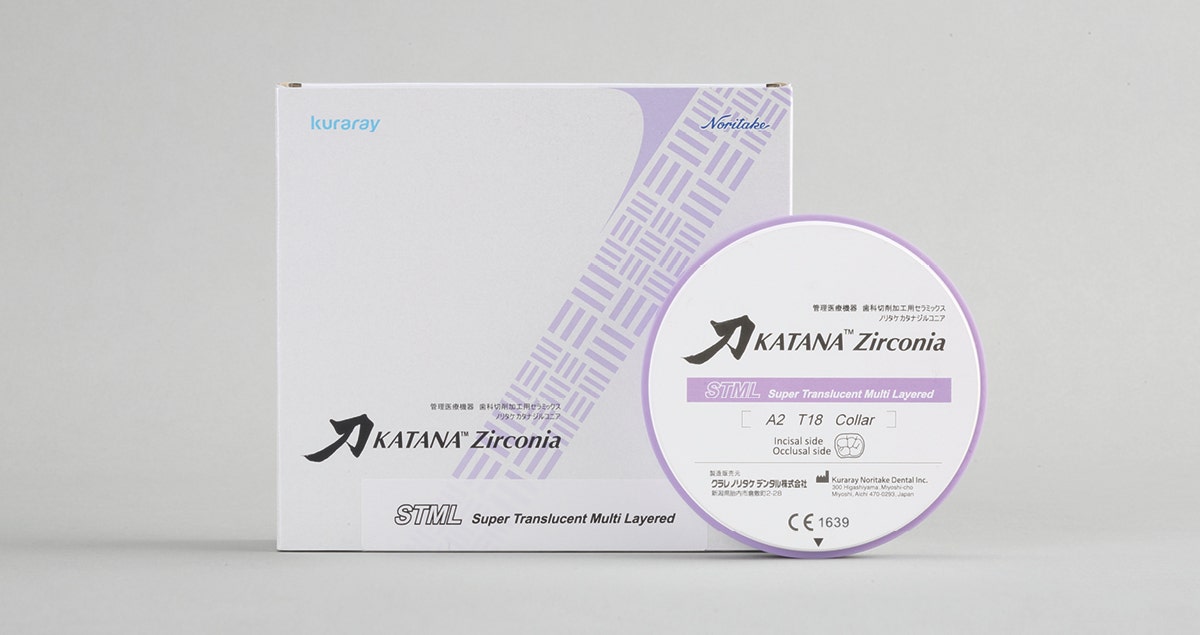
Zirconia Frame (KATANA Zirconia STML A2) cut-back designed to reproduce translucent incisal area.


Step 3
Application of 1st Internal Stain and firing.


Step 4
Application of 1st Luster, Clear Cervical and firing.


Step 5
Application of 2nd Internal Stain and firing.


Step 6
Application of 2nd Luster, and Opacious Body.


Step 7
Completion of firing.


Step 8
Completion of morphological correction.


Step 9
Post-operative view.


How to maximise the full potential of multi-layered zirconia

The use of highly translucent, gradient pre-shaded zirconia brings more efficiency into the dental laboratory. Due to the advanced properties of the materials, e.g. from the KATANA™ Zirconia Multi-Layered Series, true-to-life restorations may be created without any or with only a small vestibular layer of veneering porcelain. This saves a lot of time usually required for manual work around steps in the veneering of zirconia frameworks. At the same time, this also allows for a reduced wall thickness, beneficial in the context of minimally invasive dentistry.


In order to leverage the high aesthetic potential and balanced mechanical properties of these types of zirconia, however, it is essential that the restorations are processed under ideal conditions. The most advanced materials with the highest translucency are particularly sensitive to contamination during and after wet milling, contamination of the furnace chamber, and temperature variations during sintering. Possible undesirable effects include a grayish appearance of the restorations and low chroma, green, yellow, blue or gray traces in the restorations, white spots on the surface and variations in colour and translucency.


If carried out on a regular basis, the following measures will effectively eliminate these effects. Hence, they will support users in ensuring consistently beautiful results.


Optimizing the milling process

Blue or gray traces visible in the final restoration are usually the result of contamination of the cooling water with extrinsic particles in the context of wet milling, (which is usually conducted in chairside procedures). In most cases, silica particles left over from the processing of glass or silicate ceramics with the same milling unit are the root of the problem. The effect is easily avoided by thorough cleaning of the milling chamber, the water tank and the filter insert of the milling machine every time a different material needs to be processed. Another solution is dry instead of wet milling, which offers additional benefits such as shorter processing time and better quality edges and surfaces.


Decontamination of the furnace chamber

In general, the chamber of the sintering furnace should be cleaned before sintering. Important measures include the removal of dust inside the sintering chamber and cleaning of the heating elements, both done with a soft brush. The use of compressed air is contraindicated.


Unwanted optical effects that occur on restorations due to contamination of the sintering chamber include white spots on the restoration surface, a blue-grayish appearance and low chroma, and green or yellow traces in the material. White spots on a restoration surface are usually indicators of contaminated alumina sintering beads or the use of the wrong instruments for surface modification and sprue removal. The effect is avoidable through a monthly or even more frequent replacement of the sintering beads (as soon as they show any signs of discoloration) as well as the exclusive use of fine-grid diamond instruments for adjustments prior to sintering.

Alumina sintering beads may be the cause of white spots on a restoration surface if not replaced on a regular basis.


The blue-grayish appearance and low chroma may be attributed to mineral residues from dipping liquids in the chamber. They are effectively removed with the aid of a decontamination program to be selected in the furnace menu, which is run after inserting several residual pieces of a highly translucent, white zirconia blank. As soon as the decontamination cycle is completed, the chromatic intensity of the residual blank parts indicates whether a second cycle is required. In order to prevent the occurrence of a grayish appearance in new restorations, it is recommended to perform a decontamination program at least once per month.


Pieces of a white zirconia blank left over after milling.


MoSi2 heating elements: Regeneration needed

If a restoration appears to be green or yellowish, it is most likely that the furnace is equipped with aging molybdenum disilicide (MoSi2) heating elements in need of regeneration or replacement. The inner part of the elements is made of molybdenum (Mo), which is usually covered by a protective layer of silica (SiO2). This layer is naturally built up during sintering at a temperature range between 1,000 and 1,600°C. As the thickness of the layer grows, its intrinsic residual compressive stress increases. This stress, as well as possible extrinsic influences, e.g. originating from acidic dipping liquids, may finally lead to cracks and a breakup of the protective layer. Once damaged, the molybdenum core is exposed. At a low temperature range of 400 to 600°C, the molybdenum reacts with oxygen in the sintering chamber, a process referred to as pest oxidation. The resulting molybdenum oxide (MoO3), together with ions or metal oxides from colouring agents, is responsible for the green-yellowish discoloration on the surface of the restorations.


Restorations displaying greenish surface pigmentation.


Molybdenum disilicide heating element with a protective silica layer bursting off, leading to pest oxidation and the contamination of elements in the sintering chamber.


Regeneration firing, which involves a rapid heating rate and a long firing phase at approx. 1,450°C, aims at regenerating the layer of silica. This measure, however, works only a limited number of times, as a repeated process of pest oxidation and regeneration leads to aging of the heating element itself. Hence, it will ultimately lead to the need for replacement. The whole issue of pest oxidation may be effectively avoided by the use of a furnace with silicon carbide heating elements, which are highly aging-resistant and do not cause any discoloration. A positive side effect is that these types of heating elements deliver more constant temperatures.


Temperature control

Variations in translucency or chroma and pigmentation of restoration surfaces are often due to deviations of the actual sintering temperatures from the recommended temperature curve. The only way to solve this issue is temperature calibration. This measure is not only a prerequisite for aesthetic results, but also has a decisive impact on the mechanical properties of the restorations: if the maximum temperatures are too high, for example, the flexural strength of the zirconia materials may be expected to decrease1.


Effect of temperature differences during sintering on restorations made of KATANA™ Zirconia UTML: The restorations were sintered at the same nominal temperatures in three different furnaces!


Temperature control is usually carried out with the aid of TempTABs or PTCRs (process temperature control rings). They are placed into the furnace on a sintering tray and typically processed by running a calibration cycle. After sintering, the tab or ring diameter is determined. As TempTABs and PCTRs exhibit controlled shrinkage, it is possible to calculate the actual sintering temperature based on the measured diameter. A conversion table supports the user in determining the deviation between the temperature actually reached and the temperature displayed on the furnace. Subsequently, the values displayed on the furnace are adjusted if necessary.


TempTAB on a sintering tray with restorations ready for sintering.


General recommendations

In order to set the stage for brilliant aesthetics and ideal properties of zirconia restorations, it is essential to ensure optimal processing conditions. Instead of troubleshooting carried out whenever discoloration appears after sintering, it is advisable to take the following actions on a regular basis as preventive measures:


  • Cleaning of the milling machine’s water tank every time before starting to mill (wet milling only)
  • Strict adherence to the sintering protocols recommended by the material manufacturer
  • Removal of the dust from the sintering chamber and heating elements with a soft brush before each use
  • Replacement of the alumina sintering beads whenever they show signs of discoloration (at least once per month)
  • Exclusive use of fine-grid diamond instruments for sprue-removal and pre-sintering adjustments
  • If possible: Use of furnace with silicon carbide heating elements
  • Furnaces with molybdenum disilicide heating elements require constant visual control and regular regeneration cycles
  • Running of a decontamination program with decontaminating powder or white zirconia residues (y-TZP) at least once per month
  • Temperature control and calibration at least once per month


With these simple measures, it is possible to maximise the full potential of KATANA™ Zirconia Multi-Layered Series from Kuraray Noritake.


References
1 Stawarczyk, B., Özcan, M., Hallmann, L. et al. The effect of zirconia sintering temperature on flexural strength, grain size, and contrast ratio. Clin Oral Invest 17, 269–274 (2013).


Clinical case with CLEARFIL MAJESTY™ Posterior

By Magdalena Osiewicz, DDS, MSc, PhD


Fig. 1 Defective composite resin restoration in molars.


Fig. 2 Application of CLEARFIL™ SE BOND 2 to cavities.


Fig. 3 Restoration of the cavities with CLEARFIL MAJESTY™ Posterior in the A2 Classic shade.


Fig. 4 Final restorations of Class I and II with CLEARFIL MAJESTY™ Posterior and polish with CLEARFIL™ Twist DIA.


CLEARFIL MAJESTY™ Posterior is a resin composite with high strength and great optical properties developed for posterior restorations and suitable even for the most demanding patients. Figure 1 shows the initial clinical situation with insufficient resin composite restorations in the lower molars. After removal of the old fillings, the cavities were treated with CLEARFIL™ SE BOND 2 (Figure 2).


Then, I restored them with CLEARFIL MAJESTY™ Posterior in the A2 Classic shade (Figure 3). The fissures were highlighted with brown color modifier. Finally, finishing was performed in three steps: The excess of composite resin was removed with a fine-grained diamond bur. Final contouring was accomplished with a carbide bur, before CLEARFIL™ Twist DIA was used to obtain a natural gloss (Figure 4).


CLEARFIL MAJESTY™ Posterior is characterized by high mechanical strength, hardness and bending strength, a low coefficient of thermal expansion, low polymerization shrinkage and good aesthetics. Due to these features and a reliable long-term behavior, CLEARFIL MAJESTY™ Posterior should have a place in every dental office for direct posterior restorations. Excellent outcomes are achievable and therefore I recommend its use.


Dentist:

Magdalena Osiewicz, DDS, MSc, PhD


Department of Integrated Dentistry, Jagiellonian University, Krakow, Poland.

Department of Dental Materials Science, Academic Centre for Dentistry Amsterdam (ACTA), University of Amsterdam and Vrije Universiteit Amsterdam, Amsterdam, the Netherlands.

Department of Integrated Dentistry, Jagiellonian University, Krakow, Poland.

Department of Dental Materials Science, Academic Centre for Dentistry Amsterdam (ACTA), University of Amsterdam and Vrije Universiteit Amsterdam, Amsterdam, the Netherlands.


Clinical case - PFM incisor crowns using Noritake Super Porcelain EX-3

By Daniele Rondoni, RDT


Preoperative view


1 PFM. 3 Laminates on refractory


Postoperative view


NORITAKE SUPER PORCELAIN EX-3 CHROMATIC MAP


Dentist:

DANIELE RONDONI, RDT


Born in Savona in 1961 where he lives and has worked in his own laboratory since 1982 with his collaborators. Graduated from the dental technician school IPSIA “P. Gaslini” in Genoa in 1979. He continued his education by attending relevant workshops for the “Italian dental school“ and broadened his professional experience in Switzerland, Germany and Japan. Since 2011 Kuraray Noritake Dental International Instructor.


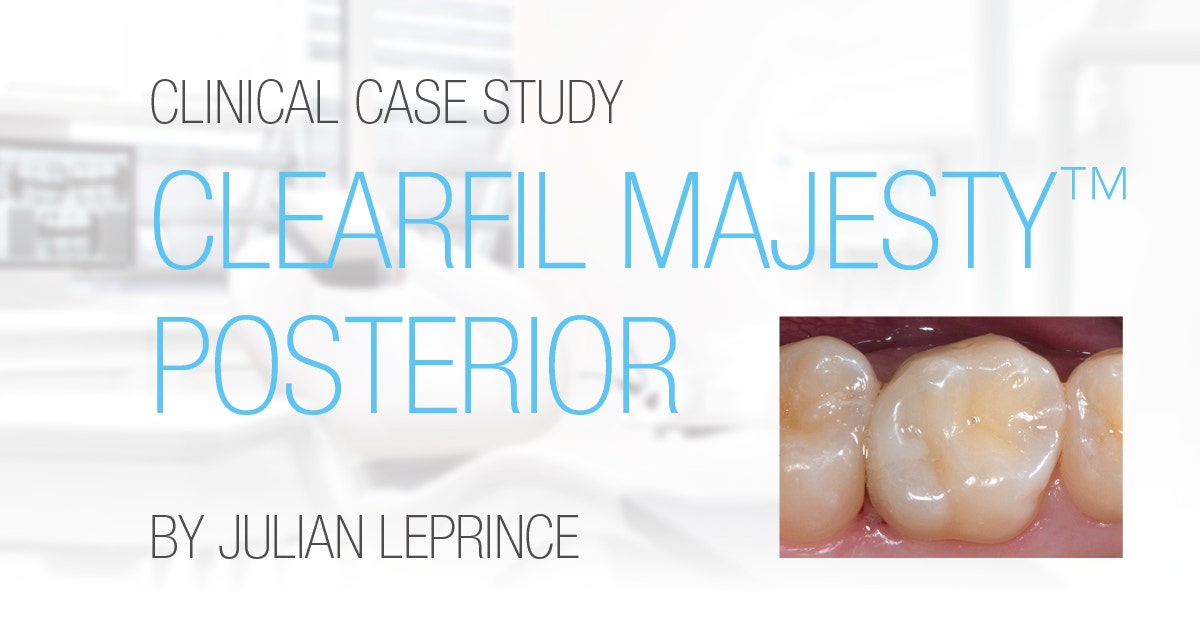
Clinical case with CLEARFIL MAJESTY™ Posterior

By Julian Leprince, UCLouvain


PROXIMAL RESTORATION
POSTERIOR // 26 DEEP DISTAL


  • Patient stated they experienced occasional sensitivity to heat/cold.
  • Preoperative bite-wing X-ray. Carious lesions in 26 M and D.
  • Decided to monitor 26 M (caries limited to the outer dentin zone > just 35% of these lesions were cavitated; per Hintze et al., Caries Res 1998).
  • Decided to treat 26 D; treatment classified as difficult due to the limited juxtaosseous space.


  • Clinical preoperative situation.
  • Rubber dam positioned (clamp on 27, ligatures at elements 25-26-27), limited connection at the height of 27 palatally. Deemed acceptable due to the absence of blood and saliva.
  • A gray discoloration can be observed at the height of the mesial marginal ridge (limited) and distally (extensive). An old composite restoration is visible in the distal fossa.


  • Positioning a protective system – a combination of a plastic wedge and a straight small metal plate – to prevent damage to the neighboring element during the mounting process.


  • Drilling through the enamel to access the softened dentin, which can be excavated with a hand tool.


  • First phase of removing the proximal enamel.


  • Removing the unsupported proximal enamel.
  • Excavating the softened dentin. The difference in texture in the dentin is visible.
  • Note the damage to the protective system, which appears to justify its use.


  • Cleaned cavity after removing the protection system.
  • The current recommendations from the ORCA (European Organisation for Caries research) state that where caries is deep, partial excavation is required but restricted to the softened dentin. With regard to the pulp, work must be carried out to ensure that it is not exposed (Carvalho et al., Caries Res 2016). The successes achieved with this approach outweigh those achieved with complete excavation. In contrast, the cavity edges (enamel and dentin; as per JAD) are treated so that only hard and healthy tissue is present, which is more favorable for marginal contact.


  • Positioning a matrix band with box.
  • A wooden wedge is used to position the matrix band against the element on the palatal side, while Teflon is used on the vestibular side.


  • Contact between the matrix band and the bottom of the proximal cavity.
  • The matrix band runs precisely until beyond the edge of the cavity.
  • The cavity is deep enough so that the concavity between the root is visible distovestibularly and palatally.
  • The connection of the matrix band is incomplete due to the concavity, but the seal that is achieved by the matrix and improved by using Teflon is thereby deemed to be adequate, including as no contamination is observed. The bonding procedure is then begun.


  • Selective etching of the enamel with 37% phosphoric acid (K-Etchant Syringe) for 20 seconds, followed by thorough flushing with the multifunction spray.


  • After drying, the etched enamel has a chalky appearance.
  • In this case study, the preferred choice was the type of selfetching adhesive system used here (CLEARFIL™ SE BOND). This is because the technology used appears to have a favorable outcome when used on eroded dentin, thanks to the ability of MDP to bond chemically to calcium in the partially demineralized dentin (Perdigao, Dent Mater 2010).
  • This procedure was chosen to create an optimum bond.


  • It is clearly visible at the height of the cavity edge that the excavation extends to the hard dentin. In the axial section, excavation is limited to as far as the soft dentin to reduce the risk of exposing pulp.


  • Applying the self-etching primer to the dentin for 20 seconds, followed by drying.
  • Applying the bonding (B), followed by light curing for 10 seconds.
  • Applying a small amount of flowable composite (F) (e.g. CLEARFIL MAJESTY™ ES Flow), restricted to the interradicular concavity.
  • Note the change in the appearance of the dentin, from matt to glossy.


  • Positioning a horizontal layer of composite (max. 2 mm) to raise the proximal margin.
  • Light curing of each layer with an output of 1,000 mW/cm2 for 20 seconds (Leprince et al., Oper Dent 2010).


  • Positioning a sectional matrix, in conjunction with a separating ring and a wooden wedge, to achieve an accurate anatomy of the proximal restoration.
  • The composite is positioned by adding successive 2-mm layers (the number of bonded surfaces must be minimized).


  • After removing the matrix band, defects can be observed in the shape (slight oversize); this should be corrected carefully with a curved scalpel and/or the drill.
  • A paro curette is used, in conjunction with floss wire and a fine abrasive strip, to remove any excess adhesive, for example.

FINAL SITUATION


  • Correcting the anatomy is followed by adjustment of the occlusion and polishing.
  • The composite chosen for the restoration (CLEARFIL MAJESTY™ Posterior) has a high filler loading (weight percentage of inorganic filler >80%), which produces an elasticity modulus of >16 GPa; this is comparable to the elasticity modulus values reported for dentin (Randolph et al., Dent Mater 2016).


Dentist:

JULIAN LEPRINCE
UCLouvain


Julian Leprince studied dentistry at UCLouvain, and is now head of the division of Conservative Dentistry & Endodontics at Cliniques universitaires Saint-Luc (Brussels, Belgium), associate professor at UCLouvain and head of the DRIM research group (www.drim-ucl.be).


Abonner på vårt nyhetsbrev
Gjør som tusenvis av andre som arbeider med tannhelse og motta gratis informasjon som kan hjelpe deg i din karriere. Vi vil ikke sende ut spam eller dele din emailadresse med andre.