Blog

Implant-supported fixed partial denture

Case by Sung Bin Im, MDC, CDT and Sergio R Arias, DDS, MS


MINIMAL CUT-BACK DESIGN


KATANA multi-layered zirconia allows me to achieve great esthetic and functional outcomes on high risk patients.


Step 1. Titanium Abutments (#7, 9) were placed on the solid model.


Step 2. Zirconia Frame (KATANA Zirconia HT10) cut-back designed to minic anatomical dentin structure and incisal frame.


Step 3. Application and firing of Cerabien™ ZR (CZR) to achieve target shade and incisal effect.


Step 4. Completion of Internal Stain firing.


Step 5.
Completion of Luster and Clear Cervical layering.


Step 6. Surface detail check.


Step 7. Post-operative view.


Recordings 03-07-2021 - YML Symposium Video Recordings

Virtual Kick-Off KATANA Zirconia Symposium


Lecture 1 of 3, Prof. Dr. Beuer
Watch how Prof. Dr. Beuer explains his experience with the new material. Two in one: Combining High Strength and High Translucent Zirconia.


Lecture 2 of 3, MDT Rondoni + MDT Rossi
Watch the recording of the KATANA Zirconia YML Online Symposium on July 3rd 2021, the second lecture plus hand-on which details the experience of MDT Rondoni and MDT Rossi with this new material.


Lecture 3 of 3 + Q&A, MDT Nondas Vlachopoulos
Mister Vlachopoulos deepdives in to a full procedure executed with the new material and demonstrates how liquid ceramics compliment the material establishing a very high-end aesthetic result.


RECORDINGS 03-07-2021 - YML Symposium Video Recordings

Virtual Kick-Off KATANA Zirconia Symposium


Lecture 1 of 3, Prof. Dr. Beuer
Watch how Prof. Dr. Beuer explains his experience with the new material. Two in one: Combining High Strength and High Translucent Zirconia.


Lecture 2 of 3, MDT Rondoni + MDT Rossi
Watch the recording of the KATANA Zirconia YML Online Symposium on July 3rd 2021, the second lecture plus hand-on which details the experience of MDT Rondoni and MDT Rossi with this new material.


Lecture 3 of 3 + Q&A, MDT Nondas Vlachopoulos
Mister Vlachopoulos deepdives in to a full procedure executed with the new material and demonstrates how liquid ceramics compliment the material establishing a very high-end aesthetic result.


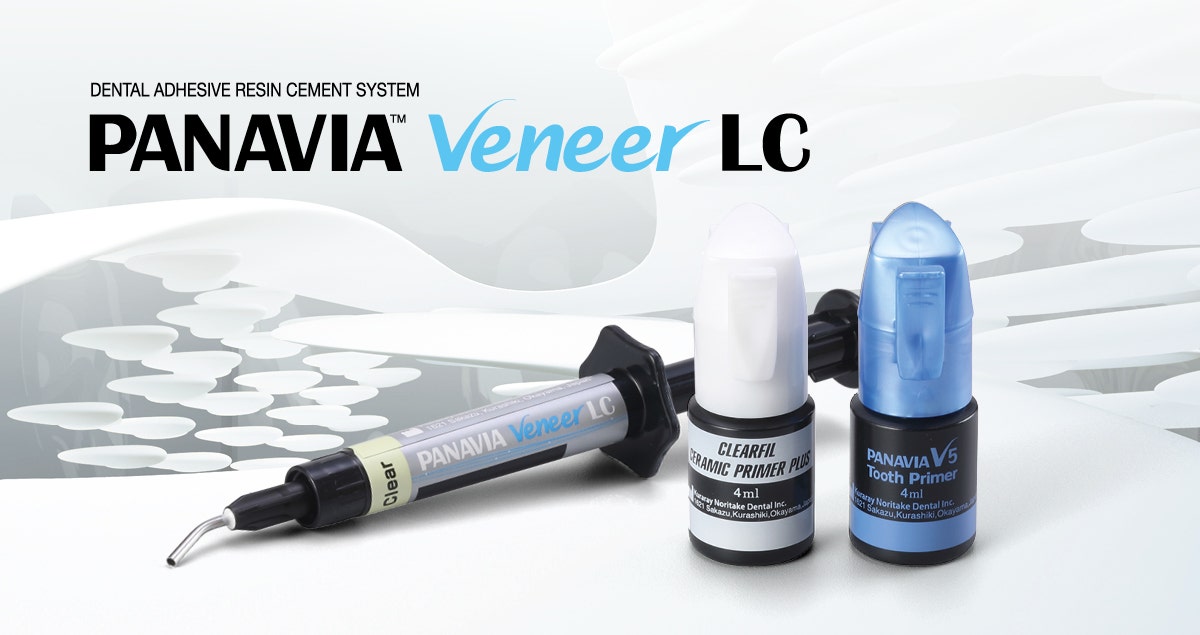
Adhesive cementation of a KATANA™ Zirconia HT 3-unit bridge with PANAVIA™ V5

Case by Dr. Shoji Kato of Takanawa Dental Office, Japan


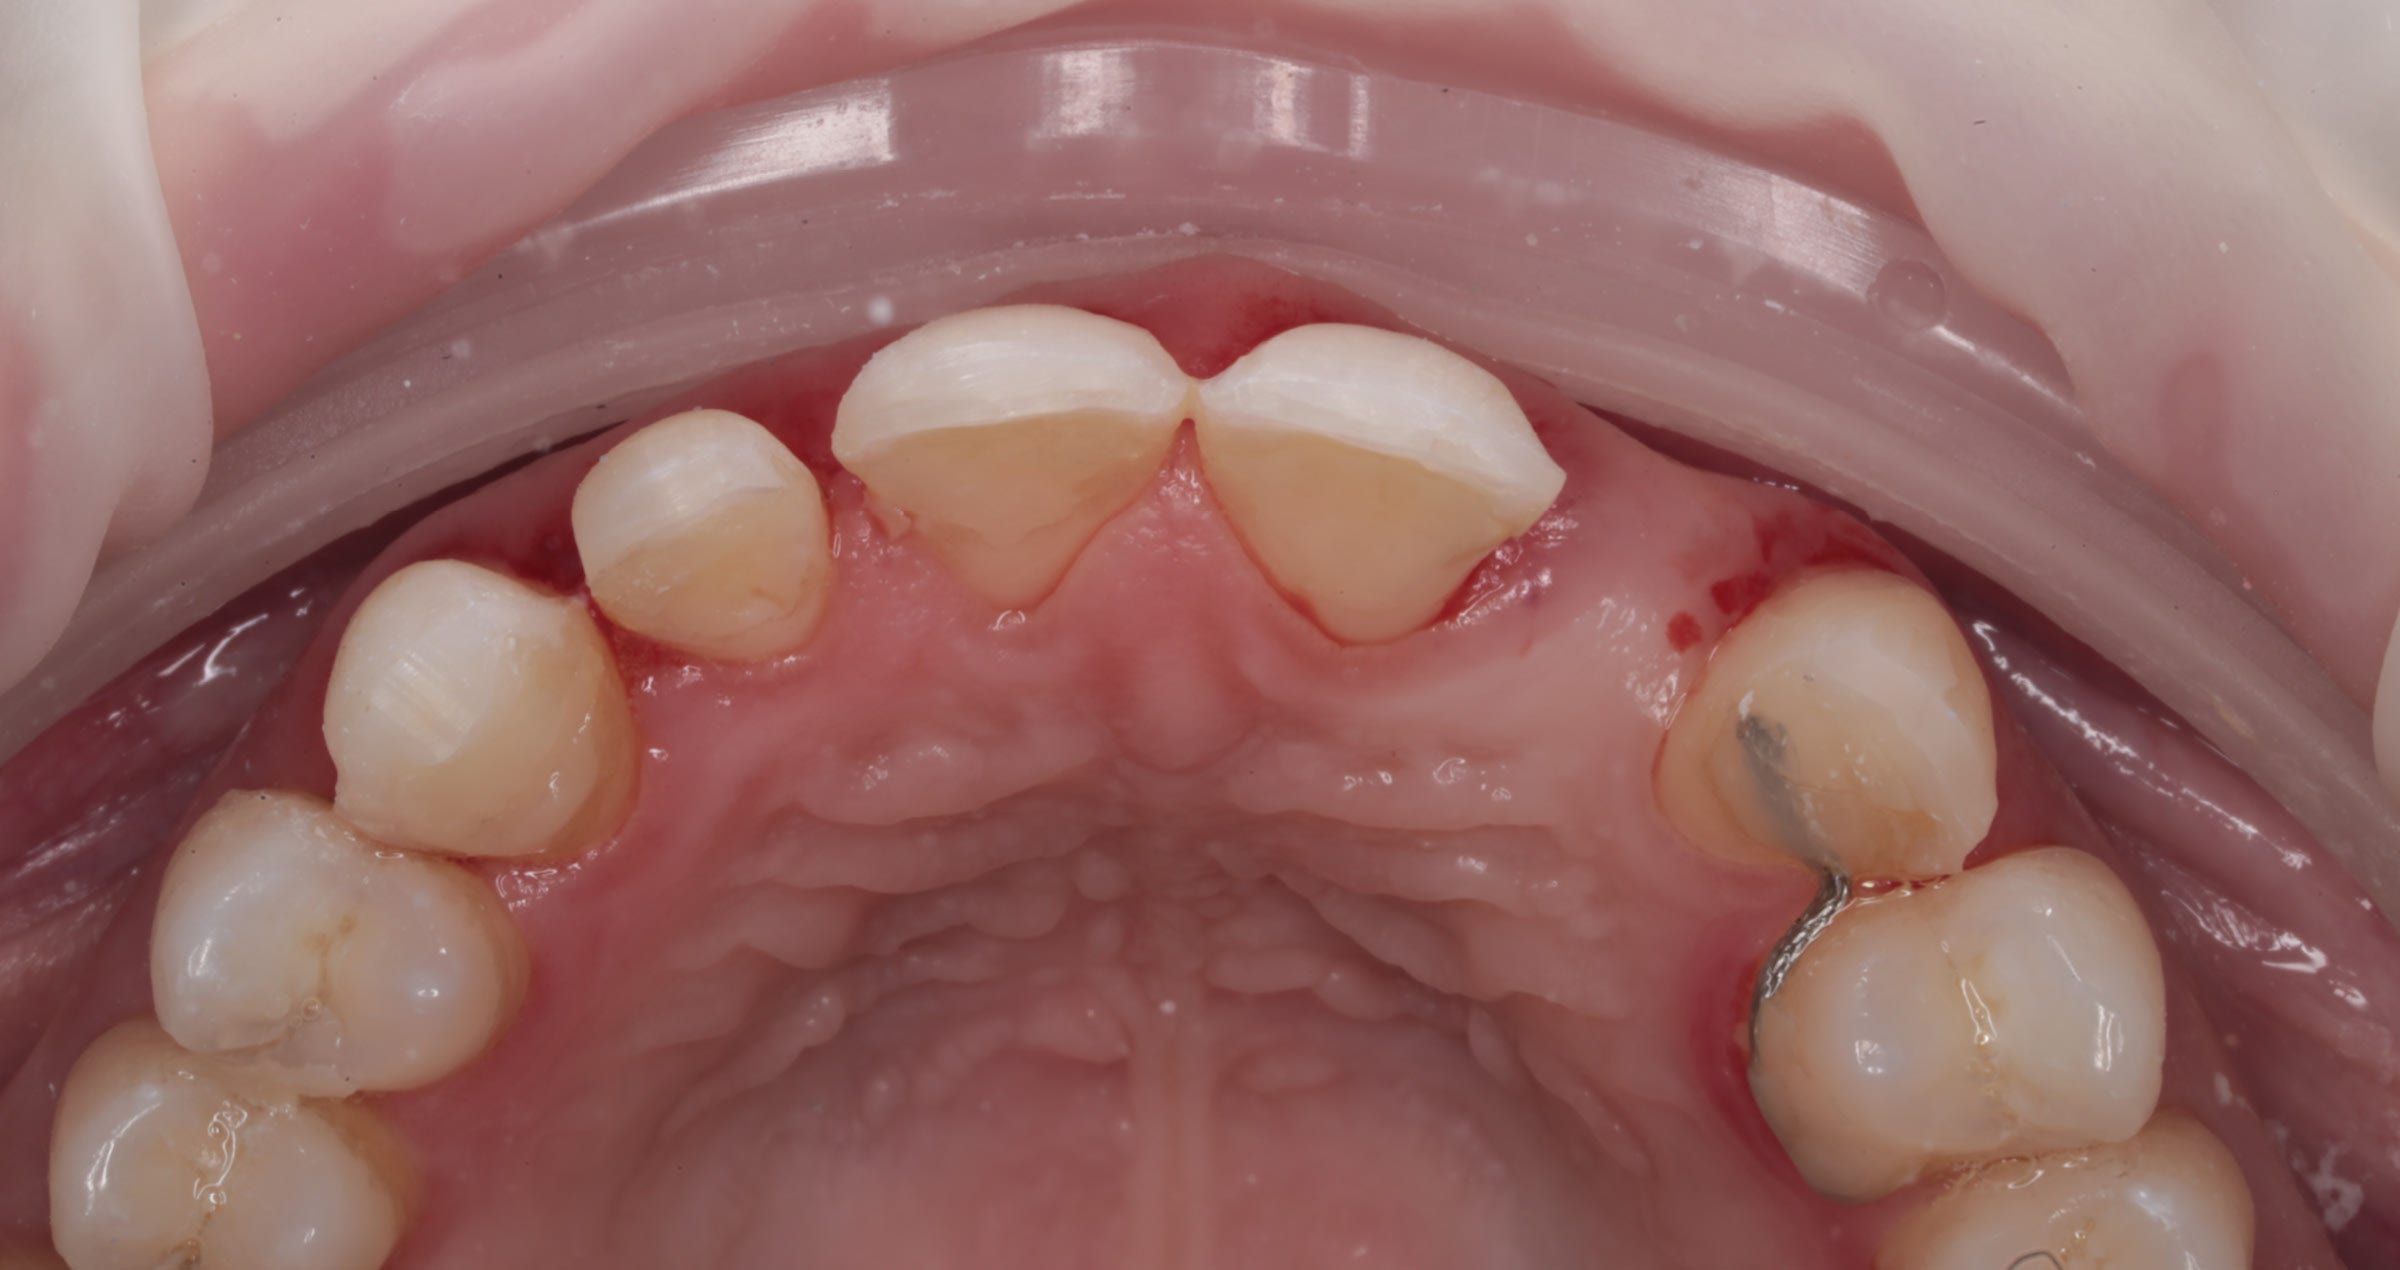
1. After preparing the abutments

An anterior bridge made of crown and bridge resin has become dislodged. The abutments are vital teeth.


2. Prosthesis

A PFZ bridge with a frame fabricated using KATANA™ Zirconia HT12.


3. Application of Try-in Paste

Evaluate the shade of the cement before cementation.


4. Try-in

After checking the cement’s shade, rinse the prosthesis and tooth surface with water to remove Try-in Paste.


5. Pretreatment of the prosthesis (A)

Sandblast the prosthesis (at 0.3 to 0.4 MPa), clean with an ultrasonic cleaner for 2 minutes, then dry.


6. Pretreatment of the prosthesis (B)

Apply CLEARFIL™ CERAMIC PRIMER PLUS and blow dry with air.


7. Pretreatment of the abutments (C)

Apply Tooth Primer, allow it to react for 20 seconds, then blow dry with air.


8. Application of Paste

Use Universal.


9. Placement of the prosthesis

After placement, remove excess cement using a piece of gauze, a small brush, etc.


10. Light-curing

Light-cure the entire surface of the prosthesis, including the margins.


11. Final polymerization

Make sure the prosthesis is left in place, unmoved, for 3 minutes.


Interview: "Multi-layered zirconia reinvented: unveiling the secrets behind KATANA™ Zirconia YML"

The KATANA™ Zirconia family of multi-layered CAD/CAM blanks has a new member: KATANA™ Zirconia YML (yttria multi-layered). Based on Kuraray Noritake Dental Inc. (KND) proprietary multi-layer technology, this new material offers multiple layers with different levels of chroma and translucency PLUS different concentrations of yttria in a single blank. We talked to two experts from Kuraray Noritake Dental’s Research & Development Department in Japan, Atsushi Matsumoto and Yuta Tajima, about the new product and its specific features.


Mr. Matsumoto, Mr. Tajima, KND already offers a broad range of zirconia materials covering virtually every indication. Why did you decide to start developing yet another dental zirconia?


The KATANA™ Zirconia series has indeed received high praise and great feedback from the market. Users particularly appreciate the remarkably high strength of HTML, the well-balanced aesthetic and strength properties of STML, and also the high translucency of UTML. Although there has been a large increase of zirconia materials in the dental market recently, we have received many requests from our customers for a more universal material that offers the excellent properties of all variants of KATANA™ Zirconia in one product. This product should allow them to fabricate all kinds of restorations from a single disc, from single crowns to full bridges, while maintaining high aesthetic and mechanical properties for both anterior and posterior restorations. As the developer of the KATANA™ Zirconia series, the invention of KATANA™ Zirconia YML is our response to these desires expressed by our customers.


What is the main difference between KATANA™ Zirconia YML and the other available products of the KATANA™ Zirconia Multi-Layered Series?


All layers of KATANA™ Zirconia UTML, STML and HTML are produced from the same basic powder composition and therefore offer the same strength throughout the whole blank. Depending on the case specific requirements, users need to select the most suitable type of material, either a high-strength zirconia or a highly translucent variant. KATANA™ Zirconia YML is an all-in-one zirconia suitable for all cases: It consists of a high-translucency enamel layer, an intermediate layer offering well-balanced strength, translucency and colour, and a high-strength body layer. The raw materials used for this product are developed and produced by KND exclusively for YML. This is another milestone in advanced product development KATANA™ Zirconia.


We have received many requests from our customers
for a more universal material.


In general, the currently available zirconia materials with an integrated strength gradient do not have a very positive image in the eyes of many dental technicians and specialists, due to the fact that in the incisal area, the materials seem to be insufficiently strengthened. This can lead to fractures when it comes to long-span restorations, especially if they are inadequately positioned within the blank. How carefully did KND focus on these problems and how did they try to solve them in order to stand out from the competition?


The current yttria-based multi-layer products on the market are facing complicated limitations in connector position in large cases, such as full-arch restorations, due to the lack of an ideal combination of aesthetics and strength. To overcome this challenge, KND developed well-balanced raw materials of high strength and high aesthetics, and by including these raw materials in the intermediate layer between the enamel and body layers. The result is that even for long-span restorations, it is very simple to position the connectors thanks to its excellent balance between high strength and high aesthetic properties. Due to these unique attributes incorporated in our new product, the risk of deformation and breakage is avoided.


Another problem is the often clearly visible line between the different layers containing different amounts of yttrium oxide, which can be seen at a more detailed inspection after sintering. How did you address this issue?


At KND, we achieved both, adequate translucency gradation and invisible transition lines, even for zirconia layers with different yttria content. This has been accomplished thanks to our multi-layer zirconia manufacturing technology refined over many years, which includes mixing the appropriate amount of each layer's boundary to intentionally avoid transition lines. In addition, the newly developed interlayer raw materials and a newly designed sintering schedule were the keys to success.


How is it possible to have a sintering protocol that works for different zirconia components within the KATANA™ Zirconia YML blank and allows for the shortest sintering times ever?


The amount of shrinkage during sintering is determined by different factors such as the number and quantity of additives (yttria, alumina etc.) it contains. If the shrinkage ratio of each layer is different, transition lines are likely to appear between the layers, which might produce tensions in the material structure. The newly developed raw material for KATANA™ Zirconia YML enables us to control and unify the shrinkage ratio for all layers, even for raw materials with different yttria contents.


The use of proprietary raw materials produced in-house with excellent properties suitable for high-speed sintering was the main precondition that allowed for the development KND’s high-speed sintering schedule (54 min for restorations up to 3-unit bridges), which is available for all products of the KATANA™ Zirconia multi-layered series. This option improves the efficiency of the dental technician’s work and simplifies the workflow.


Enamel Layer
To provide high translucency that harmonizes with the anterior teeth.

Body Layer 1
To provide seamless color and translucency towards the Enamel Layer.

Body Layer 2, 3
To provide deep and vivid color while reducing whitening.


Are there any differences in milling and adjusting KATANA™ Zirconia YML compared to competitor products?


All KATANA™ Zirconia products from KND have an appropriate hardness with less chipping during the milling process thanks to the raw materials manufactured and refined in-house. Also, after the sintering procedure, it offers excellent chipping resistance, especially during very challenging marginal adjustments.


Is there anything else that sets KATANA™ Zirconia YML apart from other products with an integrated strength gradient?


Yes, KATANA™ Zirconia YML offers reduced sintering deformation, thanks to in-house developed raw materials, based on proprietary technology to control shrinkage rate. Moreover, we offer a wide range of shades (14), which is another important aspect (apart from the material’s well-balanced aesthetic properties and absence of transition lines) for the creation of lifelike restorations. Finally, since three out of four layers meet the conditions for an ISO class 5 classification, there are few restrictions on the design variation of the prosthesis.


Why should a dental technician consider using KATANA™ Zirconia YML instead of any other dental zirconia (in your opinion)?


Atsushi Matsumoto:

It is now possible for dental technicians to produce strong and aesthetic restorations with just one material, KATANA™ Zirconia YML. This allows for a reduced inventory, while working time is significantly shortened due to the possibility of high-speed sintering.


Yuta Tajima:

To my mind, the most convincing properties are excellent firing accuracy due to well-balanced material properties across all layers, the wide range of shades available and the great design flexibility even when designing long-span bridges. Last but not least, the trusted quality of the KATANA™ brand and the label “Made in Japan” are reasons to opt for this new product.


All blanks from the KATANA™ Zirconia Series stand out from other dental zirconia materials due to their particularly fine-grained, densely pressed microstructure, which is the basis for a superior surface quality, edge stability and the resulting accuracy of fit. What is the secret behind this exceptionally high blank quality?


Since we do not know the correlation between marginal stability properties (chipping, etc.) and material compositions, structures etc., it is very difficult to answer this question. It may depend on the structures of the zirconia crystals, the raw material itself, the correct strength level after pre-sintering or any other minor factor during the manufacturing process of the disc. All these factors together, of course, are important.


We are using pigments developed by KND, which have an excellent colour stability without fading even after the final sintering procedure.


Even if the restoration margins have been milled to a very thin profile, they still show smooth margins without any chipping.


A clear advantage of the KATANA™ Zirconia series, much praised by KND's Key Opinion Leaders, is its colour stability and shade match to the "VITA classical shade guide". Can you explain the importance of an in-house conducted addition of additives and color pigments in form of metal oxides to satisfy the user and distinguish KATANA™ Zirconia from competitors’ products?


We are using pigments developed by KND, which have an excellent colour stability without fading even after the final sintering procedure. The particle size is appropriately controlled. In addition, our professional "colour mixing" staff, reflecting the opinions of clinically experienced dental technicians both inside and outside the company, have achieved a pigment mixture that shows only a slight change in shade even in cases with different thicknesses.


What is your vision with regard to future developments in dental zirconia?


Since the introduction of zirconia on the dental market, many significant material advances have been achieved. Today, there are high-strength, low light-transmitting zirconia materials up to high light- transmitting, low strength zirconia materials available on the market. Furthermore, there are now also high light-transmitting, low strength zirconia materials in mixed systems (YML series) offered. Our foremost goal is to develop the ultimate zirconia in near future, combining both high strength and high light transmission, which breaks the general expectation of a compromise between strength and translucency within zirconia materials.


Atsushi Matsumoto  Yuta Tajima


Tip from an expert: Adhesive luting of zirconia restorations

By Univ.-Prof. Dr. Florian Beuer MME


There is still some confusion among dental practitioners about how to cement zirconia restorations. In general, all types of cements – adhesive or self-adhesive resin cements and conventional cements – are compatible with all types of zirconia. The actual choice should be based on the restoration design (retentive or non-retentive), the translucency of the zirconia and the clinical situation (feasibility of working field isolation).


When to use which type of cement


The use of adhesive resin cements is mandatory whenever the highest possible bond strength is required. This is the case with one-wing Maryland bridges and other types of restorations lacking micromechanical retention, and with two-piece implant abutments.


In some other situations where retention is not an issue, adhesive or self-adhesive resin cements may have a beneficial effect. The major reason is their more esthetic appearance compared to conventional cements, which offers advantages whenever a highly translucent restorative material is used (e.g. KATANA Zirconia UTML). An important precondition for adhesive luting, however, is a dry working field. Consequently, conventional cements are preferable in the context of placing crowns, bridges and other types of restorations with retentive designs whenever opaque zirconia framework materials are used and / or it is difficult to ensure a dry working field.


How to pre-treat the tooth and the restoration


The highest bond strength of adhesive resin cements to zirconia is obtained after sandblasting with alumina (particle size max. 50 µm, pressure approx. 1 bar). Hence, this procedure is highly recommended. Subsequent steps may be different depending on the cement system employed and should be carried out according to the manufacturer’s instructions for use. On the side of the tooth, enamel etching is important independent of the products used.


Which products to use


In each of the cement classes, there are many different products to choose from. My recommendation is to select a proven and easy-to-use luting material. Among those products achieving the same high bond strength, the solution requiring the fewest application steps seems preferable as it reduces the risk of application errors. At Charité – University Medicine Berlin, we count on PANAVIA cements, which are based on many years of expertise in developing products for adhesive luting of zirconia.


Dentist:

PROF. DR. FLORIAN BEUER


Professor and Chair, Department of Prosthodontics, Geriatric Dentistry and Craniomandibular Disorders, Charité – Universitätsmedizin Berlin, Germany.


Clinical case with KATANA™ Zirconia HTML

Case by Daniele Rondoni, MDT


Evolution in the field of aesthetic dentistry never stops: KATANA™ Zirconia proves its aesthetic potential while also being great function-wise. The full zirconia palatal area is combined with an aesthetic buccal part where CZR Luster mass is only used.


Fig. 1. KATANA™ Zirconia HTML with vestibular cut-back opalescence bio-design.


Fig. 2. Palatal ”zirconia-free“ solution.


Fig. 3. Aesthetic vestibular layering with Luster porcelain.


Fig. 4. Manually polished palatal surface with Pearl Surface Z diamond paste.


Fig. 5. Self glazing in furnace for vestibular porcelain.


Fig. 6. Initial case.


Fig. 7. Hybrid solution.


Fig. 8. Palatal Zirconia free.


FINAL SITUATION


Fig. 9. 4 Years follow-up.


Dentist:

DANIELE RONDONI, MDT


Born in Savona in 1961 where he lives and has worked in his own laboratory since 1982 with his collaborators. Graduated from the dental technician school IPSIA “P. Gaslini” in Genoa in 1979. He continued his education by attending relevant workshops for the “Italian dental school“ and broadened his professional experience in Switzerland, Germany and Japan. Since 2011 Kuraray Noritake Dental International Instructor.


Light diffusion technology – key to the success of your composite restorations

With CLEARFIL MAJESTY™ ES-2, the shade transition from composite to tooth is virtually invisible. The secret to this lies in light diffusion technology. How does this work?


Before we discuss the technology in detail, here are some more information about our CLEARFIL MAJESTY™ ES-2 composites. All CLEARFIL MAJESTY™ ES-2 composites are suitable for both anterior and posterior applications. The different variants within the ES-2 family are characterized by supreme handling and a long working time, and the fact that they do not slump during modeling. A key feature of these composites is the ease with which restorations blend into their surroundings. This results in durable and aesthetic restorations.


In CLEARFIL MAJESTY™ ES-2 composites, two types of fillers are used. Barium glass particles form the basis of the filler. Alongside this, advanced prepolymerized filler particles are added. The latter type is called light diffusion filler, since it is primarily these filler particles that achieve a light-scattering effect within the composite.


The way in which a restoration 'adjusts itself', to the shade of the tooth to be restored, is not the same for all composites. Most composite manufacturers make use of the so-called 'chameleon effect'. A composite that is sufficiently translucent allows light to pass through. Light is reflected off the walls of the cavity, whereby the composite restoration assumes the shade of the adjacent tooth structure.


In cavities that aren't too large with a sufficient amount of surrounding tooth structure, this chameleon effect works well enough. However, with larger cavities or in the absence of underlying tooth structure, as is often the case with anterior restorations, the aesthetic blending effect is limited. The brightness is far from satisfactory, and the restoration looks gray.


At Kuraray Noritake Dental Inc., we do things differently.


Besides the optimized translucency in CLEARFIL MAJESTY™ ES-2 composites, it's the light diffusion technology that makes the restoration blend seamlessly with the adjacent tooth structure. Thanks to the combination of these two parameters — translucency and light diffusion — the capabilities are far more extensive than with just translucency.

The different dental tissues have different opacities. Enamel is more translucent than dentin. However, the degree of translucency/opacity of both tissues is not always the same. Age, thickness of the structure and various intrinsic and extrinsic factors all play a role.


Depending on the desired end result, the most appropriate member(s) of the CLEARFIL MAJESTY™ ES-2 family is/are selected for the restoration.


In aesthetic restorations in which opacity differences need to be considered, a layering system is necessary. More uniform restorations are easily constructed with a composite that has broad shade and opacity coverage.


CLEARFIL MAJESTY™ ES-2 Premium for highly esthetic restorations.


CLEARFIL MAJESTY™ ES-2 Universal for routine aesthetic restorations involving few or no opacity differences.


Easy way to finalize KATANA™ Zirconia YML restoration part 2

By Kazunobu Yamada, RDT


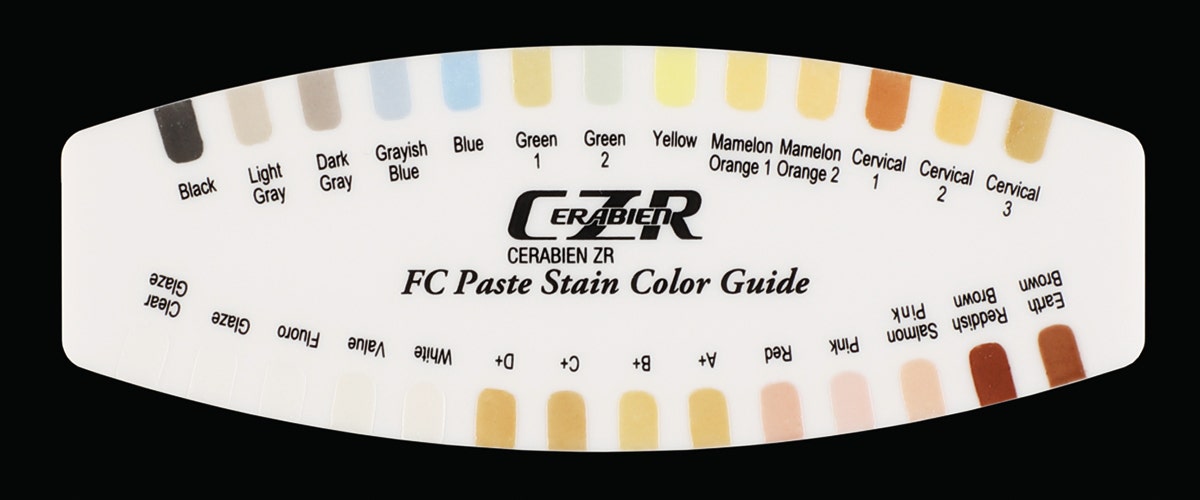
With the new KATANA™ Zirconia YML it is extraordinarily easy to produce beautiful restorations. Brilliance and vitality may be added simply by applying CERABIEN™ ZR FC Paste Stain to the monolithic restoration after surface preparation.


A possible technique is demonstrated by Kazunobu Yamada, RDT, in this video.


Re-establishing a stable occlusion in a tipped second molar

Case by Dr. Salvatore Scolavino


The establishing of a stable occlusal relationship is one of the biggest challenges dental practitioners are facing when restoring posterior teeth with resin composite, but it is a task with a decisive impact on the integrity of the masticatory apparatus. A poor static and dynamic occlusion may have a negative effect on the restored tooth, the periodontal apparatus, and also on the opposing dentition.1 Ideally, the occlusal anatomy of direct restorations is designed in a way that occlusal forces are directed along the long axis of the tooth, which is achieved when each cusp tip in occlusal contact touches a flat surface. Horizontally directed forces, on the other hand, should be avoided, as they tend to cause tipping and increase the risk of cuspal fracture, tooth mobility etc.


In cases concerning improper occlusal relationship involving tipping of restored teeth, it may be possible to stabilize the situation by replacing the restoration and re-establishing a proper occlusion. If carried out correctly and early enough, this restorative approach may be a way around orthodontic treatment. The following clinical case is used to demonstrate how to create a functional occlusal surface right away – without larger adjustments. The whole restorative procedure is simplified by the use of a universal composite with a single posterior shade that eliminates the need for shade determination and shade selection, while it produces lifelike treatment outcomes.


Case description


This patient presented with direct composite restorations in the mandibular left first and second molar that were lacking an elaborated occlusal morphology (Fig. 1). The second molar appeared to be tipped mesially towards the first molar (Figs. 2 and 3), which resulted in improper occlusal relationships and a decreased position of the mesial marginal ridge. In order to verify the clinical and radiographic observation of an improper occlusal relationship, the occlusal contacts were recorded with articulating paper (Fig. 4). As expected, there was an uneven distribution of occlusal contacts, which were exclusively located in the distobuccal area on the second molar, and not matching the tooth-restoration interface on both molars.


Fig. 1. Pre-operative clinical situation: Occlusal view.


Fig. 2. Pre-operative clinical situation: Lateral view revealing the tipping of the second molar.


Fig. 3. Pre-operative bite-wing radiograph confirming the tipping issue.


Fig. 4. Checking of the occlusal contacts.


Planned approach


As orthodontic treatment was not an option, it was decided to replace the composite restorations, thereby treating the Class I cavity of the second molar as if it were a Class II cavity. This would allow us to increase the height of the mesial marginal ridge and establish the proper occlusion.


Preliminary measures


Once the rubber dam was placed (Fig. 5), the existing composite restorations were removed and the cavity slightly extended with a diamond chamfer bur (Fig. 6). The result of this procedure is shown in Figure 7. In order to provide an anatomical build-up of the mesial wall, a sectional matrix was mounted with the aid of a wooden wedge and a separator ring (Fig. 8).


Fig. 5. Isolation with rubber dam, held in place with a clamp and a wedge.


Fig. 6. Tooth preparation with a diamond chamfer bur.


Fig. 7. Appearance of the teeth after preparation.


Fig. 8. Sectional matrix, wedge and separator ring in place.


Adhesive procedure


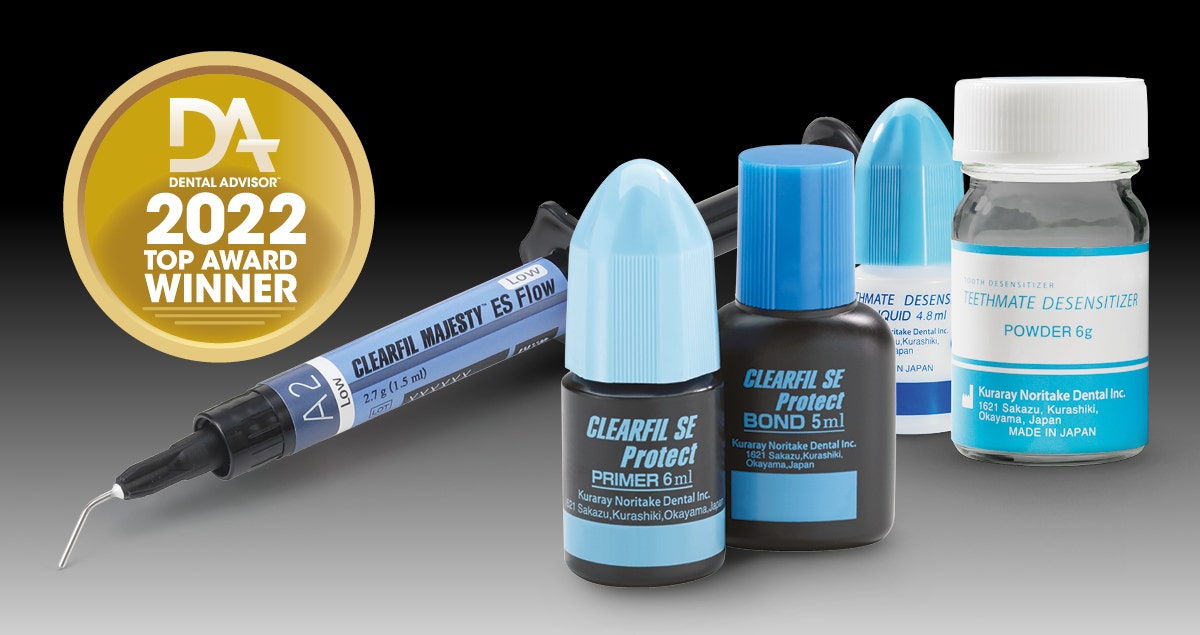
After selective etching of the enamel (K-ETCHANT GEL, Kuraray Noritake Dental Inc.) (Fig. 9), the enamel bonding surfaces had a chalky-white appearance, which indicates properties that are favourable for bonding (Fig. 10). The adhesive procedure was performed with CLEARFIL™ SE BOND 2 (Kuraray Noritake Dental; Fig. 11). In the first step, the primer of the system was applied and actively rubbed into the surface for 40 seconds, and air-dried. Subsequently, the bond was used in the same manner. After complete evaporation of the solvent, the bonding surface was light-cured for 40 seconds to ensure proper polymerisation. The cavity floor was then covered with a 1 mm thick layer of flowable composite (CLEARFIL MAJESTY™ ES FLOW SUPER LOW A3, Kuraray Noritake Dental).


Fig. 9. Selective etching of the enamel.


Fig. 10. Chalky-white enamel surfaces.


Fig. 11. Glossy appearance of the bonding surfaces after application of the tooth primer and bond.


Restoration procedure


Before starting to elevate the mesial wall of the second molar using the centripetal build-up technique2 (Fig. 12), we analyzed the height of the marginal ridge and anatomical details of the contralateral tooth, while the adjacent molar provided orientation as well. In general, knowledge not only about the tooth’s typical anatomy, but also about the patient-specific anatomical details of the adjacent and contralateral teeth as well as the antagonist is very useful for designing the occlusal anatomy. In addition, remaining anatomical structures should be read and used. In this particular case, the restorations were completed with CLEARFIL MAJESTY™ ES-2 Universal composite (Kuraray Noritake Dental) in the posterior shade U, using the cusp-by-cusp technique (Figs. 13 to 15). In most areas, it was possible to follow the inclination of the remaining cusps and the orientation of the grooves to produce an ideal surface anatomy. For those who would like to speed up the procedure, the simultaneous modeling technique3 may be an option. In this technique, the cusps are built up simultaneously from separate increments, which remain out of contact to each other until light-cured in a single curing cycle.


Fig. 12. Mesial wall built up with composite.


Fig. 13. Application of the first increment for cusp build-up. It is useful to limit the size of the increments for controllability.


Fig. 14. Cusp-by-cusp build-up completed on the second molar.


Fig. 15. Molars with restored occlusal surfaces.


In order to improve the already great optical integration of the restorations, some stain (Dark Brown, CHROMA ZONE™ COLOR STAIN, Kuraray Noritake Dental) was applied to the fissures. A multi-blade ball shaped bur and an Arkansas Flame abrasive stone were used for finishing. Final polishing was accomplished with the TWIST™ DIA system (EVE). The immediate treatment outcome is shown in Figure 16. The patient was released after rubber dam removal, checking the static and dynamic occlusion, and conducting a control radiograph (Fig. 17). The optical integration was even better at the recall after one month due to the rehydration of the surrounding tissues (Fig. 18), while the functional integration was excellent and no occlusal adjustments were required.


Fig. 16. Immediate treatment outcome with a nice optical integration of the restorations providing for a stable occlusal relationship.


Fig. 17. Control radiograph taken after the direct restoration procedure.


FINAL SITUATION


Fig. 18. Treatment outcome at recall after 30 days.


Conclusion


The presented case example reveals how important it is to strive for occlusal stability when restoring posterior teeth with composite. Furthermore, it demonstrates how it is possible to re-establish a stable occlusal relationship, even if some tipping has already occurred. In order to get it right the first time, it is essential to make use of the remaining anatomical structures, which guide the way toward an occlusal surface that ensures a favourable distribution of occlusal forces, and therefore provides optimal conditions for a long life of the freshly restored teeth. The combined use of the presented restorative techniques with innovative materials like CLEARFIL MAJESTY™ ES-2 Universal will make the procedures simpler and even more efficient.


References

1 Sandhu S, Lal J, Singh R, Sandhu R, Sra J. Significance of establishing occlusal anatomy in operative dentistry. Saint Int Dent J 2016;2:7-10.
2 Bichacho N. The centripetal build-up for composite resin posterior restorations. Pract Periodontics Aesthet Dent. 1994 Apr;6(3):17-23.
3 Scolavino S, Paolone G, Orsini G, Devoto W, Putignano A. The Simultaneous Modeling Technique: closing gaps in posteriors. Int J Esthet Dent. 2016 Spring;11(1):58-81.


Dentist:

DR. SALVATORE SCOLAVINO


Dr. Salvatore Scolavino, graduated with honors in Dentistry and Dental Prosthesis from the University of Naples. Dr. Salvatore is a specialist in aesthetics and direct and indirect anterior and posterior adhesive restorations. His focus lies with Conservation, Endodontics and Prosthetics in particular. He is an active member of prestigious academies and scientific societies: AIC -Italian Academy of Conservation, IAED -Italian Academy of Esthetic Dentistry and SIDOC (Italian Society of Conservative Dentistry. Since 2004, he has private practice Nola, Italy.


Dr. Scolavino is a founder of werestoreit.it, an inspiring site that offers abundance and variety of aesthetic clinical cases. Author of the book published by Quintessence Publishing „Direct Restorations in the posterior regions“, author of scientific publications in national and international journals, he is speaker at courses and conferences in Italy and abroad.


Abonner på vårt nyhetsbrev
Gjør som tusenvis av andre som arbeider med tannhelse og motta gratis informasjon som kan hjelpe deg i din karriere. Vi vil ikke sende ut spam eller dele din emailadresse med andre.