429 Too Many Requests

429 Too Many Requests


nginx

Blog

Stratos Chatzichristos CDT on Just color: Esthetic Colorant for KATANA Zirconia

Recording 08.02.2023 - Stratos Chatzichristos

JUST COLOR: ESTHETIC COLORANT FOR KATANA ZIRCONIA


The natural tooth impresses with wonderful light-optical effects - characteristic features that result from the inner structure of the tooth. Imitating these specific effects in zirconia restorations with the staining technique or micro-layering has shown limitations so far. Kuraray Noritake has addressed this problem. Based on solid research and development work, an amazingly simple solution was created - Esthetic Colorant for KATANA Zirconia.


Mr. Stratos Chatzichristos CDT will present Esthetic Colorant in detail in this online webinar. He will show how the aesthetically individual effect of a zirconia restoration can be intensified with the new effect liquids and will showcase practical application and material science basics. Learn how to achieve a zirconia restoration with truly impressive aesthetics.


Topics:

•    basics about Esthetic Colorant for KATANA Zirconia
•    differences to traditional staining and infiltration solutions
•    areas of application of Esthetic Colorant
•    achieving a true color effect
•    masking effect for the zirconia framework (discolored stumps or metallic abutments)
•    economic advantages of using Esthetic Colorant
•    material basics of zirconia


Composite restorations in the anterior region

HOW MANY SHADES DO WE NEED?


Case by Gasparatos Spyros, Postgraduate student in Restorative Dentistry program, Faculty of Dentistry, National and Kapodistrian University of Athens, Greece


Restoring anterior teeth with large defects using composite seems to be quite challenging. With high-performance materials at hand and a systematic layering concept in mind, however, it is possible to produce highly aesthetic results in a reproducible way. The clinical case below is used to illustrate a dual-shade layering technique with CLEARFIL MAJESTY™ ES-2 Premium, a composite system with pre-defined colour combinations.


CASE EXAMPLE


The patient, a young male, was unhappy with the appearance of his maxillary anterior teeth. Several years ago, his central incisors had been restored with composite. These existing restorations had defective and heavily discoloured margins, while their shade did not match the adjacent natural tooth structure. The maxillary lateral incisors were peg-shaped (microdontia). Economic considerations and the desire to save as much natural tooth structure as possible made the team decide to restore all four maxillary incisors with composite. CLEARFIL MAJESTY™ ES-2 Premium became the material of choice as it eliminates the need for complicated shade combination formulas and supports predictable outcomes.


Fig. 1. The patient’s initial smile.


Fig. 2. Intraoral image of the initial situation with defective composite restorations and microdonts. Two composite buttons on the right lateral incisor are used to verify the determined shade combination.


RESTORING THE CENTRAL INCISORS


We decided to restore the central incisors first and then focus on the lateral incisors. The tooth shade was determined using the VITA™ classical A1-D4 shade guide, while composite buttons were applied to the teeth to verify the determined shade combination. In order to simplify the restoration procedure, a palatal silicon index was produced before removing the existing restorations. During minimally invasive tooth preparation, bevels were created at the margins to provide for a smooth optical transition from the natural tooth structure to the composite.


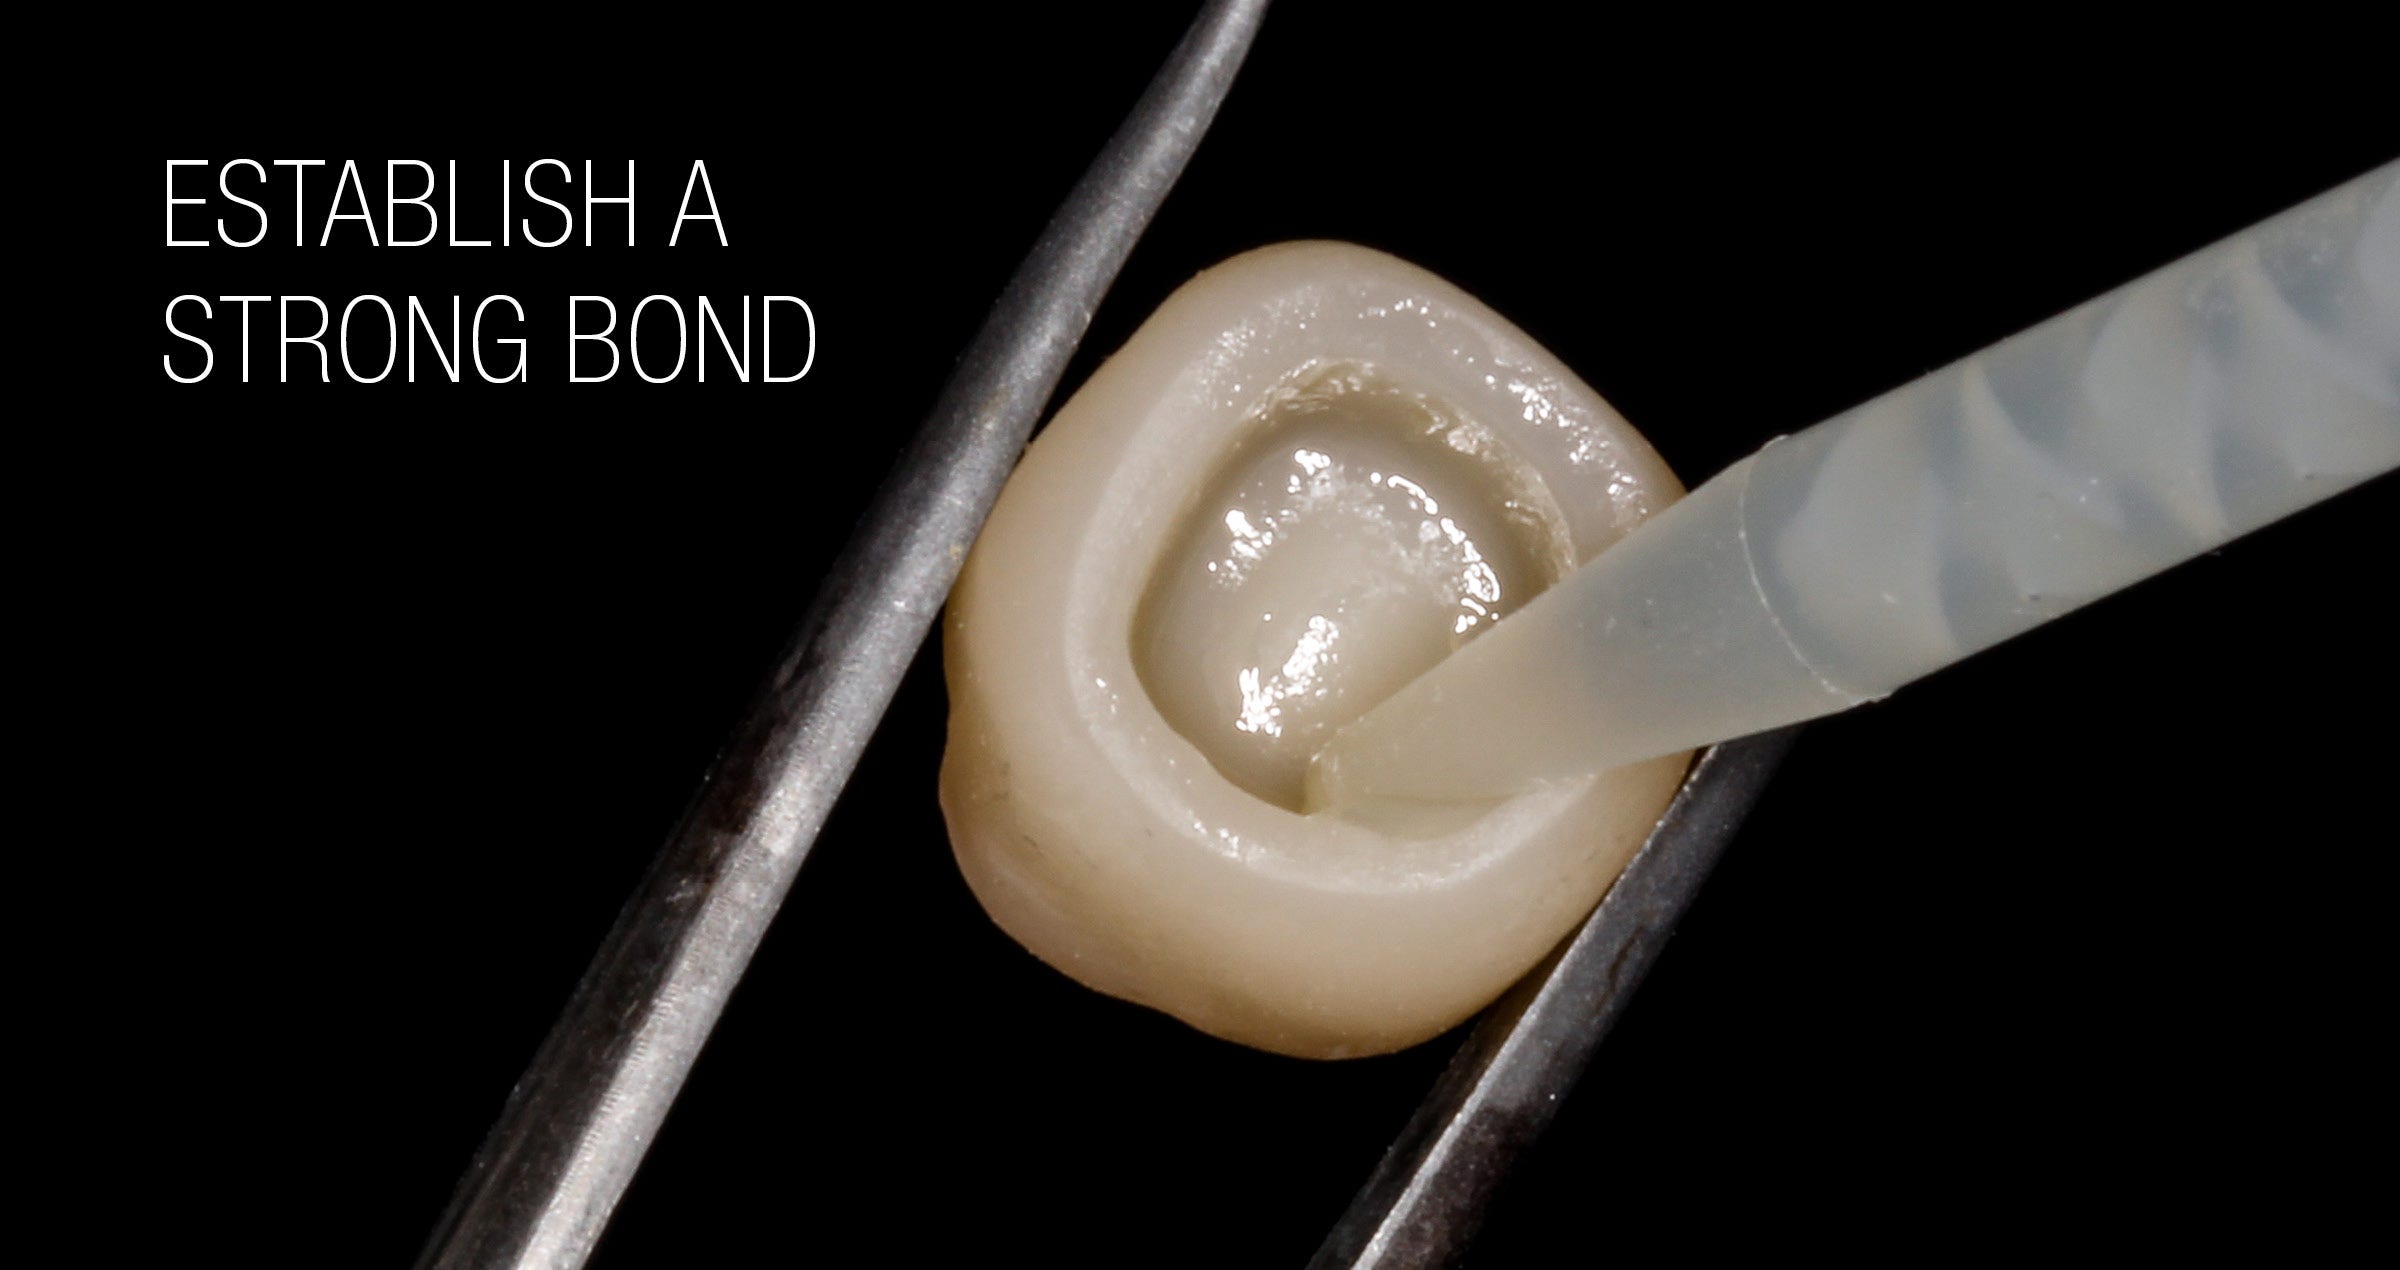
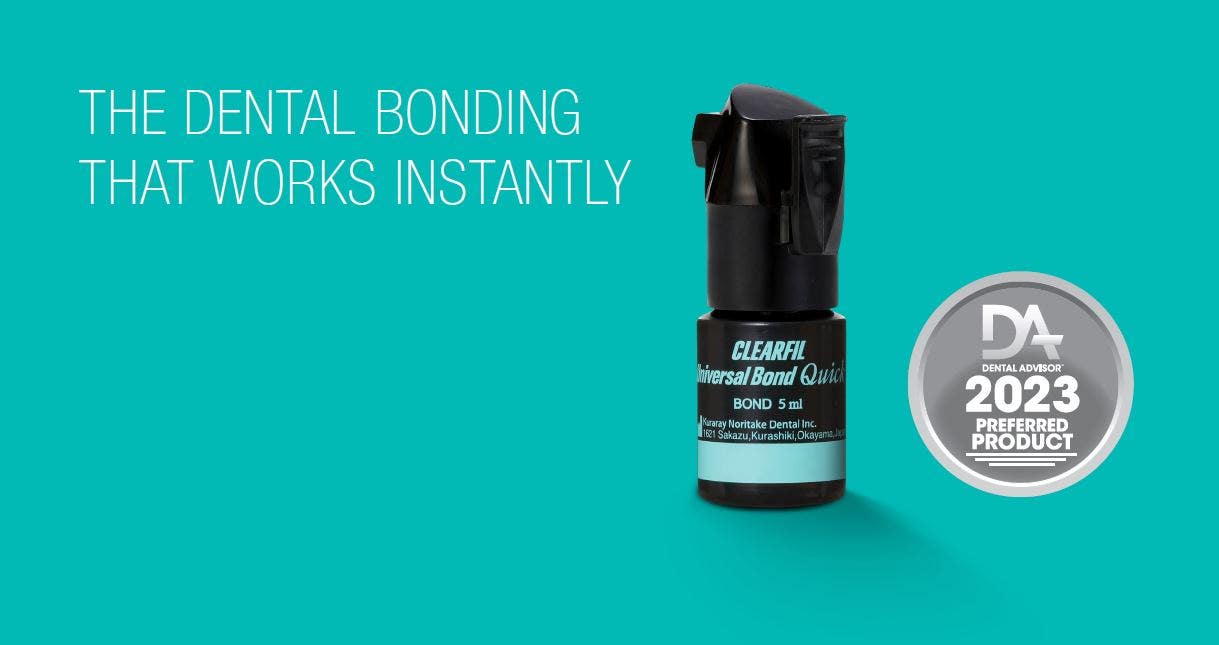
An adhesive (CLEARFIL™ Universal Bond Quick) was applied after selective etching of the enamel to achieve a strong bond. With the aid of the silicon index, it was easy to create the palatal shells of the restorations with CLEARFIL MAJESTY™ ES-2 Premium in the shade A3E (enamel), which matches the determined tooth shade A3. The dentin core was built up with the same composite in the recommended shade A3D (dentin), mamelons were modelled and some CLEARFIL MAJESTY™ ES-2 Premium in the shade WD added for the incisal halo, while some individual effects (like enamel cracks) were imitated with brown stain. The build-up was finalized in the interproximal and labial areas with composite in the shade A3E. Between the central incisors, a wedge was used to retract the papilla and facilitate the designing of the interproximal contact area. The finished and pre-polished restorations already had a natural appearance.


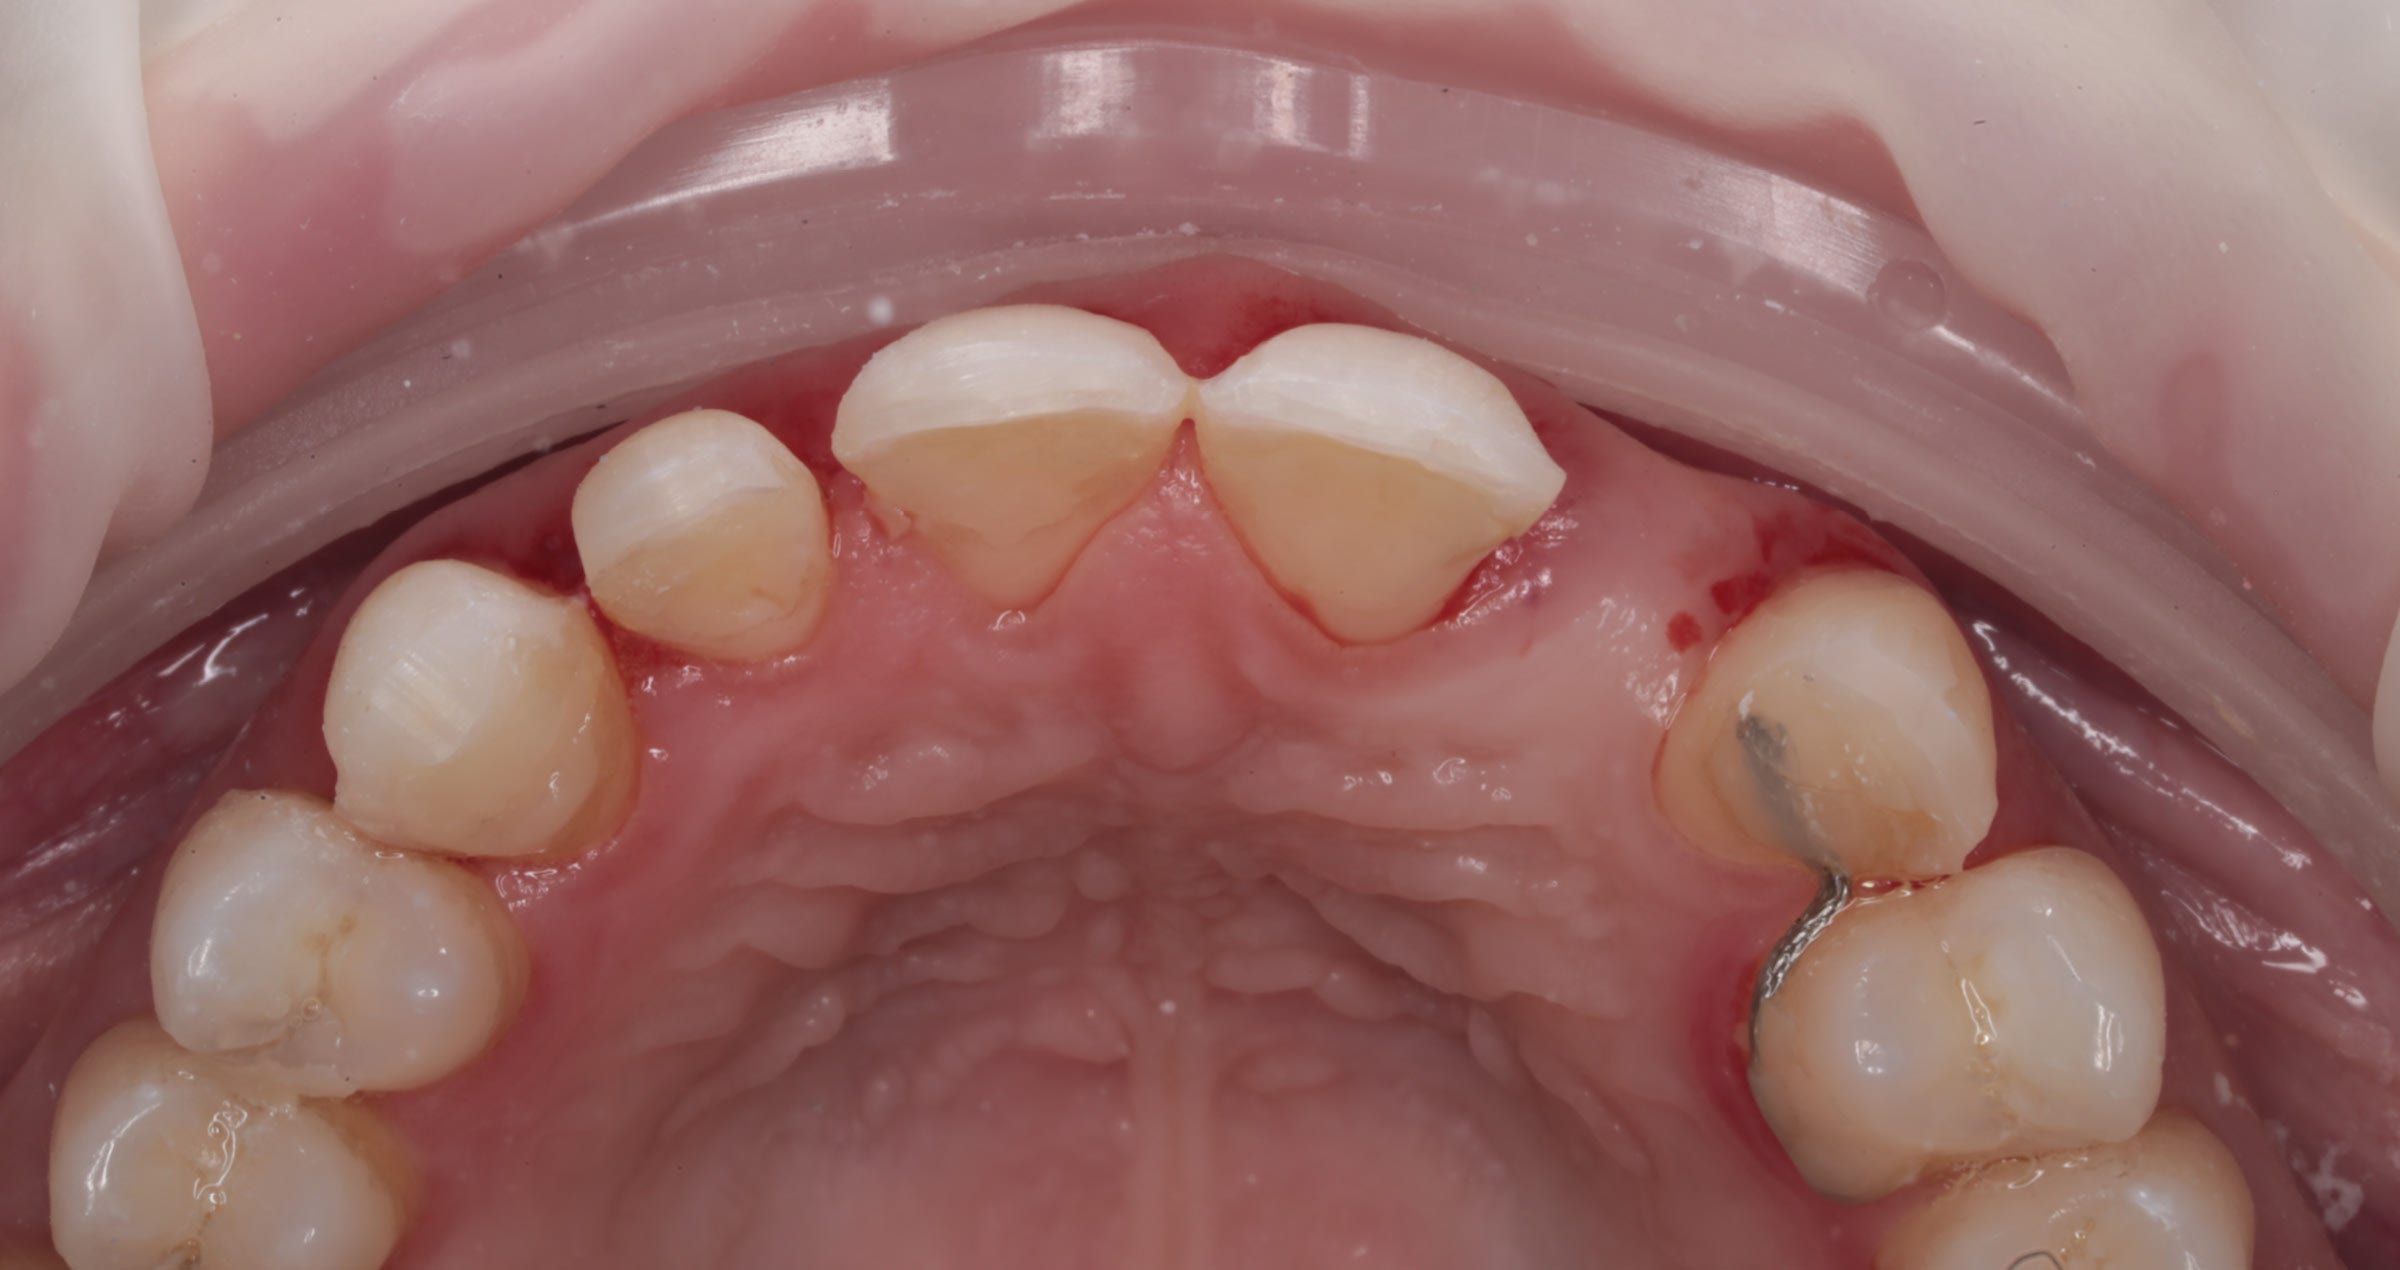
Fig. 3. Central incisors after removal of the old restorations and the beveling of the enamel.


Fig. 4. Light-cured palatal shells made of CLEARFIL MAJESTY™ ES-2 Premium in the shade A3E.


Fig. 5. Build-up of the dentin core with mamelons individualized with the shade WD and brown stain.


Fig. 6. Situation after finalization of the central incisor restorations with composite in the enamel opacity.


Fig. 7. Central incisor restorations after finishing and initial polishing.


RESTORING THE LATERAL INCISORS


Tooth preparation was not required on the lateral incisors. Instead, they were merely cleaned after a slight roughening of the enamel surfaces. The build-up procedure was similar to the one used for the central incisors. The adjacent tooth was protected with PTFE tape, and the palatal shell was created with the aid of a finger instead of a silicone index. Afterwards, we focused on the build-up of the interproximal walls before a small amount of dentin was placed and the shape was finalized by applying the labial enamel layer.


Fig. 8. Build-up of the left lateral incisor.


Fig. 9. Situation after finishing and polishing.


FINAL SITUATION


Fig. 10. Final smile of the patient's demands.


CONCLUSION


Two different opacities, a single shade combination and some bleached shade plus stain for special effects – in the present patient case, a simple formula allowed us to create lifelike anterior restorations. With one enamel and one dentin paste used, it is possible to simply rebuild the natural anatomy without the risk of ending up with a bulky core that – once reduced – will lose its special optical structure. It is also easy to control the thickness of the final enamel layer with its huge impact on the light-optical properties of the whole restoration. For most patients and teeth with a simple or medium-to-complex internal colour structure, the selected concept is very well suited and will lead to pleasing outcomes.


FLOWABLE INJECTION TECHNIQUE

This patient came to the clinic to improve the aesthetics of her smile. After an aesthetic and functional analysis, it was decided to align and restore the teeth using a minimally invasive protocol with flowable composite.

This patient came to the clinic to improve the aesthetics of her smile. After an aesthetic and functional analysis, it was decided to align and restore the teeth using a minimally invasive protocol with flowable composite.

Successful use of KATANA™ Zirconia Block in single-visit dentistry

Interview with Dr. Karim Nasr


Zirconia is a popular restorative material with highly beneficial mechanical and meanwhile also optical properties. Due to long processing times, especially sintering, the material was initially not suitable for single-visit dentistry. This changed with the availability of zirconia variants with shortened sintering times and special high-speed sintering furnaces.


We discussed with Dr. Karim Nasr, who is senior lecturer at the University of Toulouse in France and head of CAD/CAM postgraduate training, about his actual practice. His passion for CAD/CAM leads him to use CEREC since 2006 (former CEREC trainer) and to found also iAcademy, a training academy about digital dentistry. He shared his experience with us and we talked about his workflow and indication-specific material preferences as well as specific recommendations regarding the use of KATANA™ Zirconia Block in single-visit dentistry.


Dr. Nasr, which chairside CAD/CAM system do you currently use?


Karim Nasr: I am currently using a chairside CEREC Primescan AC system (Dentsply Sirona) combined with a MCXL milling machine (Dentsply Sirona) in my private practice. In my hospital practice and in the specialized esthetic dentistry consultation that I manage, we use a CEREC Primescan AC system combined with a CEREC Primemill milling machine (Dentsply Sirona).


Why did you opt for those components?


Karim Nasr: The choice of this entire system was guided by several criteria. Working on a proprietary chain certainly locks the possibilities of mixing the equipment, but brings real simplicity and fluidity of use. Moreover, the CEREC Software is certainly the most successful CAD software for a chairside use. It offers personalized and easily modifiable restorations in just a few steps. The simultaneous milling of the top (extrados) and bottom (intrados) surfaces without changing the burs ensures a very short milling time. Finally, a large number of materials are available and can be used with this system.


When did you start working with a chairside CAD/CAM system?


Karim Nasr: I discovered and started working with my first chairside system (CEREC 3) in 2005, shortly after graduating. At that time, everything was new in this field. The intraoral scanner, CAD software, milling unit and ceramic materials had just been introduced. All those components allowed us to deliver aesthetic dental treatments within a single treatment session for the first time.


How did the chairside CAD/CAM systems evolve over time?


Karim Nasr: Of course, with the advances in computer technology, the systems have become more efficient. While it was still necessary to powder the surfaces and possible to record one or two teeth in 2005, powder is no longer required in 2022 and complete arches can be scanned in less than two minutes with an accuracy of less than 20 μm. The design process is highly automated and very well assisted – artificial intelligence is used at all stages, making the work easier.


For what purposes do you use your system today?


Karim Nasr: In more than 15 years, the use of my system has evolved a lot. Nowadays, I reserve it for procedures that can be performed in a single session. This is of the greatest utility for my patients and it allows me to optimize my treatment time. For this reason, not only the milling time, but also the time needed for post-processing is crucial for the decision whether to use my chairside CAD/CAM system or to collaborate with a dental laboratory.


What kinds of materials do you process chairside?


Karim Nasr: I think I have tested all the materials available (at least in France), to be able to select the most suitable ones for daily procedures. Currently, I use different kinds of materials depending on the indications encountered: PMMA for temporary restorations, composites for inlays and onlays, glass-ceramics for onlays, overlays and crowns, and finally zirconia for crowns and bridges.


How do chairside CAD/CAM and zirconia go together?


Karim Nasr: In fact, quite simply. For me, a chairside equipment must be able to produce restorations in the same treatment session. Otherwise, it is a labside workflow. Thus, to use zirconia in chairside systems, the milling procedure must be fast and efficient, but above all, the post-processing (especially sintering) process must be fast. For short processing times, dry milling is recommended, as well as the use of a fast-sintering furnace (such as the CEREC SpeedFire from Dentsply Sirona).


What are the benefits of zirconia compared to other ceramic materials?


Karim Nasr: There are many of them. From a biomechanical point of view, the high mechanical strength of zirconia allows us to work with reduced wall thicknesses, which enables us to be more conservative in dental tissues or to choose any placement method (cementation or bonding). From a biological point of view, perfectly polished, zirconia is the most tolerant ceramic, as it is kind to antagonistic teeth and incredibly well tolerated by periodontal tissues. I prefer zirconia for my crowns on implants for this reason.


What was your first impression when you heard about KATANA™ Zirconia Block?


Karim Nasr: I caught a first glimpse of the new material during an event in 2018. KATANA™ Zirconia STML already existed in discs for laboratories and was well known for its aesthetic qualities. Its block version was highly anticipated. But the most amazing feature was the short sintering times announced (with the CEREC SpeedFire in particular). Testing it, I was immediately amazed by the quality of the ceramic and impressed that it is possible to obtain such an aesthetic result (translucency and shade gradation) within such a short time. This is aesthetic zirconia for everyone!


For which indications would you employ KATANA™ Zirconia Block?


Karim Nasr: I reserve the use of KATANA™ Zirconia Block for crowns and for 3-unit bridges. In some cases, I also use it to produce cantilever bridges with a single-retainer design to replace missing incisors (as described by M. Kern). I particularly like it in my cases where I employ a Biologically Oriented Preparation Technique (BOPT) or Vertiprep.


Are there any material features which are particularly interesting for you?


Karim Nasr: Its biomechanical qualities (which are those of zirconia, already mentioned above) already allow me to extend the indications of my chairside restorations. But, in my opinion, the most interesting property is the degree of translucency. Although it is translucent, KATANA™ Zirconia Block is slightly more opaque than glass-ceramics in their lowest degree of translucency. This allows me to use it on discoloured substrates with higher confidence and to avoid the gray effect without having to use an opaque resin cement.


Do you have any recommendations for an ideal processing of KATANA™ Zirconia Block?


Karim Nasr: The use of zirconia in chairside procedures requires certain precautions to be taken in order to achieve the expected results. I have carried out many tests to identify the mistakes not to be made.


First, dry milling is strongly recommended. Nevertheless, it is quite possible to mill in wet environment. However, in this case, it is fundamental to reserve a tank only for the milling of zirconia, never use any lubricant in water (ideally demineralized water), and to have the filters always clean, which means that they need to be cleaned after each milling procedure. After milling, it is important to remove all the powder of zirconia that may have remained on the surface. After dry milling, the restoration must be sprayed with air. The same is the case after the use of burs or polishers to finish the surface. After wet milling, a demineralized water and ultrasound bath may be indicated but is not mandatory.


(Very) fast sintering with CEREC SpeedFire, for example, gives very satisfactory results comparable to conventional slow sintering, which has also been confirmed by scientific literature. Without an appropriate furnace, it is impossible to perform restorations in the same treatment session. However, I do not use CEREC SpeedFire for staining, glazing or micro-layering, but rather a furnace that can be parameterized. Finally, I advise users to finish and glaze only what is necessary (occlusal grooves, vestibular surfaces if visible) and to polish the rest.


Do you have any tips on how to achieve optimal outcomes with KATANA™ Zirconia Block?


Karim Nasr: In anterior cases, I always recommend to perform shading and staining steps in the mouth because there is no better model than the patient himself. Micro-layering in anterior cases makes it possible to improve the aesthetic result with few steps. The 4.4.1. system, which has been specifically developed for KATANA™ Zirconia, makes micro-layering easy to achieve. For polishing, the use of “twist” polishers is recommended. They make it easier to polish all surfaces, especially the occlusal surfaces, both extra-orally and in the mouth. Just like their counterparts for composite, TWIST™ DIA for Zirconia for Zirconia polishers prove to be very effective.


Dr. Nasr, thank you very much.


DR. KARIM NASR


How to cement restorations made of high translucency zirconia

KATANA™ Zirconia STML is a highly popular material used in many dental laboratories around the world. Compared to traditional zirconia framework materials with a mainly tetragonal polycrystalline structure, the material has a higher yttria content, leading to a different material structure with an impact on the optical and physical properties (the translucency is increased, the flexural strength reduced). As a consequence, the indication range is limited to single-tooth restorations and two to three-unit bridges in the anterior and posterior regions. The greatest benefit lies in a much higher aesthetic potential, which is responsible for the fact that the material is predominantly used for the production of monolithic restorations or those with a micro cut-back individualized with a micro-layer of porcelain.

While the indications and technical procedure are wellknown, there seem to be some obscurities regarding the handling in the dental office. Is conventional cementation possible and recommended or is an adhesive luting procedure preferable? Is the surface pre-treatment the same as for tetragonal zirconia or is a different procedure required? And what may be expected regarding the longterm behaviour of KATANA™ Zirconia STML restorations? A close look into the available scientific literature provides some guidance.

DEFINITIVE PLACEMENT OF RESTORATIONS MADE OF KATANA™ ZIRCONIA STML

Conventional cementation or adhesive luting? In principle, both procedures are possible when the restoration to be placed has a retentive design. It is generally accepted that a full coverage crown provides sufficient retention for conventional cementation when the abutment tooth is at least 4 mm high and the convergence angle of the axial walls ranges between 6 and 12 or maximally 15 degrees (1,2). The reason is that the flexural strength of the material is higher than 350 MPa (3), the critical value for conventional cementation. As conventional cements are opaque and available in a single shade, however, the use of a (self-) adhesive resin cement may be preferable with all hightranslucency restorative materials for aesthetic reasons. Anyway, these products are mandatory whenever a macroretentive preparation design is not feasible or wanted. To sum up, the use of a self-adhesive or adhesive resin cement is preferable in many situations. An argument in favour of self-adhesive resin cements is the lower effort involved in their use. But what about the pre-treatment of the zirconia? No matter what type of dental zirconia is used, etching with hydrofluoric acid is ineffective due to the lack of glass matrix in the material. However, it is clear that surface modification is necessary to establish a strong and durable bond to any resin cement system4,5. The method generally recommended for high-strength zirconia is sandblasting with aluminium oxide particles or tribochemical silica coating4. The particle size should be small (≤ 50 μm) and the pressure low (about 1 bar) to avoid a weakening of the material’s mechanical properties (3,4). For lower-strength material variants, this risk of weakening the material seems to be higher (5), so that it becomes even more important to work with a low pressure and particle size (5-8). In the case of KATANA™ Zirconia, however, it was reported that “alumina-sandblasting significantly increased the biaxial flexural strength of KATANA™ STML.” (9) This means that proper sandblasting of restorations made of KATANA™ Zirconia STML did not affect the flexural strength of the material, which was even increased because of the specific properties of zirconia from Kuraray Noritake Dental.


Based on these findings, the following procedures are recommended for high-translucency zirconia:

OPTION 1

Aluminium oxide air-abrasion followed by the use of a selfadhesive resin cement containing 10-MDP (6)

OPTION 2
Tribochemical silica coating followed by silanization of the bonding surface (6)


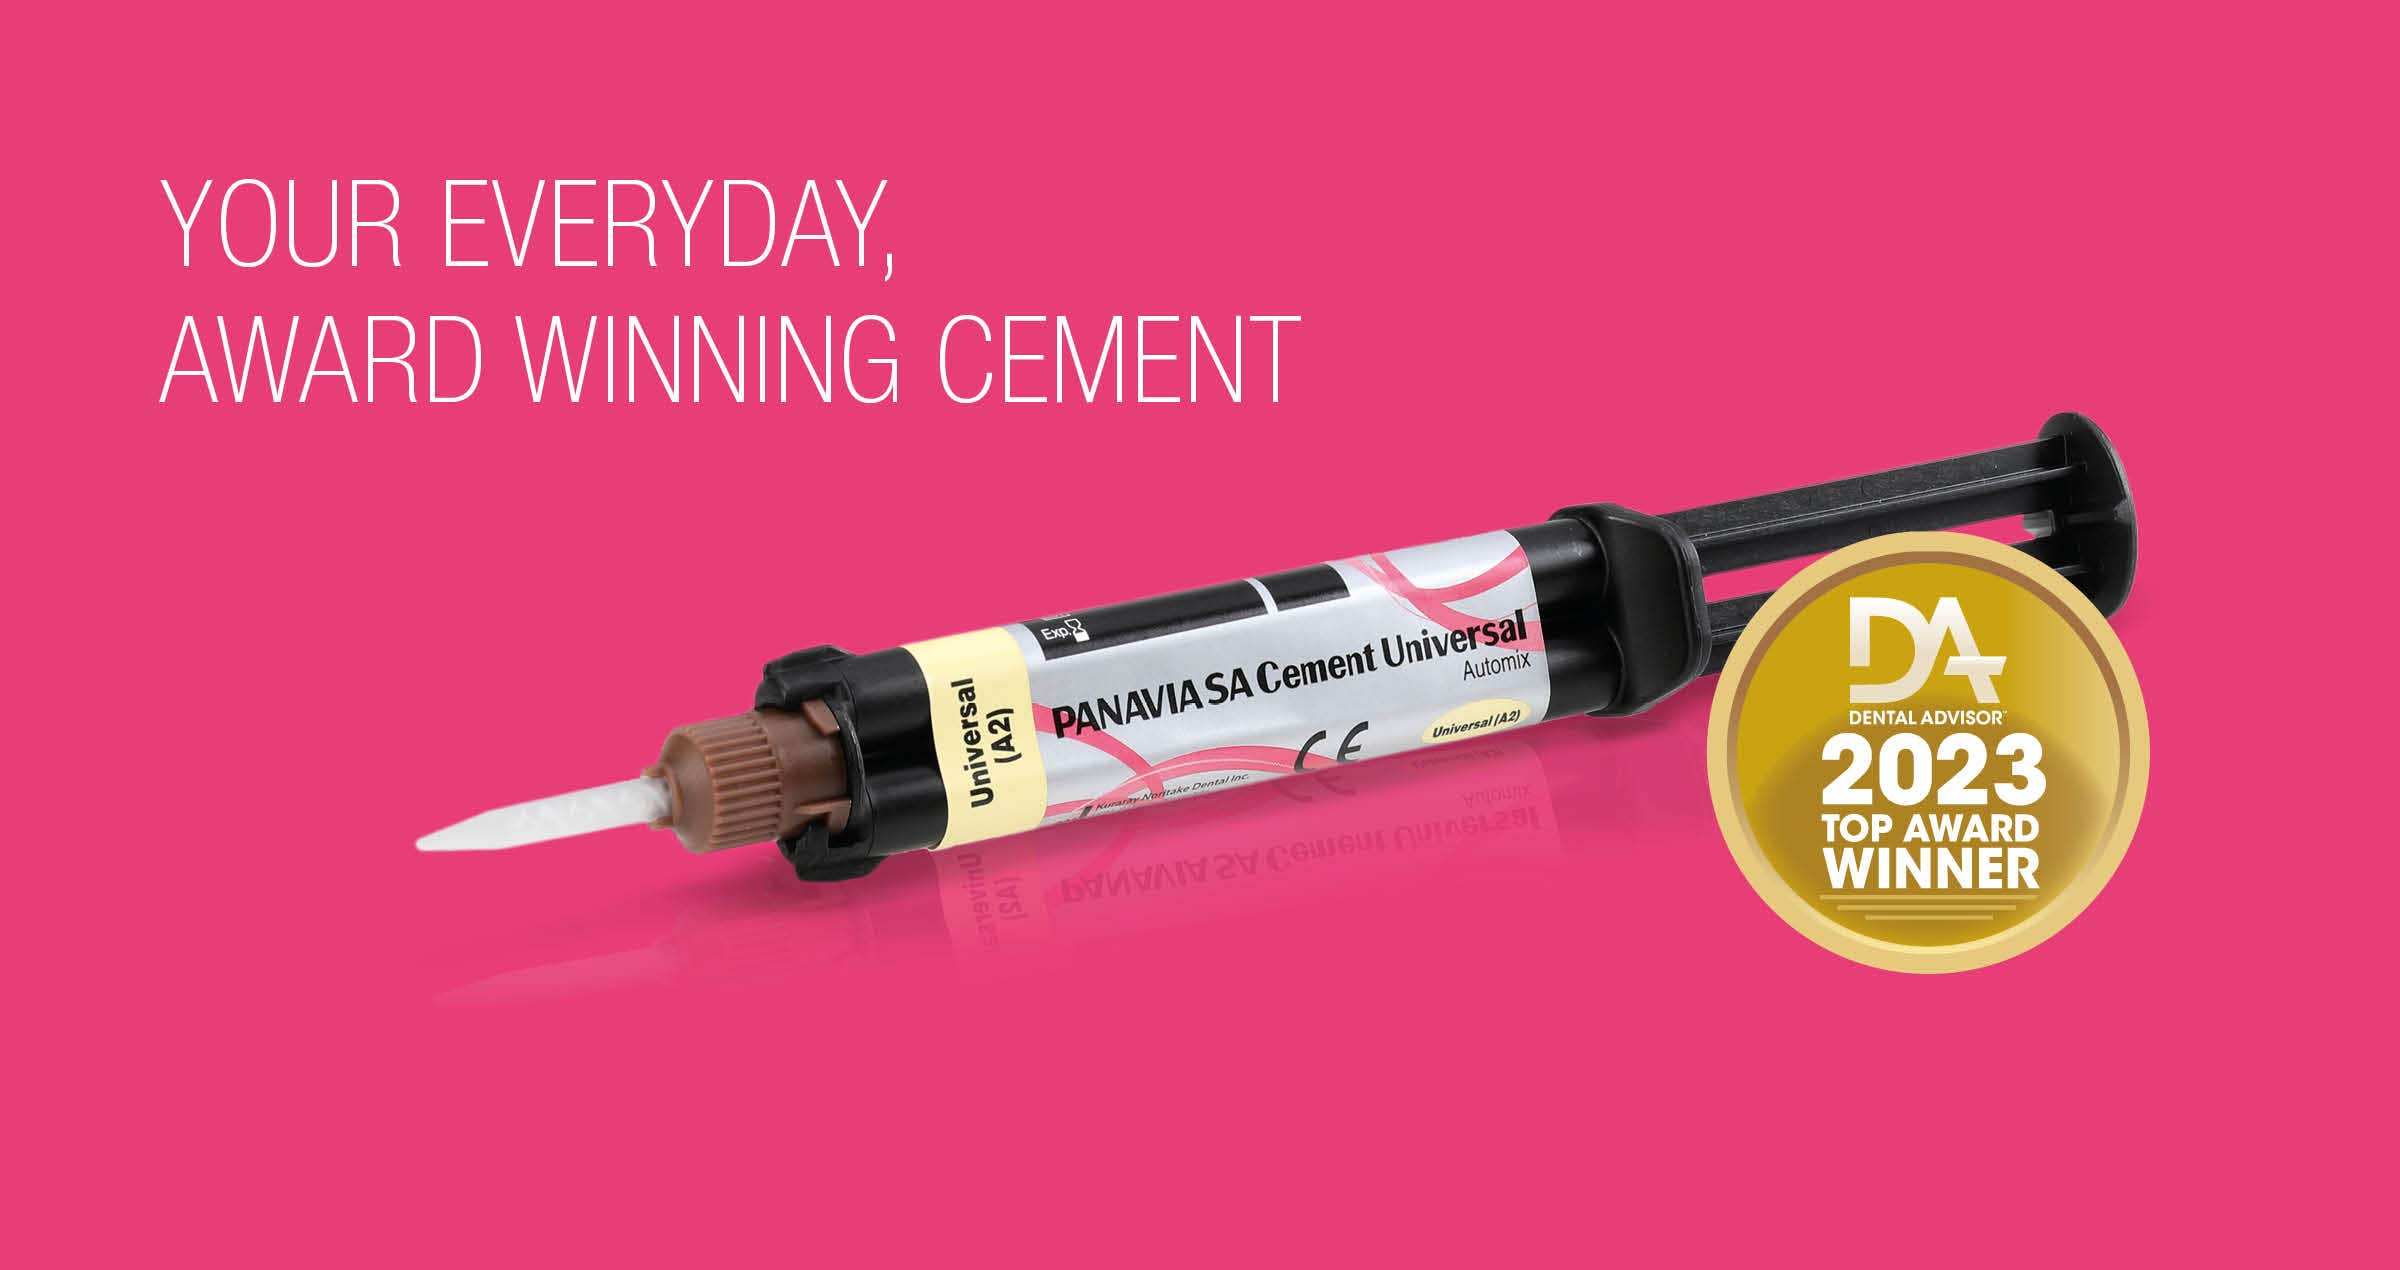
As the dual-cure self-adhesive resin cement PANAVIA™ SA Cement Universal contains the Original MDP monomer and the long carbon-chain silane coupling agent (LCSi Monomer), it is suited for both procedures. PANAVIA™ SA Cement Universal is available in an automix syringe and a handmix system, which consist of a pastepaste formulation. One paste contains the Original MDP monomer in a hydrophilic monomer environment and the other contains the inactive LCSi Monomer in an environment of hydrophobic monomers. When extruding the pastes, they are mixed in the syringe’s mixing tip (automix) or dispensed on a mixing pad and mixed by hand (handmix). Afterwards, the material is simply applied to the intaglio of the restoration and the restoration is placed. Cleanup of excess cement is easiest after tack-curing (2 to 5 seconds).


DOES THIS WORK WELL IN THE CLINICAL ENVIRONMENT?

The best way to check whether the described procedure is successful in the clinical environment is by conducting a clinical study. This is exactly what a group of researchers from the University Complutense of Madrid, Spain, has done with the material combination KATANA™ Zirconia STML and PANAVIA™ SA Cement Universal (10). Within the framework of the prospective clinical trial, 30 posterior crowns made of KATANA™ Zirconia STML were placed in 24 individuals in need of posterior tooth restorations. The teeth were prepared as recommended for all-ceramic restorations, allowing for a wall thickness of approximately 1 mm (recommended minimum wall thickness of KATANA™ Zirconia STML for crowns in the posterior region: 1.0 mm). The restorations were sintered, characterized and glazed as recommended by the material manufacturer and subsequently tried in. Prior to cementation, the intaglio of the restorations was pre-treated with aluminium oxide particles (50 μm, 1 bar pressure) followed by ultrasonic cleaning. The use of PANAVIA™ SA Cement Universal also was in line with the manufacturer’s recommendations. A clinical evaluation of the crowns was performed after 6, 12 and 24 months using the California Dental Association (CDA) quality evaluation system. The parameters evaluated in this system are the surface and colour of the restorations, their anatomical form and the marginal integrity of the crowns. After 24 months, the success and survival rates were 100 percent. Regarding all three parameters, the crowns received a “satisfactory” (Score 3 or 4) rating, marginal integrity (the key parameter to judge the performance of the resin cement) received an “excellent (the highest possible Score 4) in all 30 cases.


CONCLUSION

The researchers concluded that “the excellent results obtained in this study suggest that the third-generation tooth-supported monolithic zirconia crowns in posterior regions seem to be a good alternative to metal-ceramic crowns, second-generation monolithic zirconia crowns, and veneered zirconia crowns. A long-term study is necessary to confirm this short-period study.” Hence, it seems that KATANA™ Zirconia STML and PANAVIA™ SA Cement Universal are a promising team, and that adhering to the recommended abovementioned protocols is likely to produce excellent results that are stable over many years.

References:
1 Edelhoff D, Özcan M. To what extent does the longevity of fixed dental prostheses depend on the function of the cement? Working Group 4 materials: cementation. Clin Oral Implants Res. 2007;18 Suppl3:193-204. 2 Güth JF, Stawarczyk B, Edelhoff D, Liebermann A. Zirconia and its novel compositions: What do clinicians need to know? Quintessence Int. 2019;50(7):512-20. 3 Kern M, Beuer F, Frankenberger R, Kohal RJ, Kunzelmann KH, Mehl A, Pospiech P, Reis B. All-ceramics at a glance. An introduction to the indications, material selection, preparation and insertion techniques for all-ceramic restorations. Arbeitsgemeinschaft für Keramik in der Zahnheilkunde. 3rd English edition, January 2017. 4 Comino-Garayoa R, Peláez J, Tobar C, Rodríguez V, Suárez MJ. Adhesion to Zirconia: A Systematic Review of Surface Pretreatments and Resin Cements. Materials (Basel). 2021 May 22;14(11):2751. 5 Mehari K, Parke AS, Gallardo FF, Vandewalle KS. Assessing the Effects of Air Abrasion with Aluminum Oxide or Glass Beads to Zirconia on the Bond Strength of Cement. J Contemp Dent Pract. 2020 Jul 1;21(7):713-717. 6 Chen B, Yan Y, Xie H, Meng H, Zhang H, Chen C. Effects of Tribochemical Silica Coating and Alumina-Particle Air Abrasion on 3Y-TZP and 5Y-TZP: Evaluation of Surface Hardness, Roughness, Bonding, and Phase Transformation. J Adhes Dent. 2020;22(4):373-382. 7 Alammar A, Blatz MB. The resin bond to high-translucent zirconia-A systematic review. J Esthet Restor Dent. 2022 Jan;34(1):117-135. 8 Soto-Montero J, Missiato AV, dos Santos Dias CT, Giannini M. Effect of airborne particle abrasion and primer application on the surface wettability and bond strength of resin cements to translucent zirconia. J Adhes Sci Technol, Online publication May 2022. 9 Inokoshi M, Shimizubata M, Nozaki K, Takagaki T, Yoshihara K, Minakuchi S, Vleugels J, Van Meerbeek B, Zhang F. Impact of sandblasting on the flexural strength of highly translucent zirconia. J Mech Behav Biomed Mater. 2021 Mar;115:104268. 10 Gseibat M, Sevilla P, Lopez-Suarez C, Rodríguez V, Peláez J, Suárez MJ. Prospective Clinical Evaluation of Posterior Third-Generation Monolithic Zirconia Crowns Fabricated with Complete Digital Workflow: Two-Year Follow-Up. Materials (Basel). 2022 Jan 17;15(2):672. (https://pubmed.ncbi.nlm.nih.gov/35057389/)


Case report: direct cuspal coverage with resin composite

Case by Aleksandra Łyżwińska, Warsaw, Poland.


ABSTRACT


Indirect overlays are the contemporary restoration standard for posterior teeth with extensive hard tissue loss. They provide for cuspal coverage, which decreases the likeliness of coronal and/or root fracture. At the same time and in contrast to crowns, overlay preparations minimize the removal of sound tooth structure especially in the cervical region, which is a critical factor.1 Modern dental resin composites allow for direct cuspal coverage in a single-visit appointment. The results of in-vitro studies suggest that these direct overlays are a suitable alternative to their indirect counterparts in specific situations.2-6 The following case report is used to describe the direct restoration procedure by means of a maxillary right molar with an extensive, deep MOD lesion.


INTRODUCTION


In the context of treating a tooth with an extensive carious lesion, a biomechanical risk assessment should be performed. The primary method of reducing the likeliness of tooth fracture is treatment with a restoration that provides cuspal coverage. The contemporary gold standard for biomechanically compromised teeth are adhesively cemented overlays as an alternative to crowns.1 Another option that does not involve labwork is a direct overlay restoration.2-6 The direct approach is especially suitable for long-term temporization, which may be required during orthodontic treatment, for example.


Repair of porcelain chippings

Article by Peter Schouten.


I am frequently asked questions about the intraoral repair of porcelain chippings. To achieve success in repairs, it is essential to consider several important issues.

Perhaps the single most crucial issue to recognise is why the chipping occurred in the first place. For example, if loading stress is the leading cause, this should be considered during the repair.

Other issues to consider are removal of contamination, optimal roughening and chemical activation of the surface, and the prevention of contamination during the repair. Also, a rubber dam should be used to isolate the working field.


FUNDAMENTALS OF ADHESION

Adhesive procedures can be only successful by using the proper substances and methods. Different kinds of surfaces often need different treatments for success. However, the three basic fundamentals of adhesion must be respected to achieve the best results.

1) Mechanical retention through a roughened surface.

2) Chemical activation through chemically active substances.

3) High energetic bonding surface allowing for optimal interaction (wetting capacity) between the surface and the applied medium. Contamination will lower the bonding capacities and must be avoided or removed in any case.


TYPES OF FRACTURE

The most frequent fractures are porcelain only and those that include exposure of the substructure in PFZ or PFM prosthesis.

Many cases present with only limited chipping to the porcelain, for example, at the incisal edge. To achieve a durable repair in this instance, start by increasing the bonding/repair area using a fine diamond burr to create a large bevel. A fine grit burr is preferable over a medium or coarse version because a higher number of shallow grooves deliver a more optimal bonding surface than lesser deeper ones do. Additional roughening of the adherent surface by sandblasting with alumina (50 µm grain size, 2 bar pressure) is highly recommended to increase the surface area further.

When repairing porcelain chippings where the substructure is exposed, it is essential to be aware that multiple substrates are dealt with, indicating a need to adjust the repair protocol accordingly.


Clean the roughened fractured surface thoroughly. KATANA™ Cleaner is the product of choice. It is a safe and easy to use product with high cleaning power. It can be used both intra and extra orally on all kinds of dental substrates. After rinsing and thorough drying, the surface is ready for the next step, chemical activation.


CLEARFIL™ CERAMIC PRIMER PLUS contains both silane and MDP and effectively treats both silica-containing ceramics and metal oxides (zirconia) and metals. After application and thorough drying, the composite restoration can be carried out immediately without an extra bonding step. The composite of choice is a durable flowable, CLEARFIL MAJESTY™ ES Flow. It has high flexural strength, even higher than most paste-type composites. Besides that, it adapts to the surface better and easier. Quick and easy polishing and gloss retention are other highly valuated qualities of CLEARFIL MAJESTY™ ES Flow.


HINTS AND TIPS

  • Isolate the working field by using rubber dam
  • Bevel the chipping extensively using a fine diamond burr
  • Roughen the adherent surface, preferably by sandblasting
  • Clean the bonding area with KATANA™ Cleaner
  • Apply CLEARFIL™ CERAMIC PRIMER PLUS to the entire bonding area (including exposed zirconia or metal) and dry thoroughly
  • Cover exposed metal with a thin layer of CLEARFIL™ ST OPAQUER and light cure
  • Repair with a strong flowable composite, such as CLEARFIL MAJESTY™ ES Flow


REPAIR OF PORCELAIN CHIPPINGS VIDEO


Laminate veneer restoration using lithium disilicate glass prosthetic restorations

Case by Dr. Yohei Sato, DMD, PhD, Department of Removable Prosthodontics, Tsurumi University School of Dental Medicine, JAPAN and Dr. Keisuke Ihara, CDT, i- Dental Lab, JAPAN.


Fig. 1. The patient visited us with a chief complaint of a desire for improved esthetics of the maxillary right and left lateral incisors.


Fig. 2. A core fabricated from a diagnostic wax model was applied and the necessary clearances were determined.


Fig. 3. Since the teeth are microdonts, the preparation of each abutment was completed by simply exposing a fresh surface to be covered by the laminate veneers.


Fig. 4. A layer of porcelain was applied on the lithium disilicate glass substrate, to make a complete laminate veneer.


Fig. 5. After a trial fitting, the inner surface of the laminate veneer was cleaned with KATANA™ Cleaner. The inner surface was conditioned according to the prosthesis‘ IFU.


Fig. 6. Milling. CLEARFIL™ CERAMIC PRIMER PLUS was applied and dried to silane couple the restoration.


Fig. 7. After a trial fitting, KATANA™ Cleaner was applied to the abutment, and rubbed for more than 10 seconds. Then, it was washed off sufficiently (until the cleaner color had completely disappeared), and dried with compressed air.


Fig. 8. K-ETCHANT Syringe was applied and left for 10 seconds before water-washing and compressed air-drying.


Fig. 9. PANAVIA™ V5 Tooth Primer was applied and left for 20 seconds before compressed-air drying.


Fig. 10. PANAVIA™ Veneer LC Paste was applied to the inner surface of the laminate veneer.


Fig. 11. The laminate veneer was seated and the fit checked. Then, the excess cement was tack-cured (not more than 1 second at any one point) and removed. Finally, the restoration was light-cured and finished.


FINAL SITUATION


Fig. 12. This photo shows the laminate veneer restorations one month after placement. The morphology and color of the right and left lateral incisors have been improved, providing a good balance to the entire anterior dentition.


Optimising the base colour: “CERABIEN™ ZR” Shade Base line-up extended by five opaque shades

A discoloured abutment tooth, a metal post or tooth-coloured gum areas: It is not always possible to meet the target tooth or gum shade with a pre-shaded zirconia framework. Porcelain layering on a differently coloured base, however, is likely to deliver unexpected outcomes. The “CERABIEN™ ZR” Shade Base line-up has been developed and recently extended by Kuraray Noritake Dental Inc. for those who would like to avoid surprises and provide for a favourable framework colour, right from the start of porcelain layering. The five new opaque shades deliver approximately five times higher opacity than conventional “CERABIEN™ ZR” Shade Base porcelains, and can mask the base colour much more effectively for even more lifelike restorations.


The “CERABIEN™ ZR” Shade Base opaque shade line-up consists of three shades that reproduce tooth colour: Opaque White as a bleaching shade, Opaque Light as an A2 shade, and Opaque Dark as an A3.5 shade. They may be mixed or applied as delivered to the zirconia framework in thin layers to mask severely discoloured or metal areas. In most situations with a severely discoloured base, a precise matching of the target shade is achieved by applying an opaque shade as a first layer and a target-coloured “CERABIEN™ ZR” Shade Base as a second layer.


The other two new opaque shades – “CERABIEN™ ZR” Opaque Light Tissue and Opaque Dark Tissue – are used in a similar way to create a pink-opaque base in the gum areas of tooth-coloured zirconia frameworks (e.g. made of KATANA™ Zirconia Multi-Layered discs), which is perfect for reproducing gingival colour. Applied as a thin coating, the opaque tissue shades neutralise the tooth colour and their moderate reflection improves the colour effect of the subsequently applied tissue porcelains.


With their high masking ability, the new opaque shades make it even easier to adjust zirconia framework colours for highly aesthetic porcelain layering – no matter whether the base colour of a tissue or tooth area needs to be optimized.


PANAVIA™ SA Cement Universal

Testimonial article by Dr. Michael Teitelbaum, DMD, MAGD, FACD


A self-adhesive resin cement that contains MDP and LCSi monomers, allowing it to adhere to virtually every material without the need for a separate primer.


Ready to say goodbye to complicated bonding procedures, Dr. Michael Teitelbaum said hello to simplicity with Kuraray Noritake Dental Inc.‘s PANAVIA™ SA Cement Universal, a versatile cementation solution that simplifies his restorative workflow without sacrificing long-term bond strength. “PANAVIA™ is a name I’ve known and trusted since my prosthodontic program over 30 years ago,” shared Dr. Teitelbaum, who said PANAVIA™ SA Cement Universal allows him to confidently cement restorations because of its long-term reliability.


ALL-IN-ONE CEMENTATION SOLUTION


A self-adhesive resin cement that eliminates the need for a separate primer, PANAVIA™ SA Cement Universal contains a unique LCSi monomer that delivers a strong, durable chemical bond to porcelain, lithium disilicate, and composite resin, while a MDP monomer chemically reacts with zirconia, dentin, and enamel. “When I find myself cementing zirconia, my go-to cement is PANAVIA SA™ Cement Universal because it contains MDP, the magic ingredient that lets it actually bond to zirconia,” Dr. Teitelbaum explained. Thanks to a single-step bonding formula, PANAVIA™ SA Cement Universal is an easy-to-use, all-in-one cementation solution, and the material is available in both automix and handmix options. “One of the nice things about PANAVIA™ SA Cement Universal is if you’re in a hurry, maybe doing multiple units or working alone, you can use the automixing syringe tip and inject it into each crown,” said Dr. Teitelbaum. “Or if you’re naturally fast, like my assistant of over 20 years, you can hand mix the cement and load it directly into the crowns.”


“My go-to cement is PANAVIA™ SA Cement Universal because it contains MDP, the magic ingredient that lets it actually bond to zirconia.”

- Michael Teitelbaum, DMD, MAGD, FACD –


VERSATILE AND EASY TO USE


PANAVIA™ SA Cement Universal adheres to virtually all restorative materials without the need for a separate primer, silane, or etchant, simplifying the cementation workflow for clinicians and saving time for patients. “I have a patient who not only gags but makes more saliva than the Colorado River,” joked Dr. Teitelbaum. “It was nearly impossible [with other cements] to keep No. 31 dry long enough to sandblast, etch, prime, mix cement, load the crown and seat it. PANAVIA™ SA Cement Universal was the only cement I could get to work for him.” After the restoration is placed, any excess cement is easy to clean up after a quick 2 to 5 second light cure. “Once you’ve fully seated the crown, you can wave the curing light over the margins for a couple of seconds to just start the set. The excess material easily pops off while still in the rubbery phase,” said Dr. Teitelbaum. PANAVIA™ SA Cement Universal comes in 3 shades, universal (A2), translucent and white, which Dr. Teitelbaum says are suitable for most situations. “For translucent restorations, like inlays where the margins might be visible, I prefer a translucent or universal shade cement,” he said. “But where I may need to see the cement again someday, like an opaque crown or post, I prefer straight white.” Suitable for crowns, bridges, inlays/onlays, posts, and adhesion bridges, PANAVIA™ SA Cement Universal is a versatile cementation solution for virtually every material.


Dentist:

MICHAEL TEITELBAUM
DMD, MAGD, FACD


Reģistrējieties jaunumu saņemšanai
Pievienojieties tūkstošiem zobārstniecības speciālistu un saņemiet bezmaksas konsultācijas, kas var palīdzēt jums un jūsu karjerai. Mēs nesūtīsim surogātpastu un neizdalīsim jūsu e-pastu.